Analysis
The design as a model, with every cone in place.
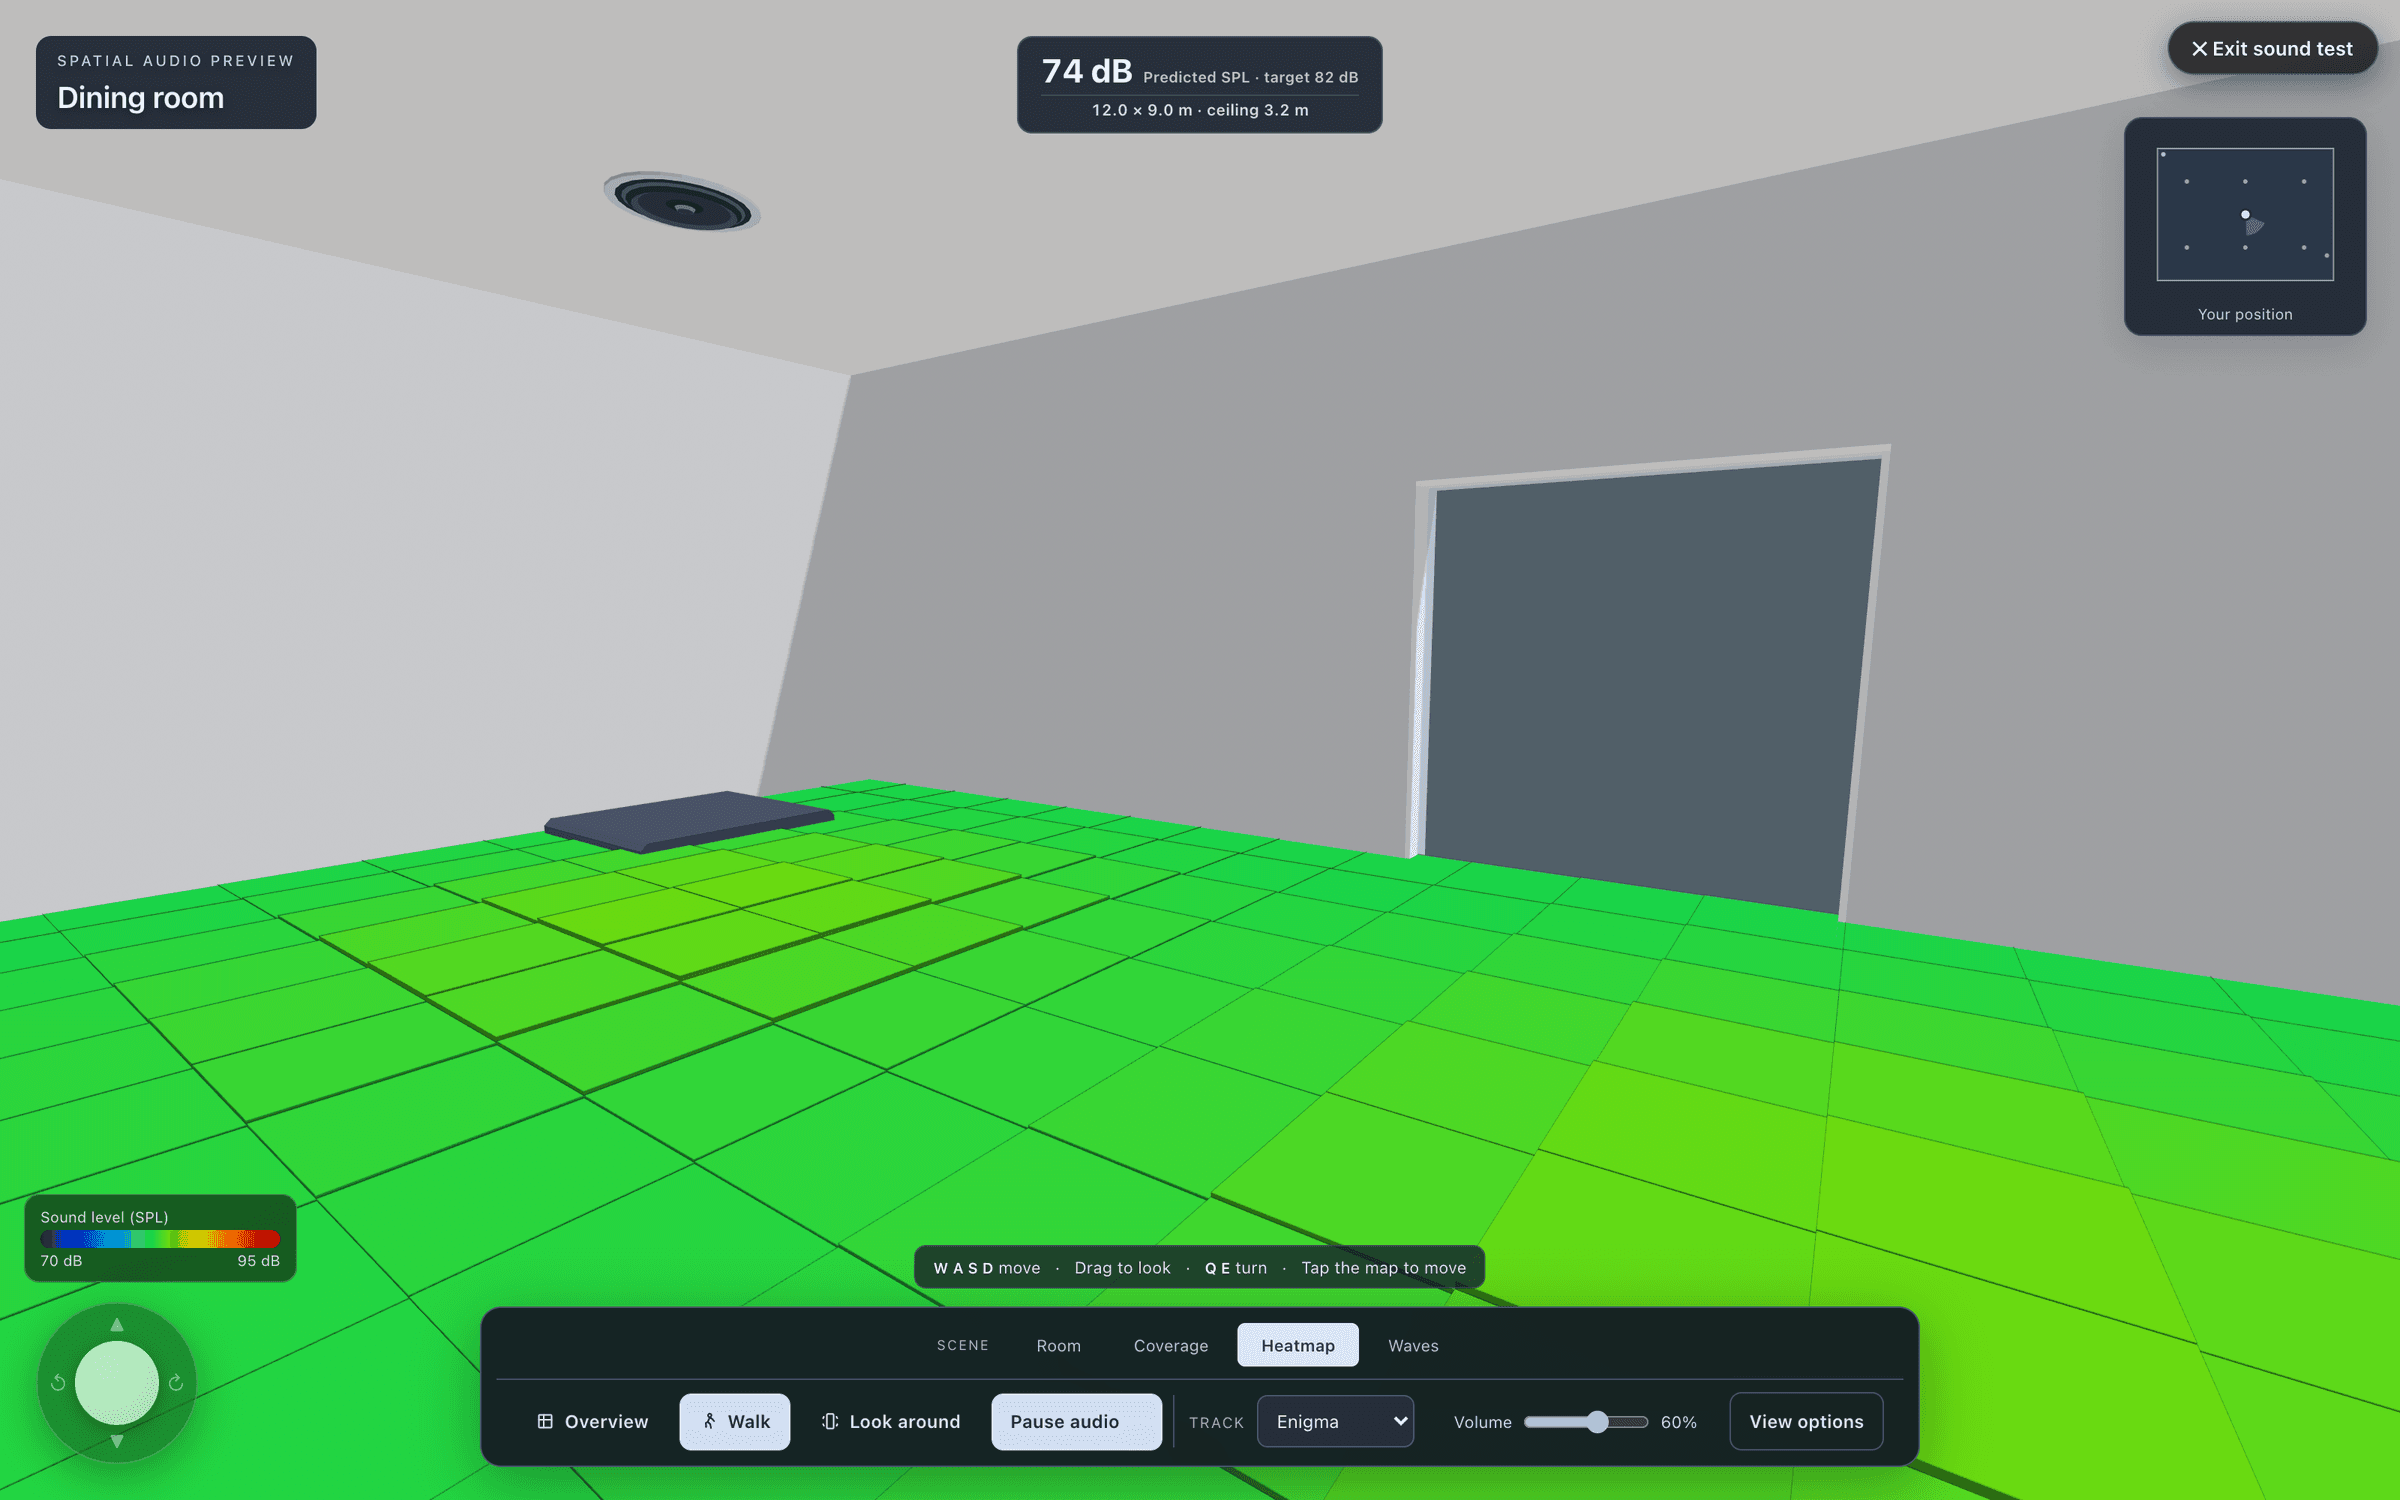
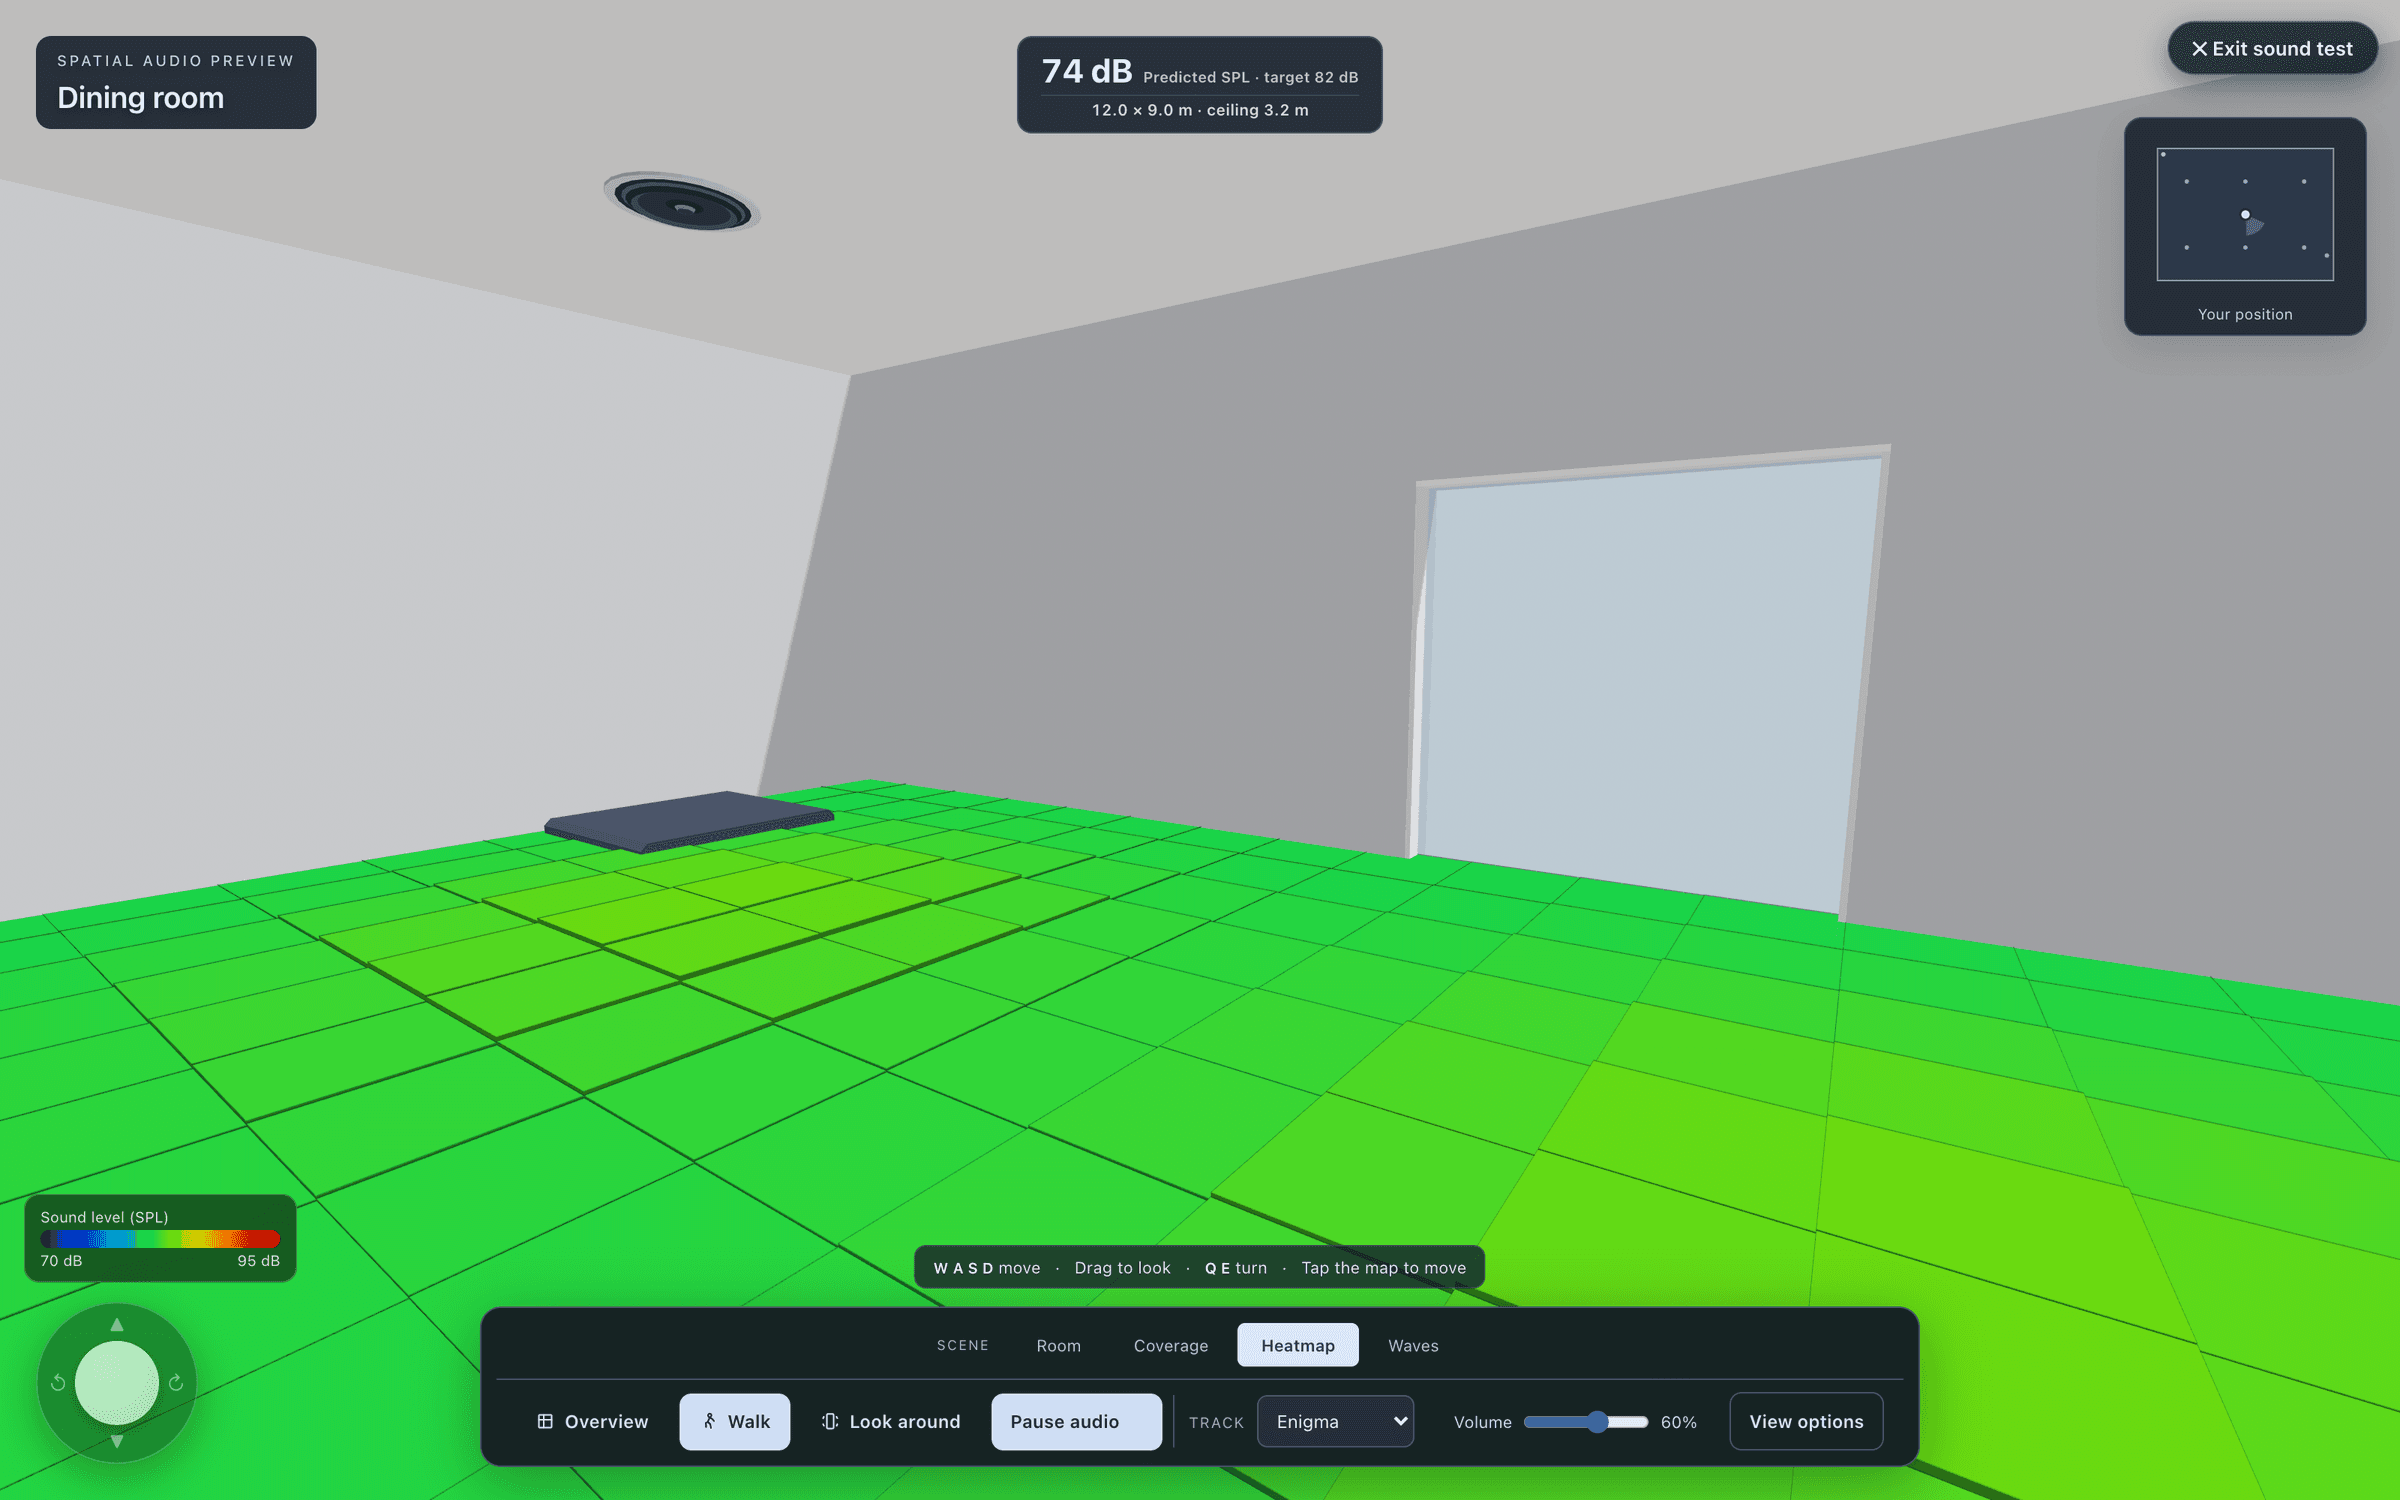
Every speaker’s cone on a real model of the room. The 3D tab shows the selected floor with wall thickness, materials and real models of the speakers, access points and cameras, in room, coverage, heatmap and sound wave views.
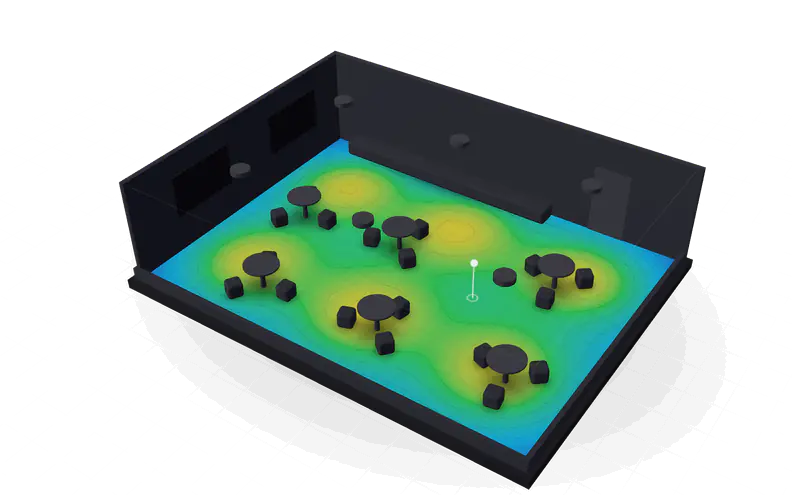
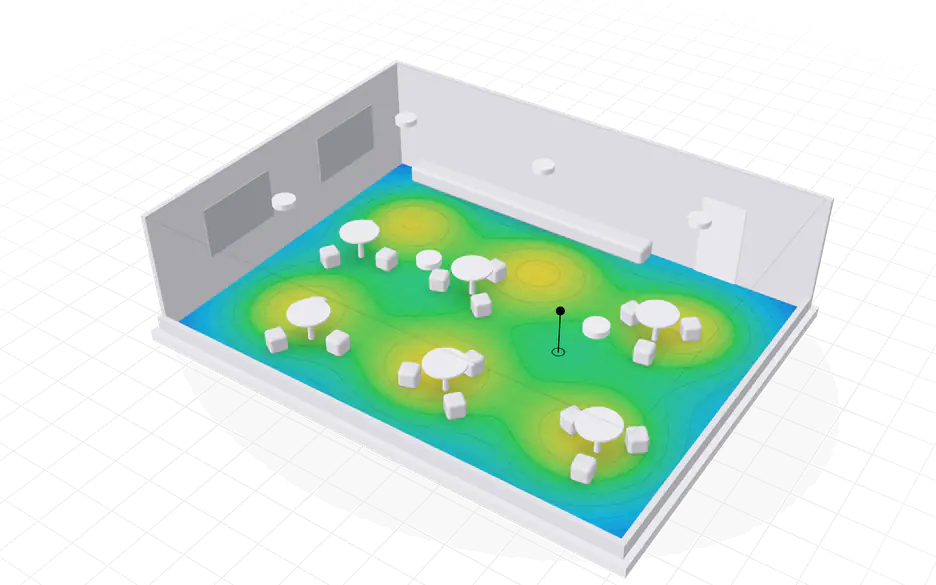
four views
Room, coverage, heatmap and sound wave.
The 3D tab turns the floor you have selected into a model: walls at their real thickness and material, doors and glass, the furniture plan, and real models of the speakers, access points and cameras you placed.
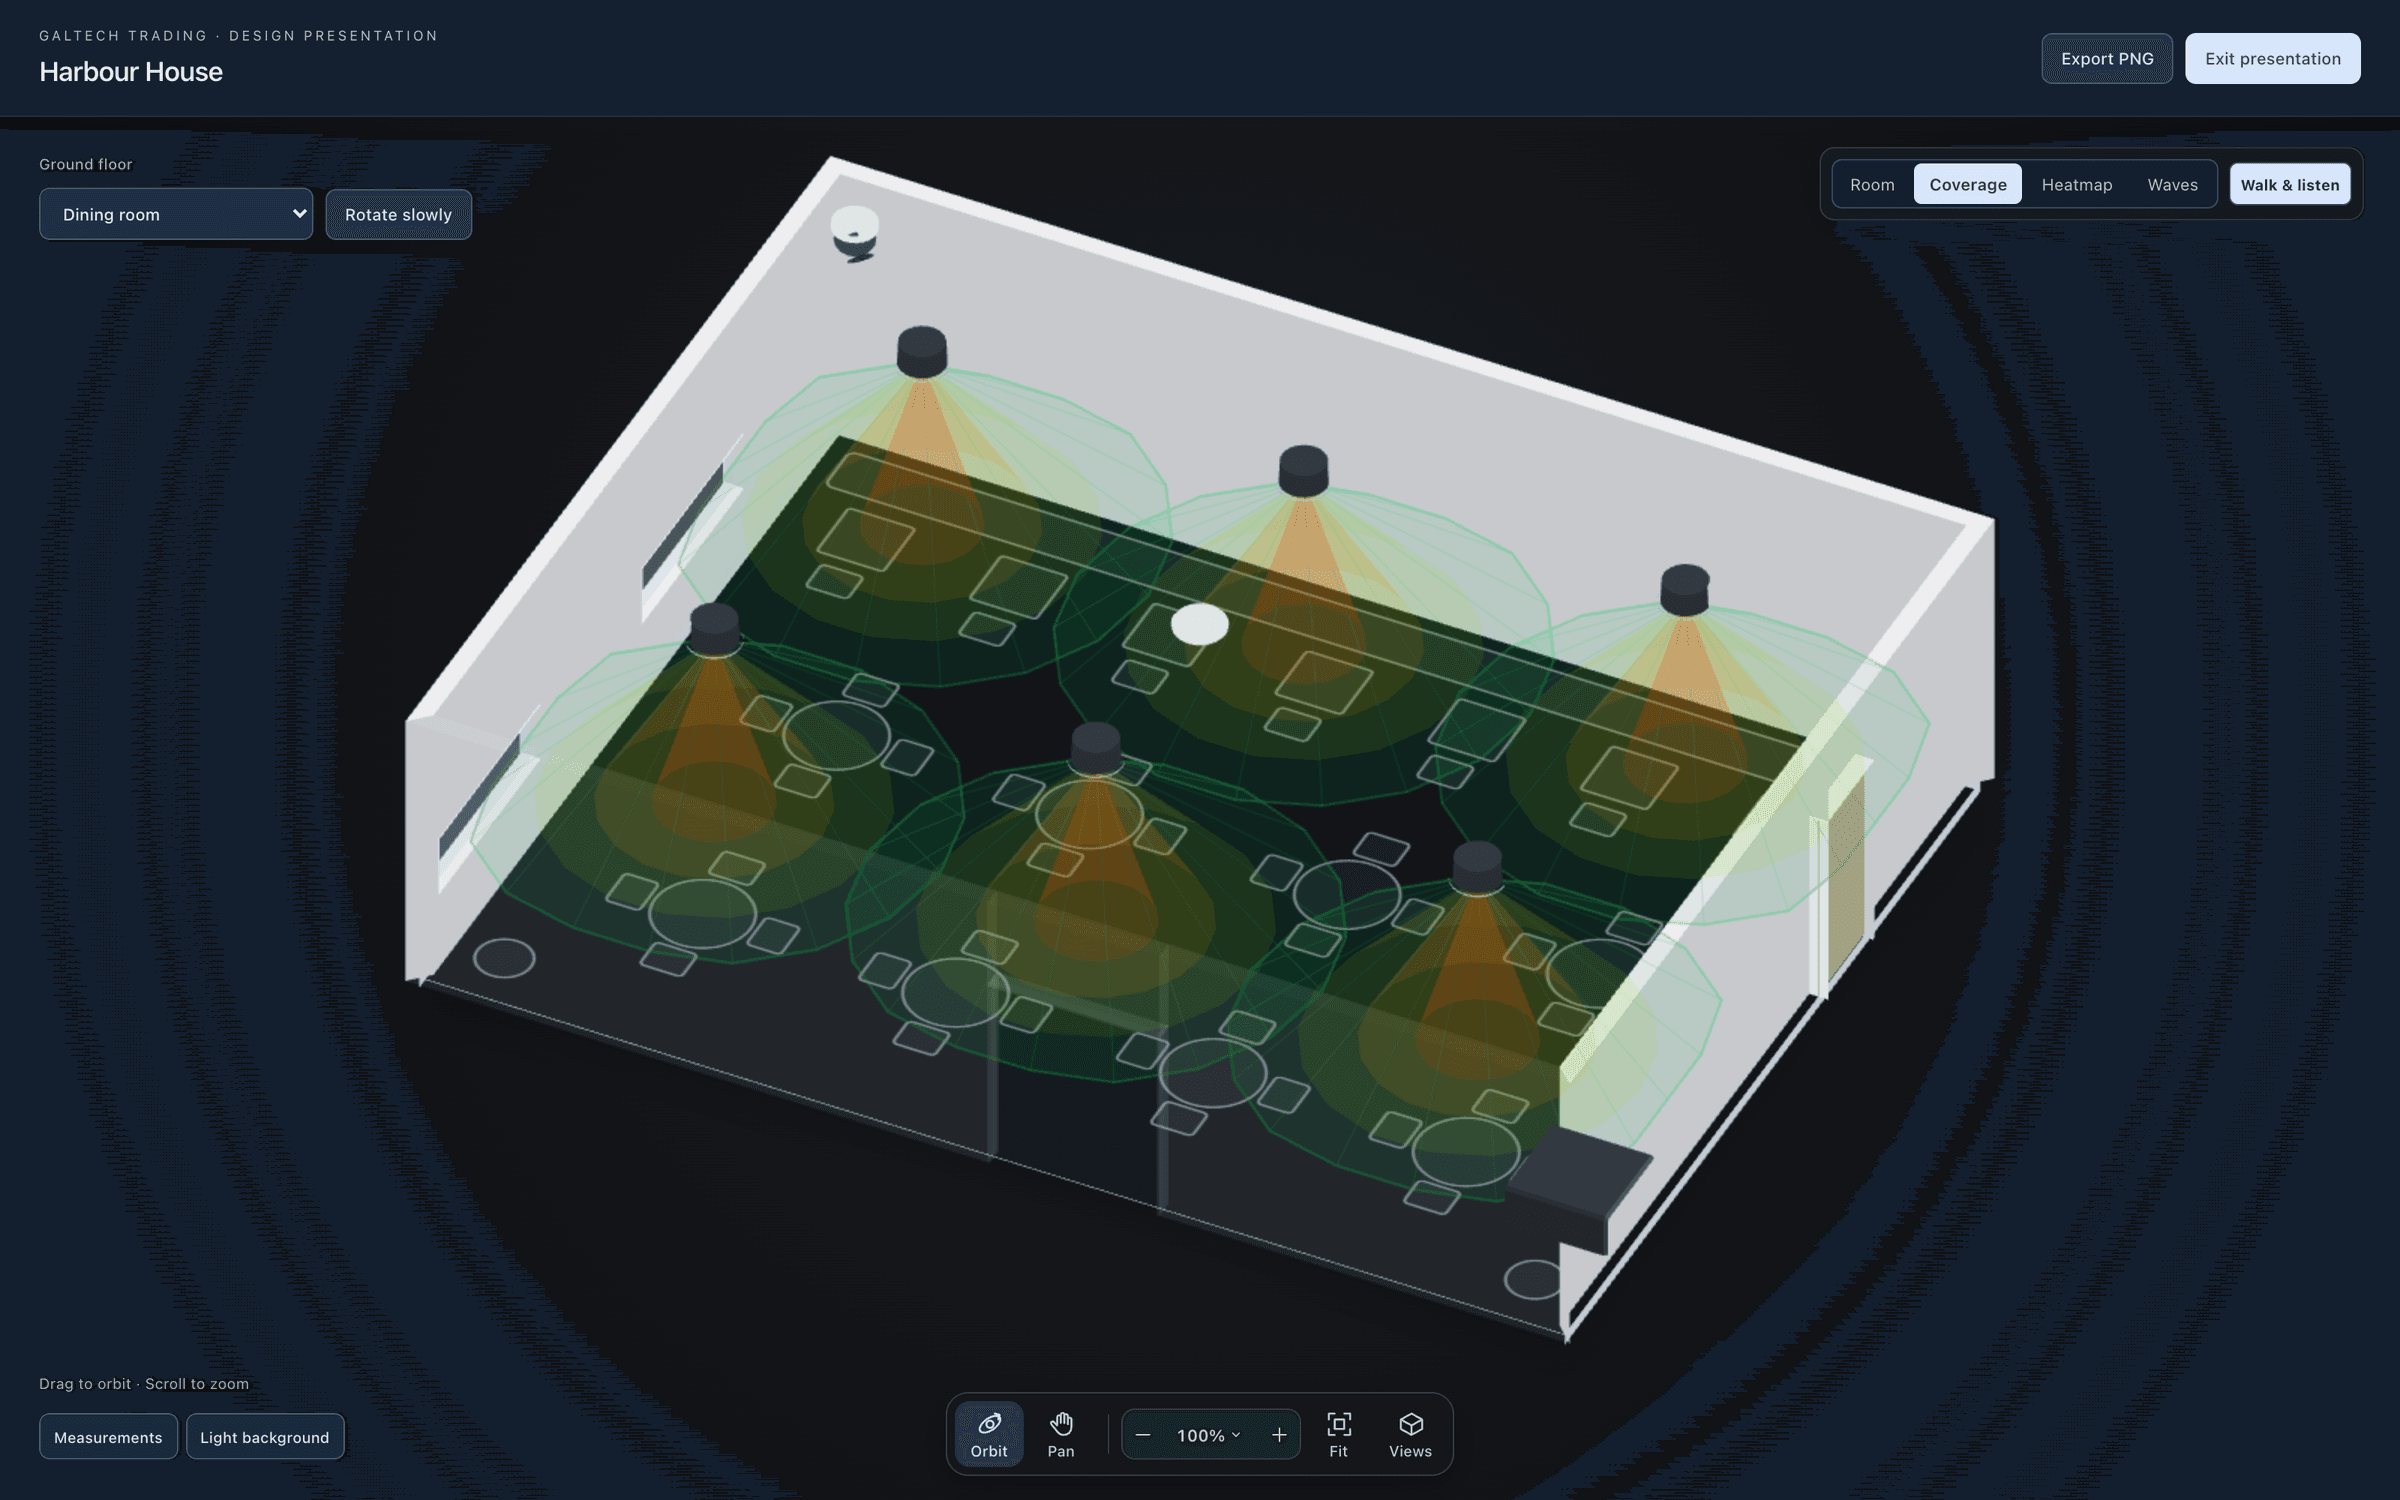
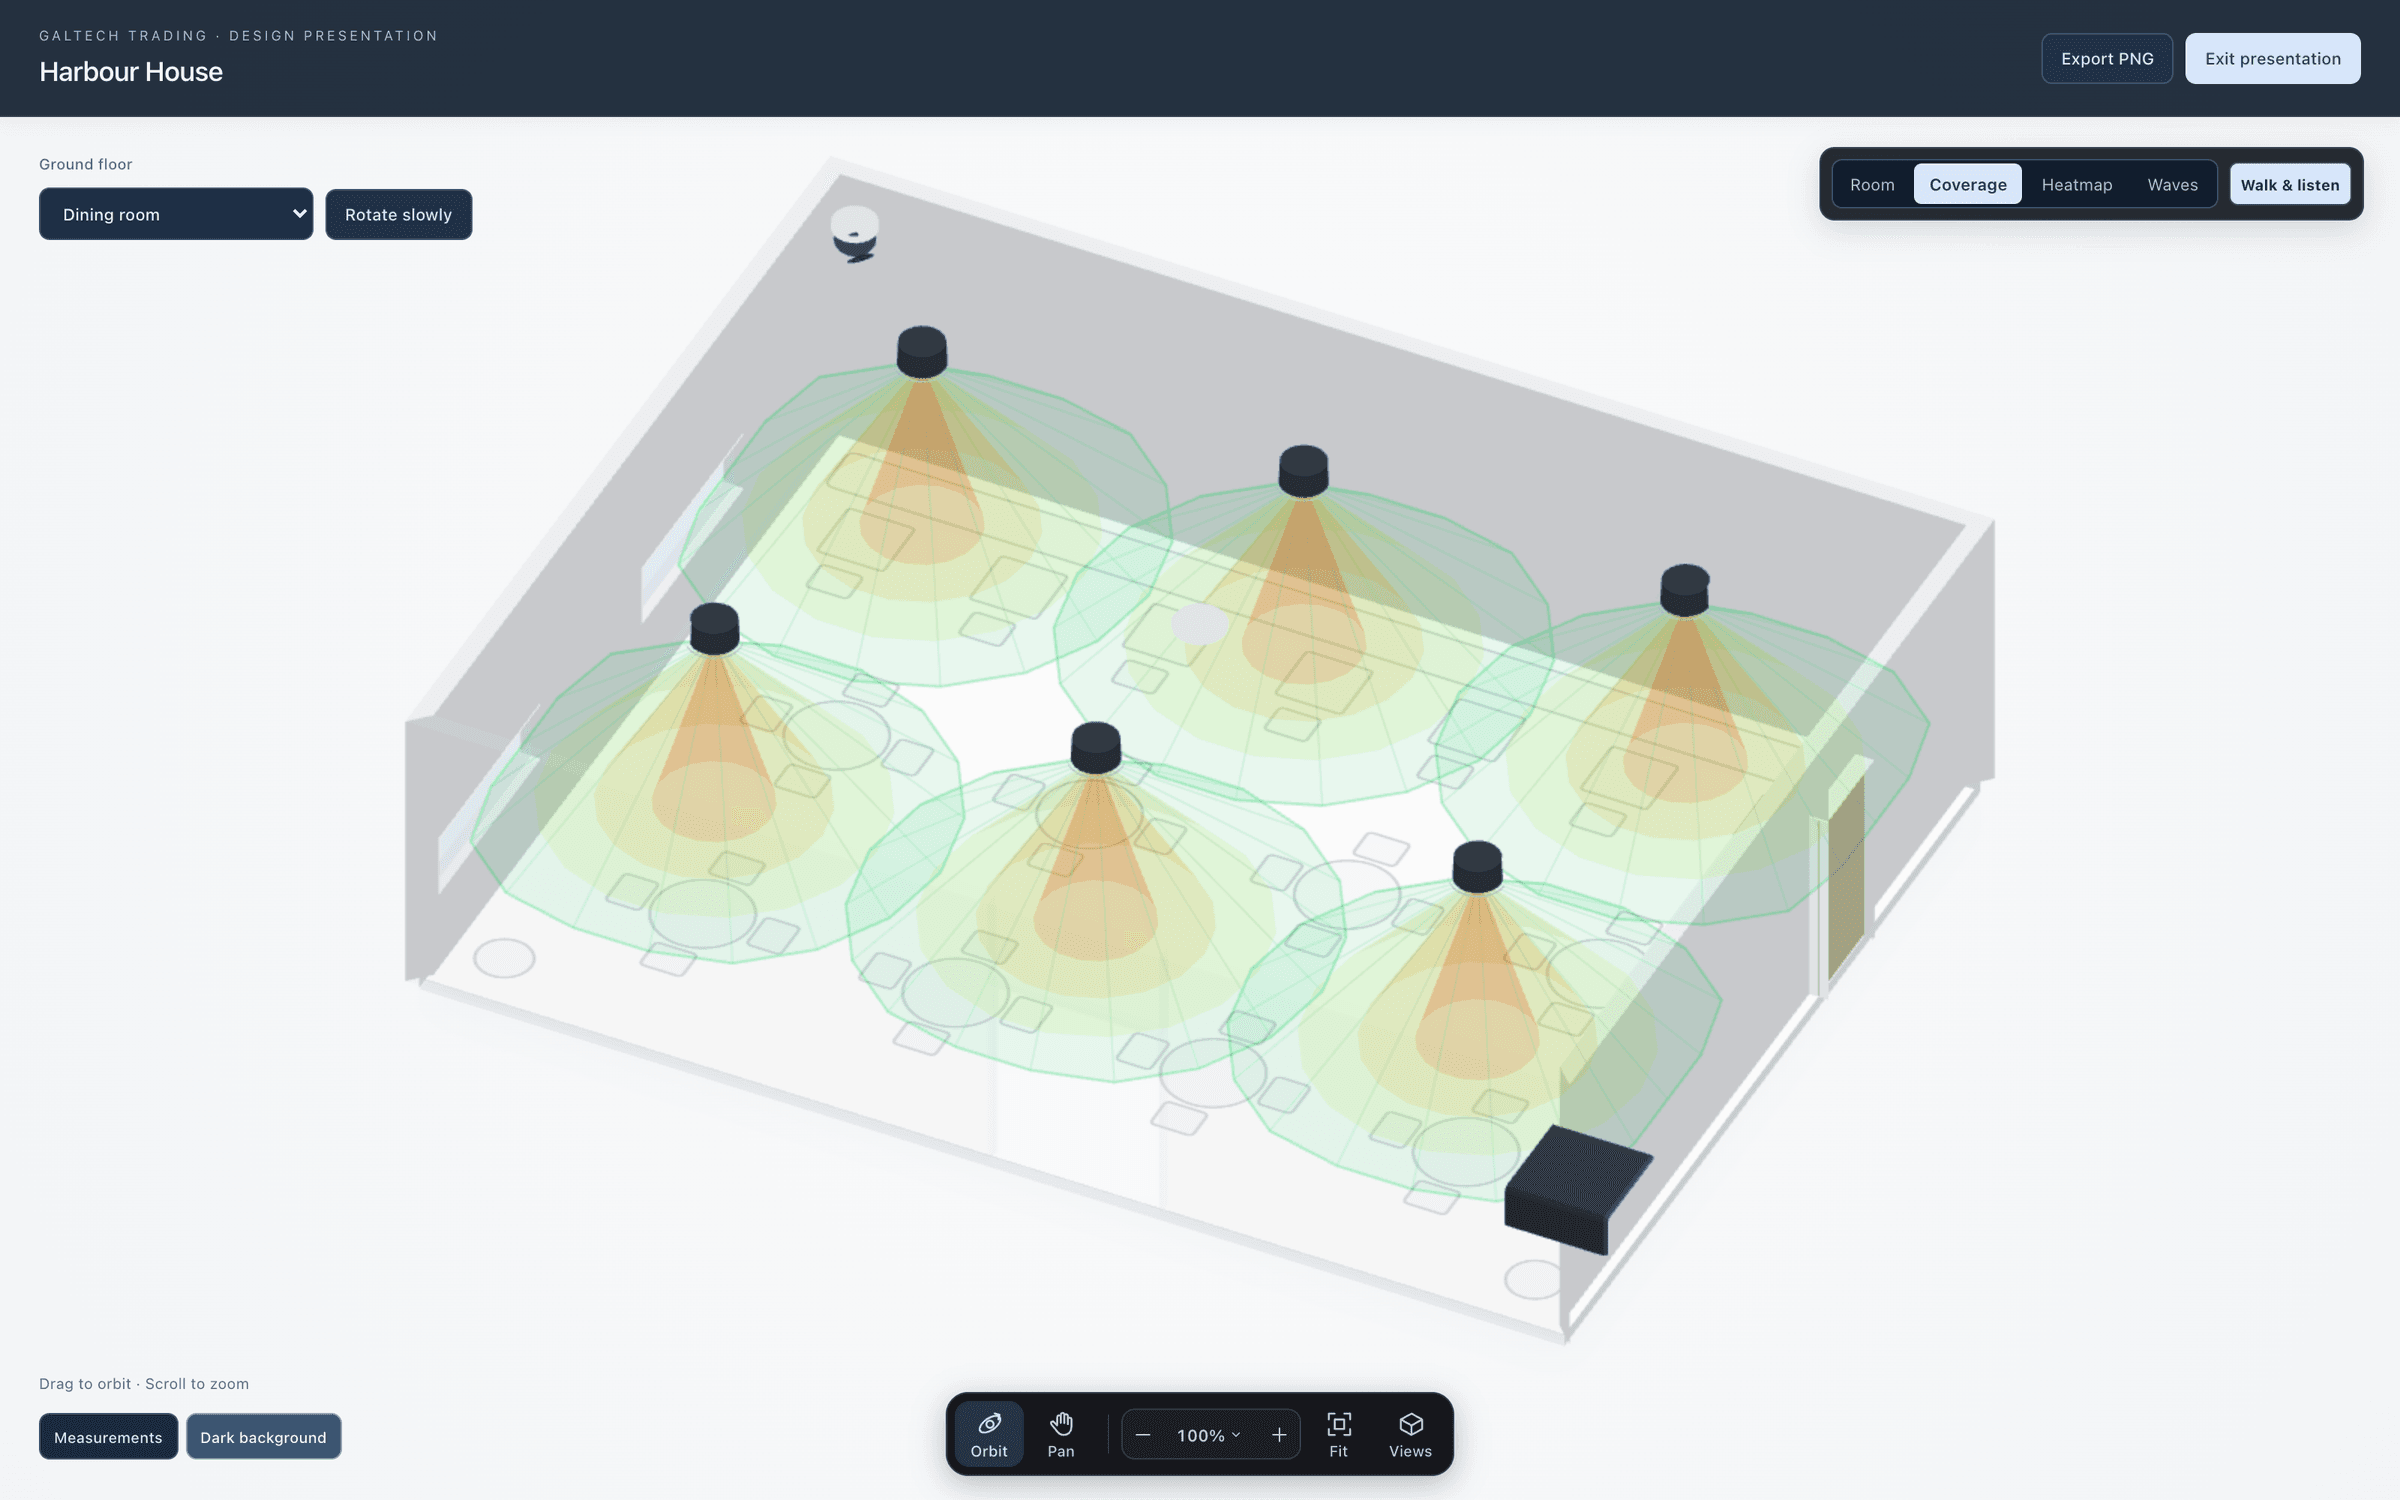
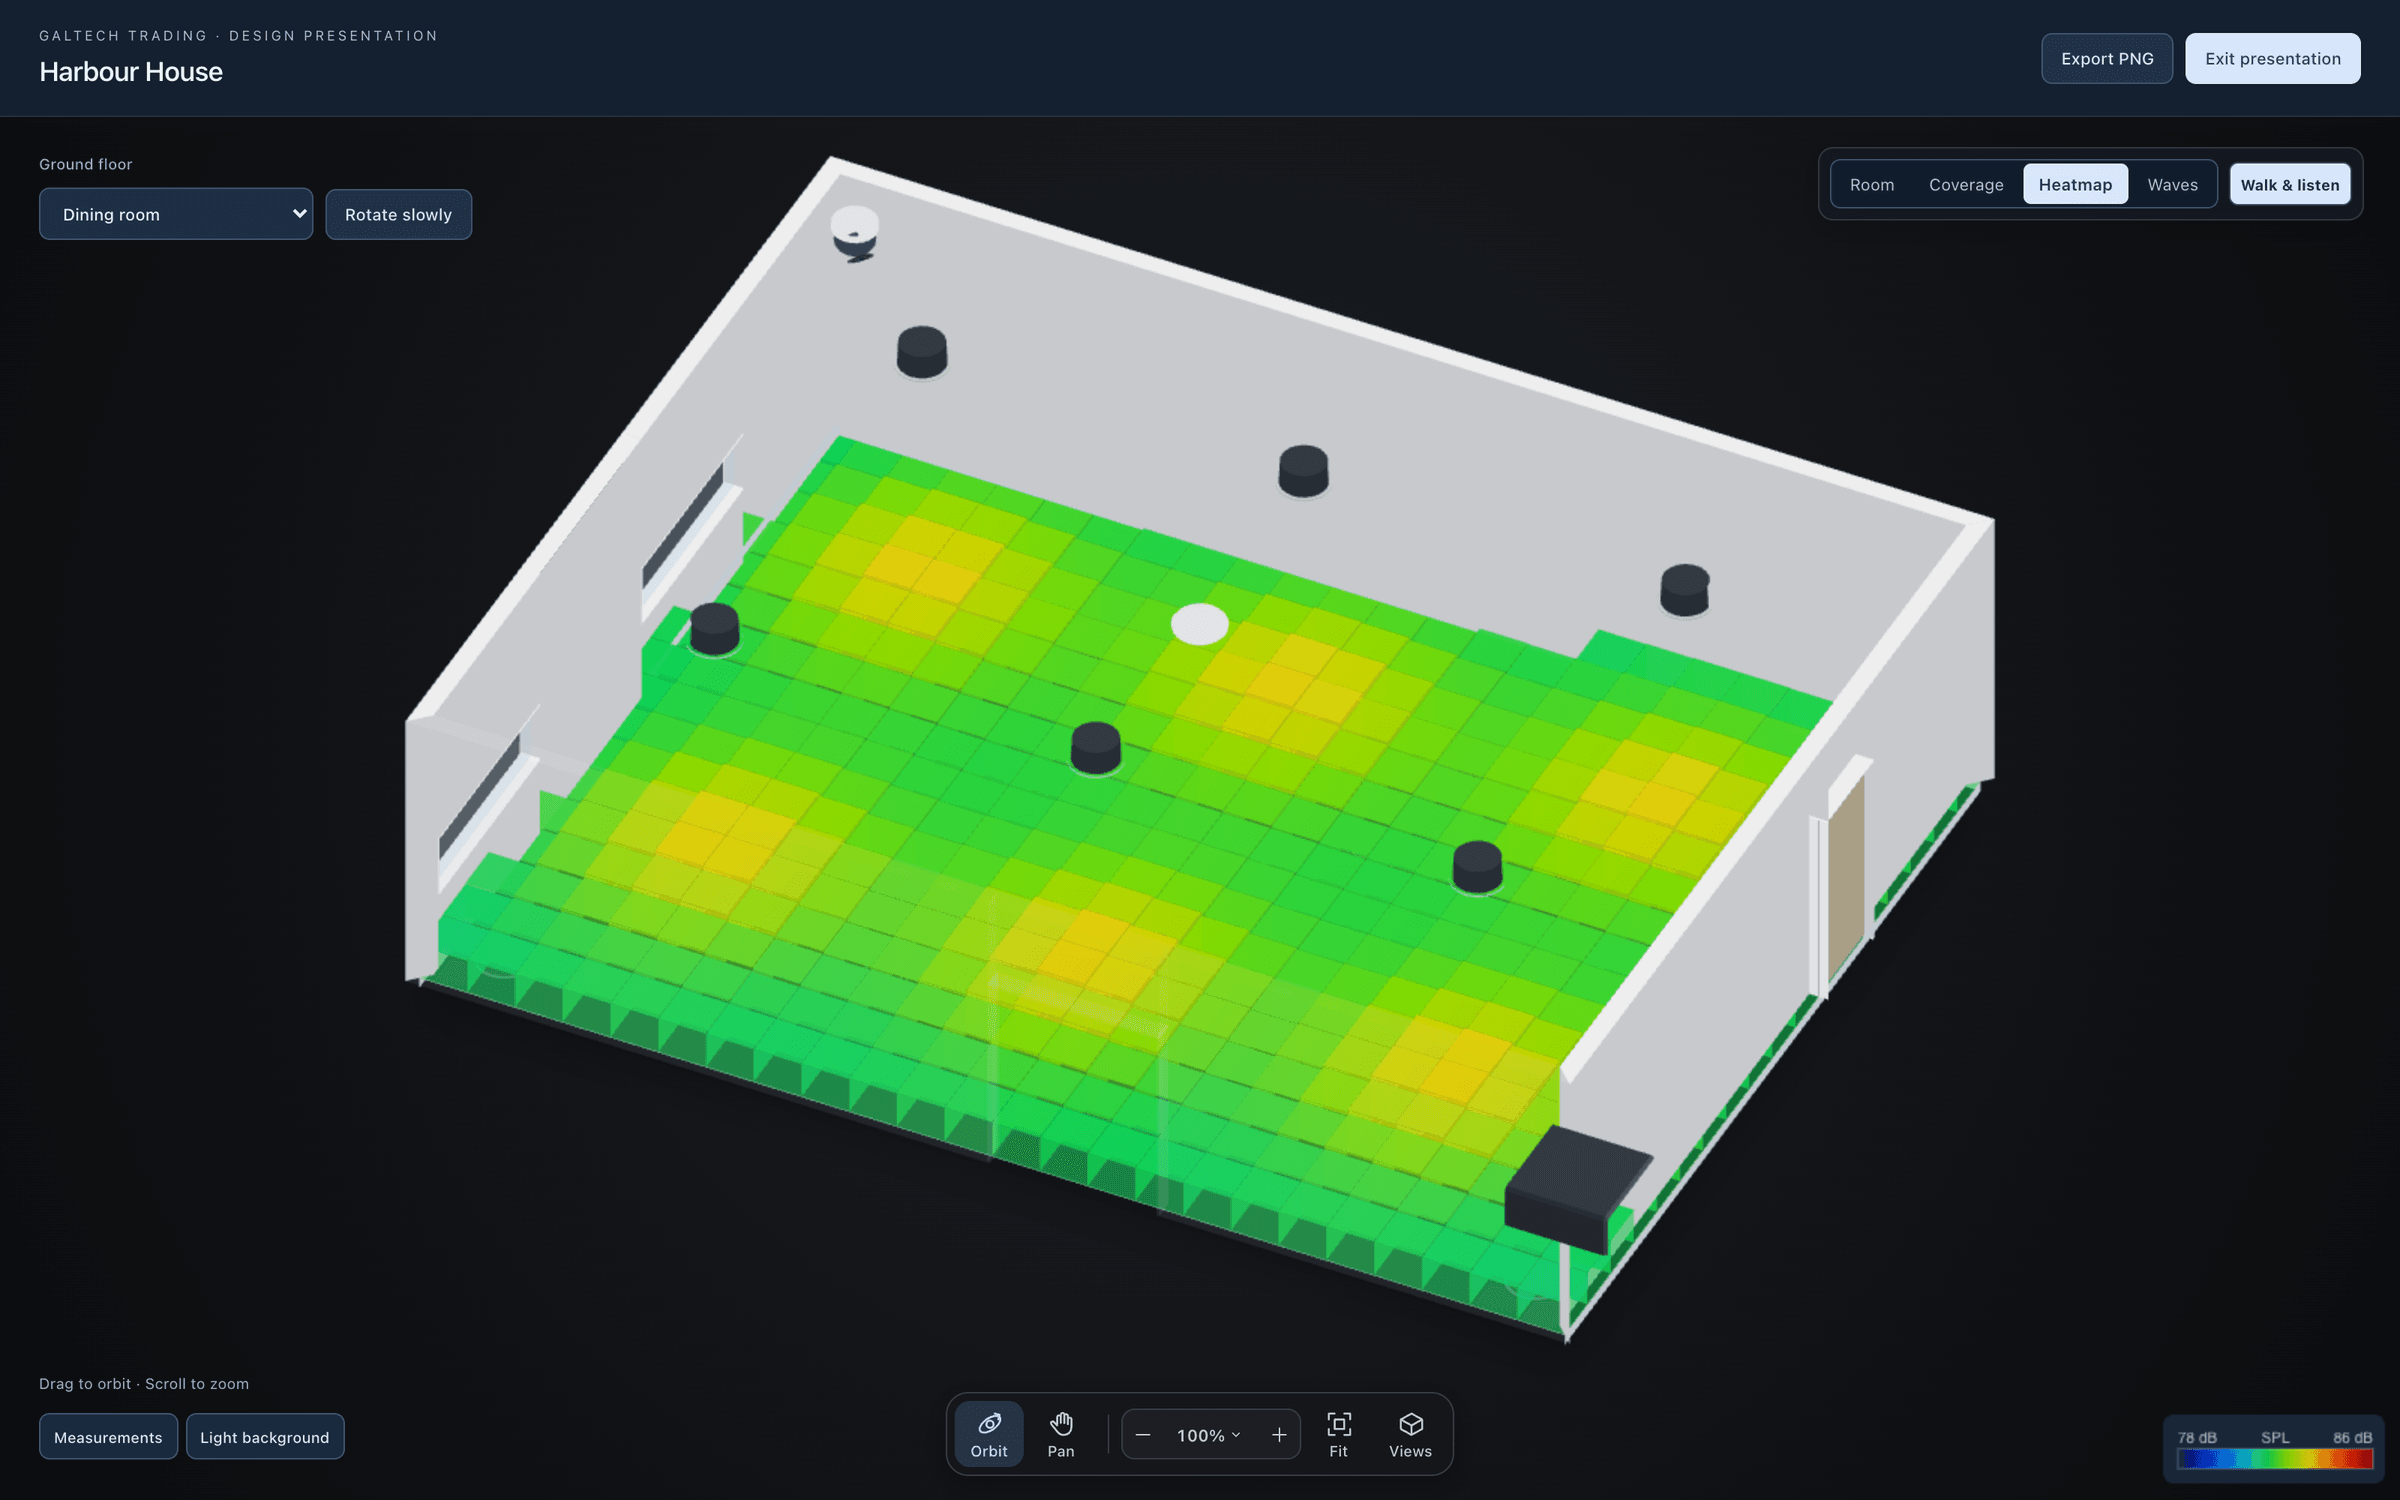
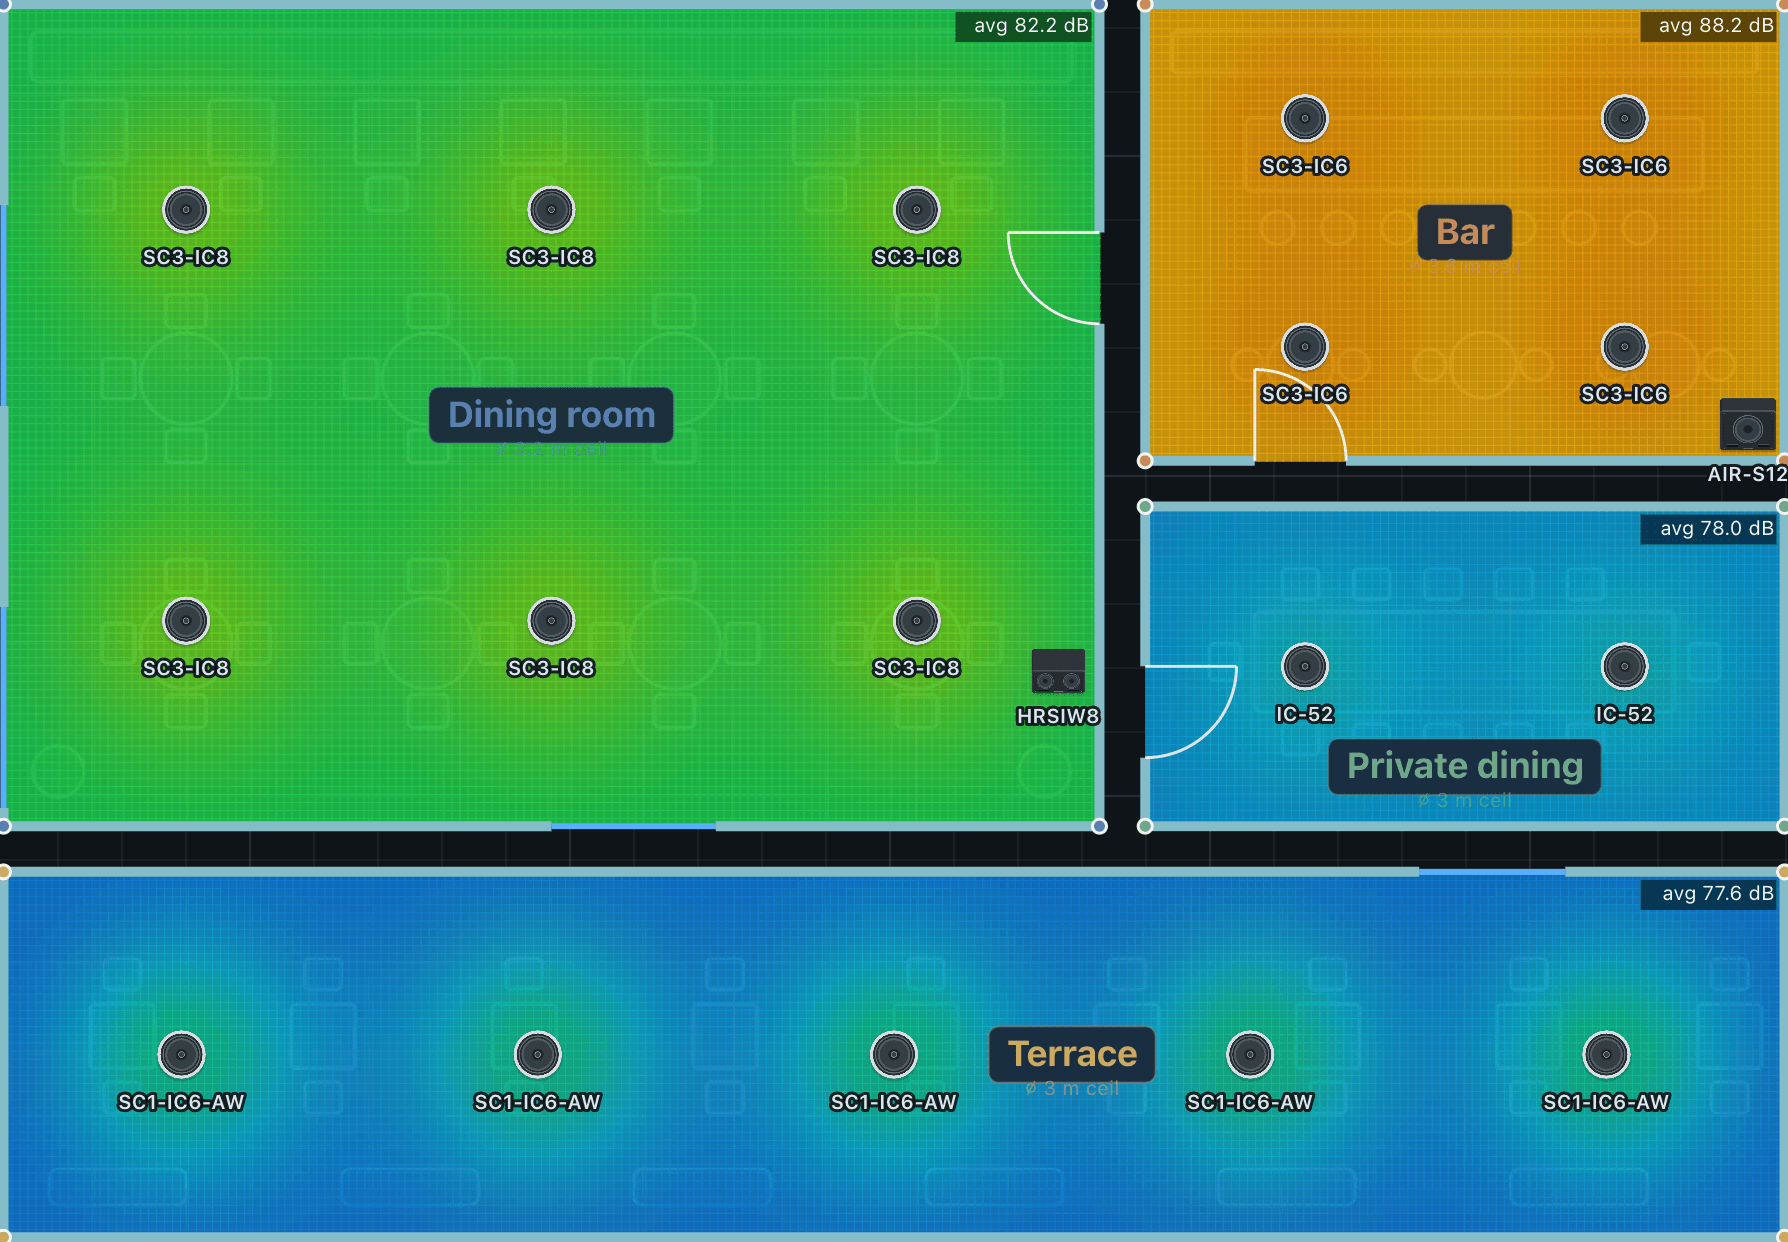
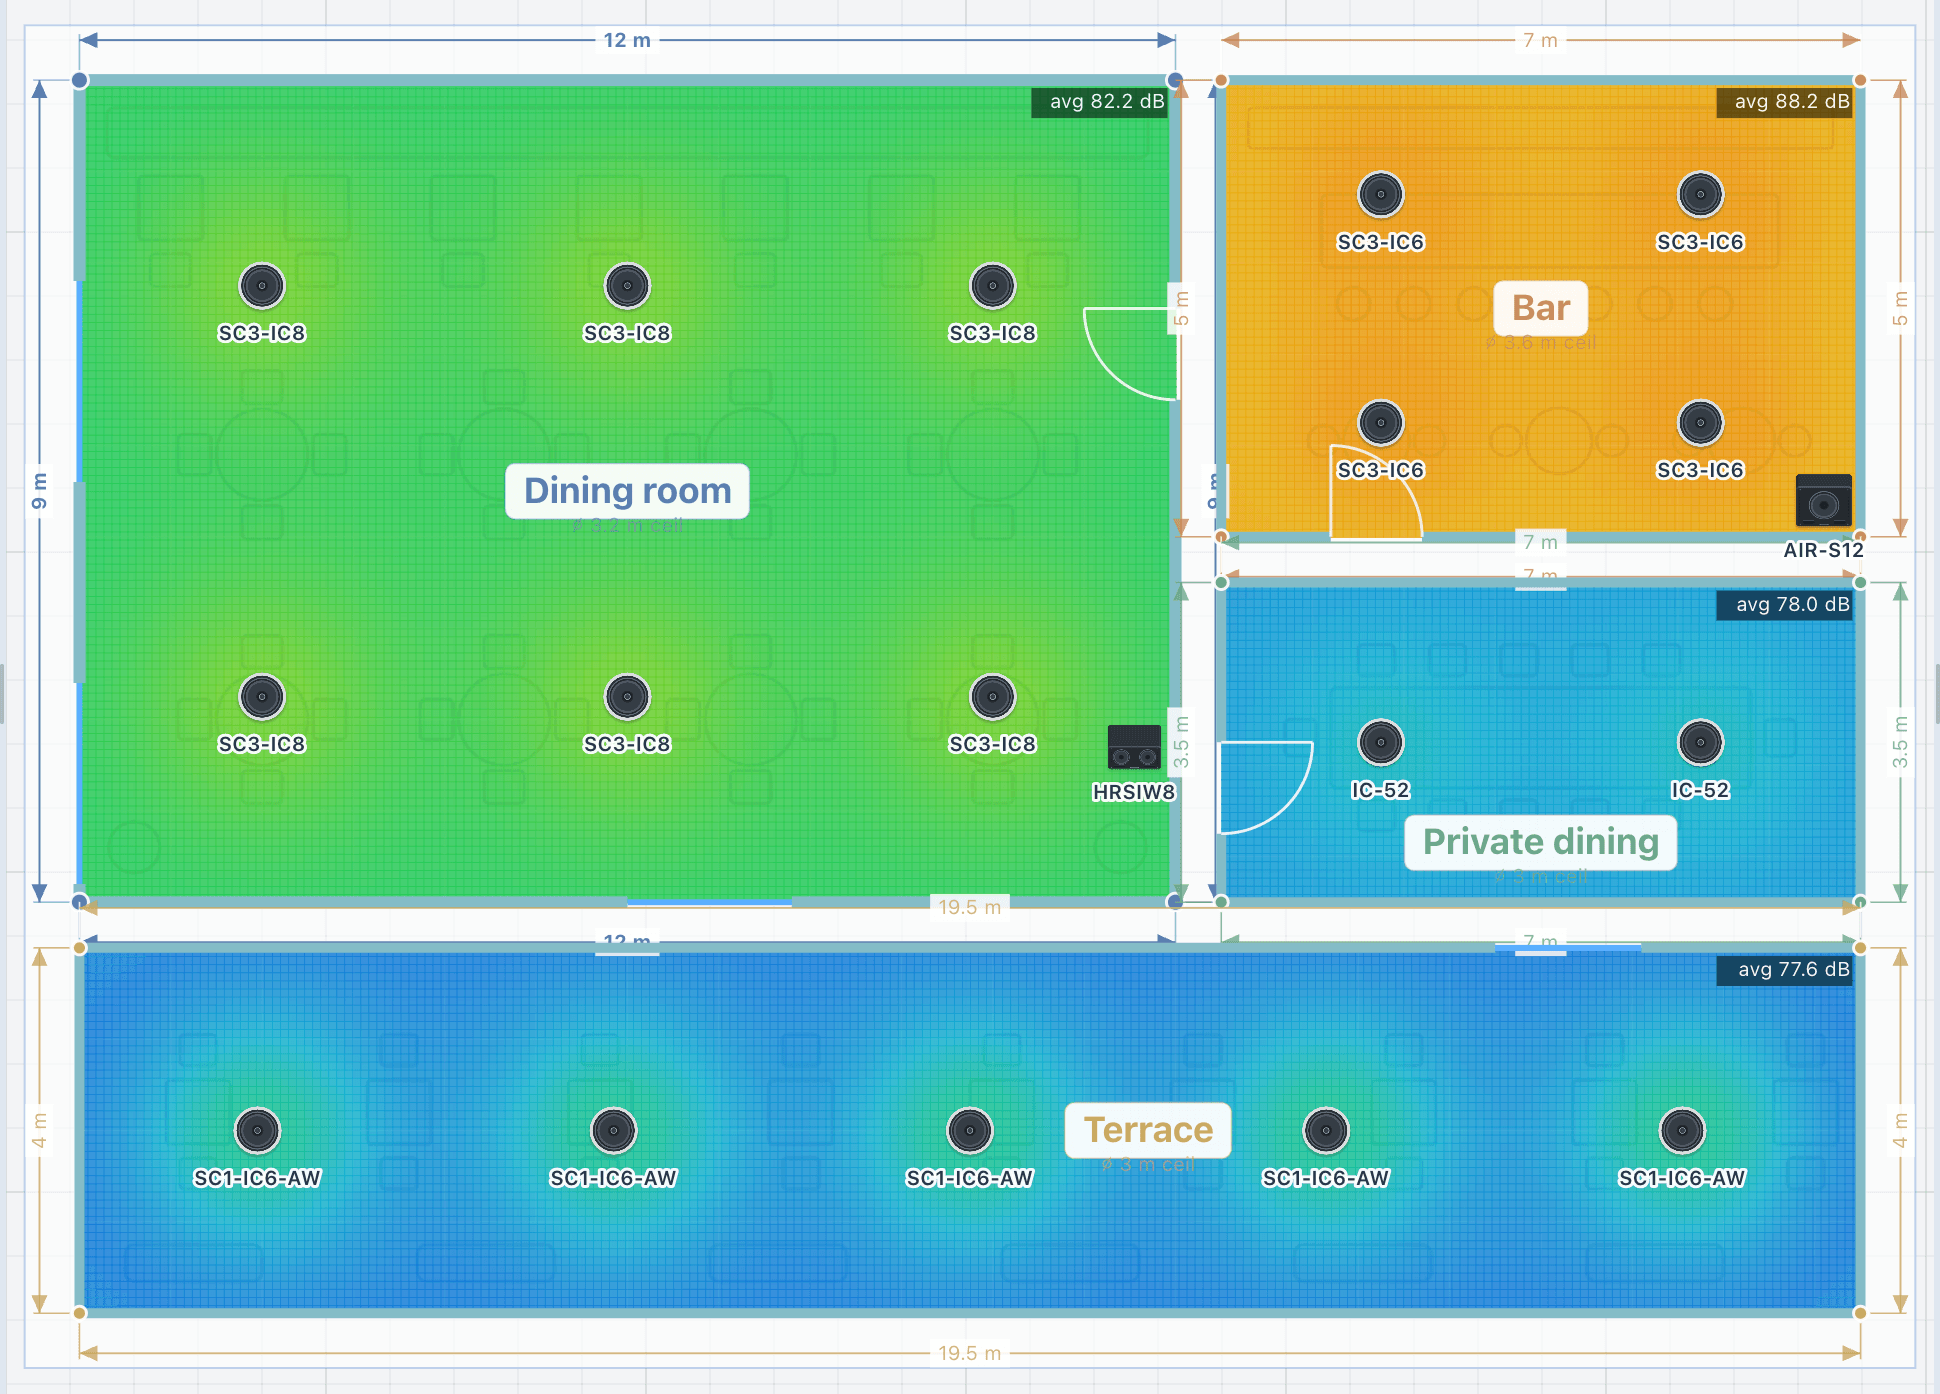
Four views read the same design. Room shows the model alone. Coverage casts each speaker’s cone onto the floor, orange at the centre and green at the edge. Heatmap lays the predicted level on the floor as tiles. Sound wave animates the wavefronts leaving every speaker, slowed so the eye can follow and coloured like the heatmap.
how it works
Open 3D, switch the view, present.
Written from the tool’s reference cards and the 3D steps of its review guide.
Open 3D
Choose 3D above the plan. Use Orbit in the canvas dock and drag the model to inspect wall geometry, materials and mounting heights from several angles.
Switch the view
Move between room, coverage, heatmap and sound wave, and snap the camera to Front, Rear, Side or Top.
Present
Open Present for the client presentation and the walk-in. Changing the viewpoint never moves an installed device.
Lesson 01 · 12:49The workspace, floors and plans
The whole lessonLesson 02 · 11:09Speakers, coverage and the 3D review
The whole lessonclient view
A view you can turn toward the client.
The 3D view is a model, not an editor. The editing handles are hidden, so the screen can be turned to a client as it is: a click in 3D only selects, and nothing you placed moves unless you drag it. Turn on Layers, 3D edit handles when you do want to drag a corner in 3D.
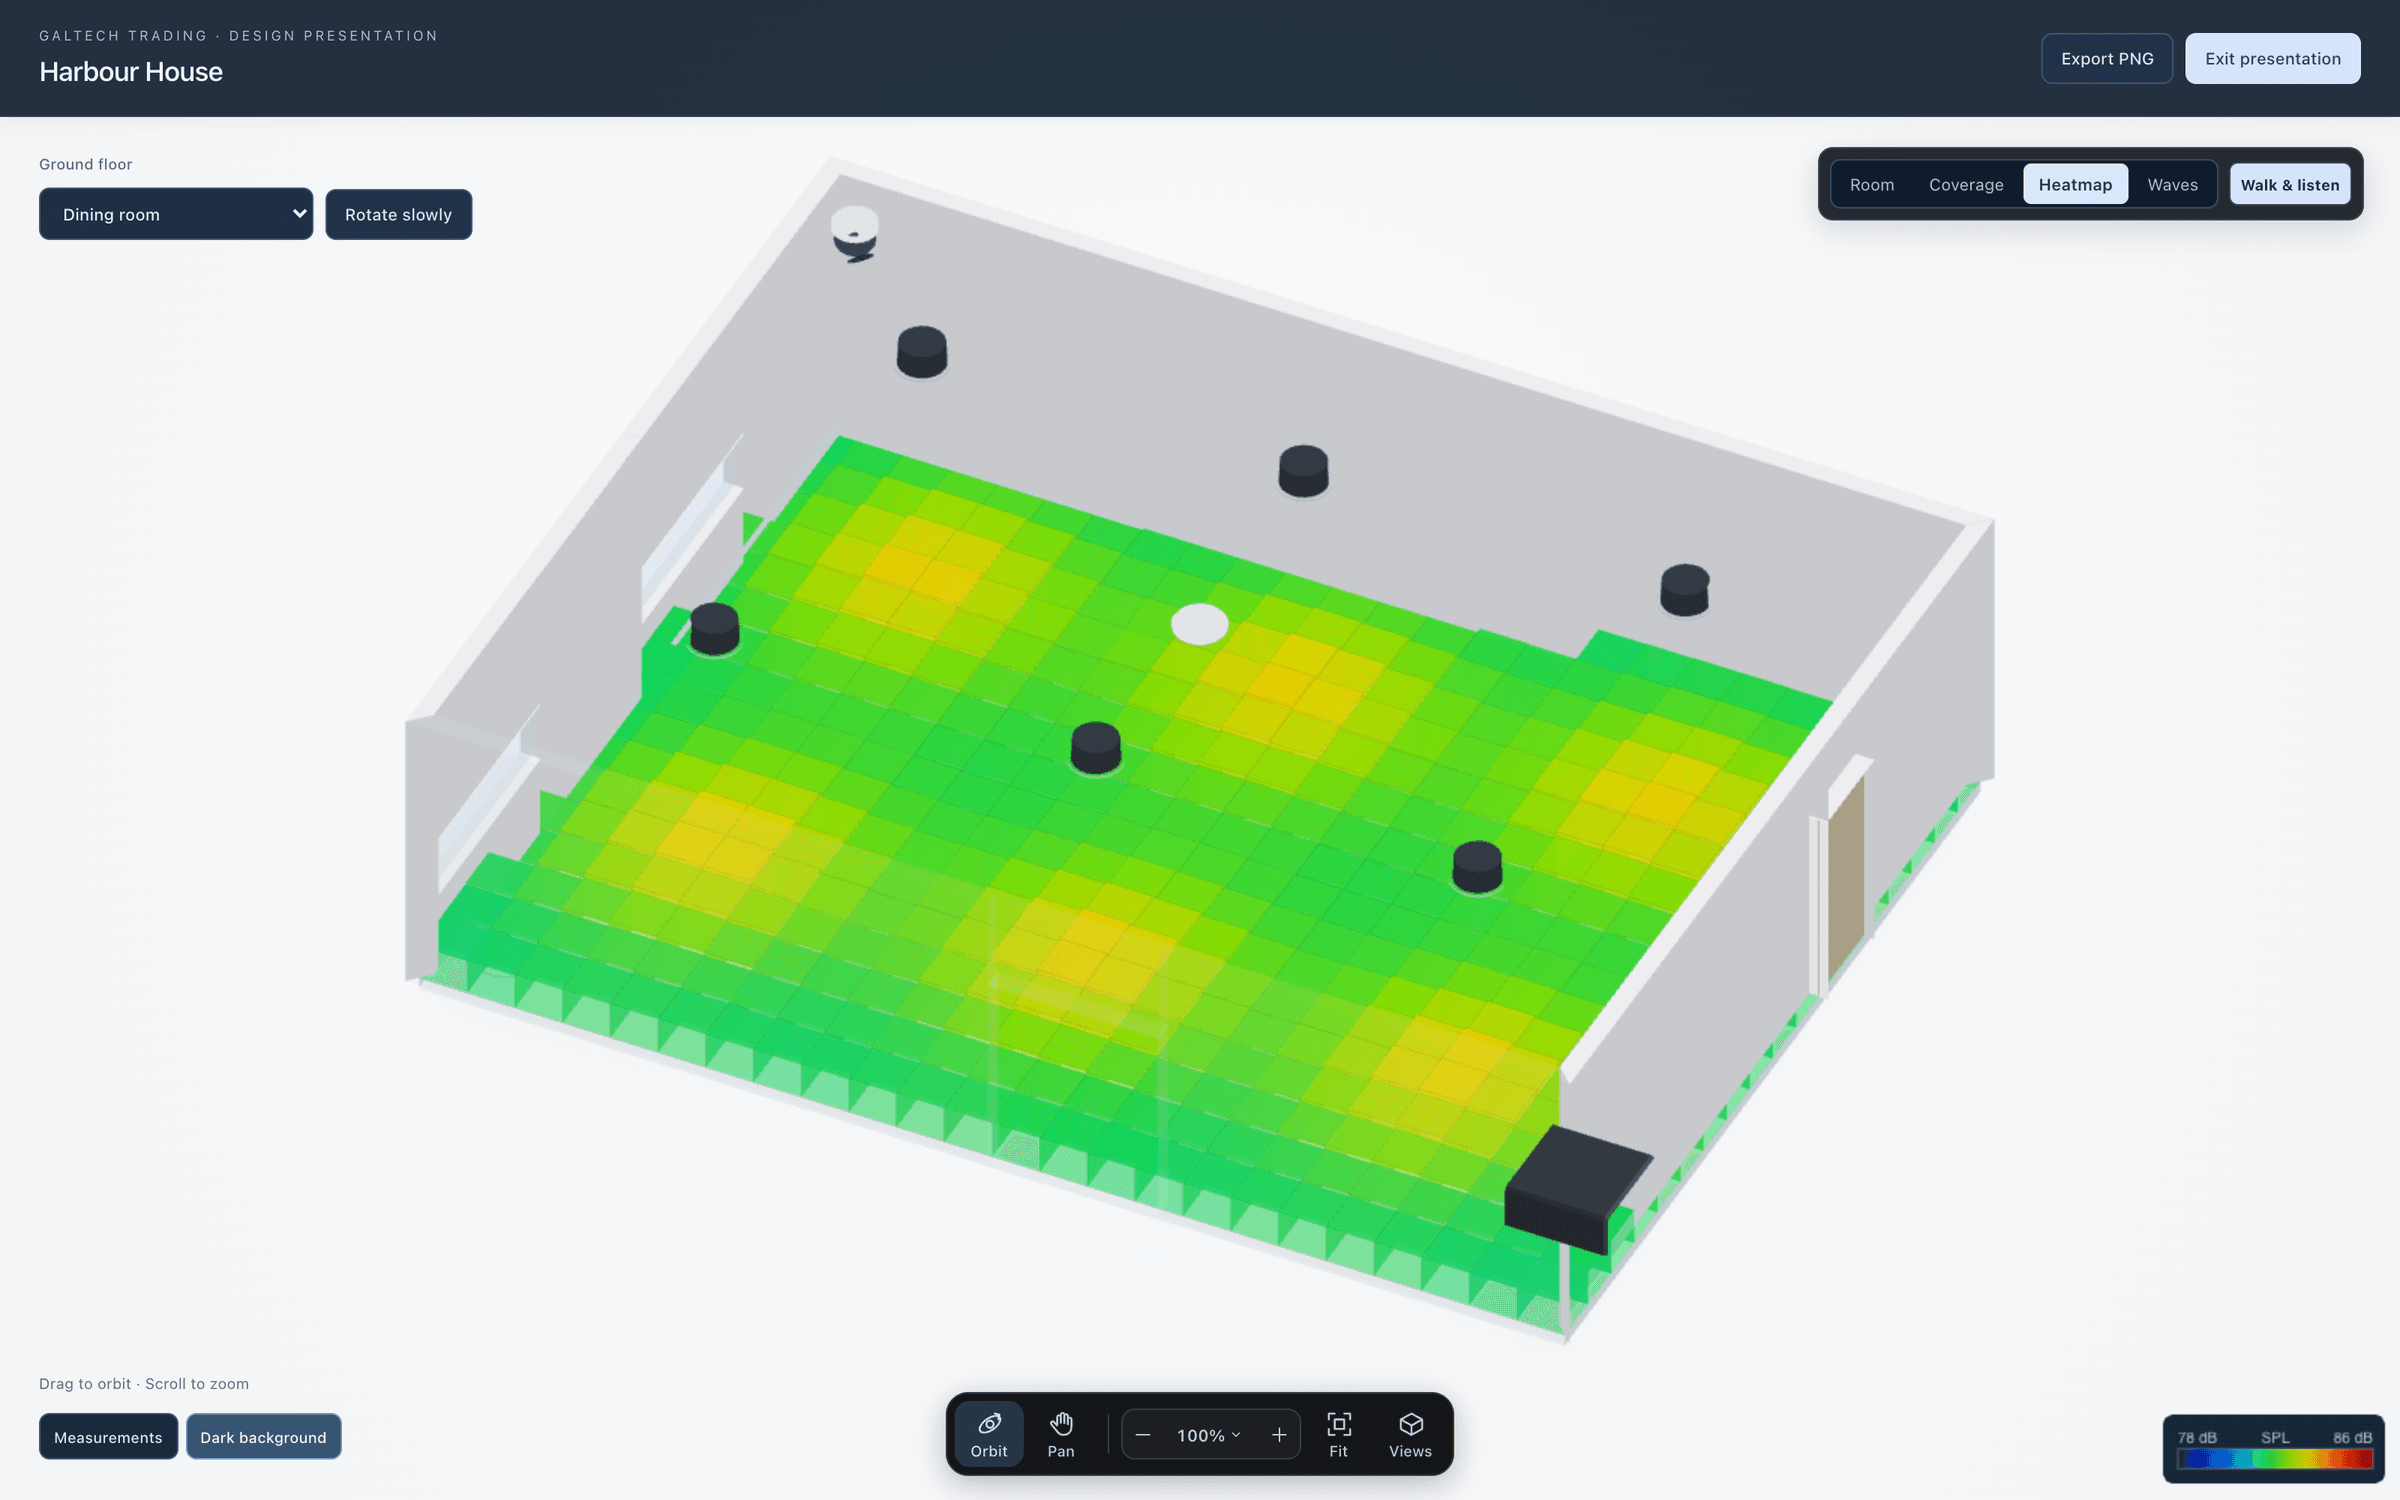
Front, Rear, Side and Top snap the camera, and the nearest wall turns see-through as you orbit, so the room stays readable from any angle. Present opens the client presentation, where you can rotate slowly, switch to a dark background and export a PNG for the deck.
the whole floor
One floor at a time, every area at once.
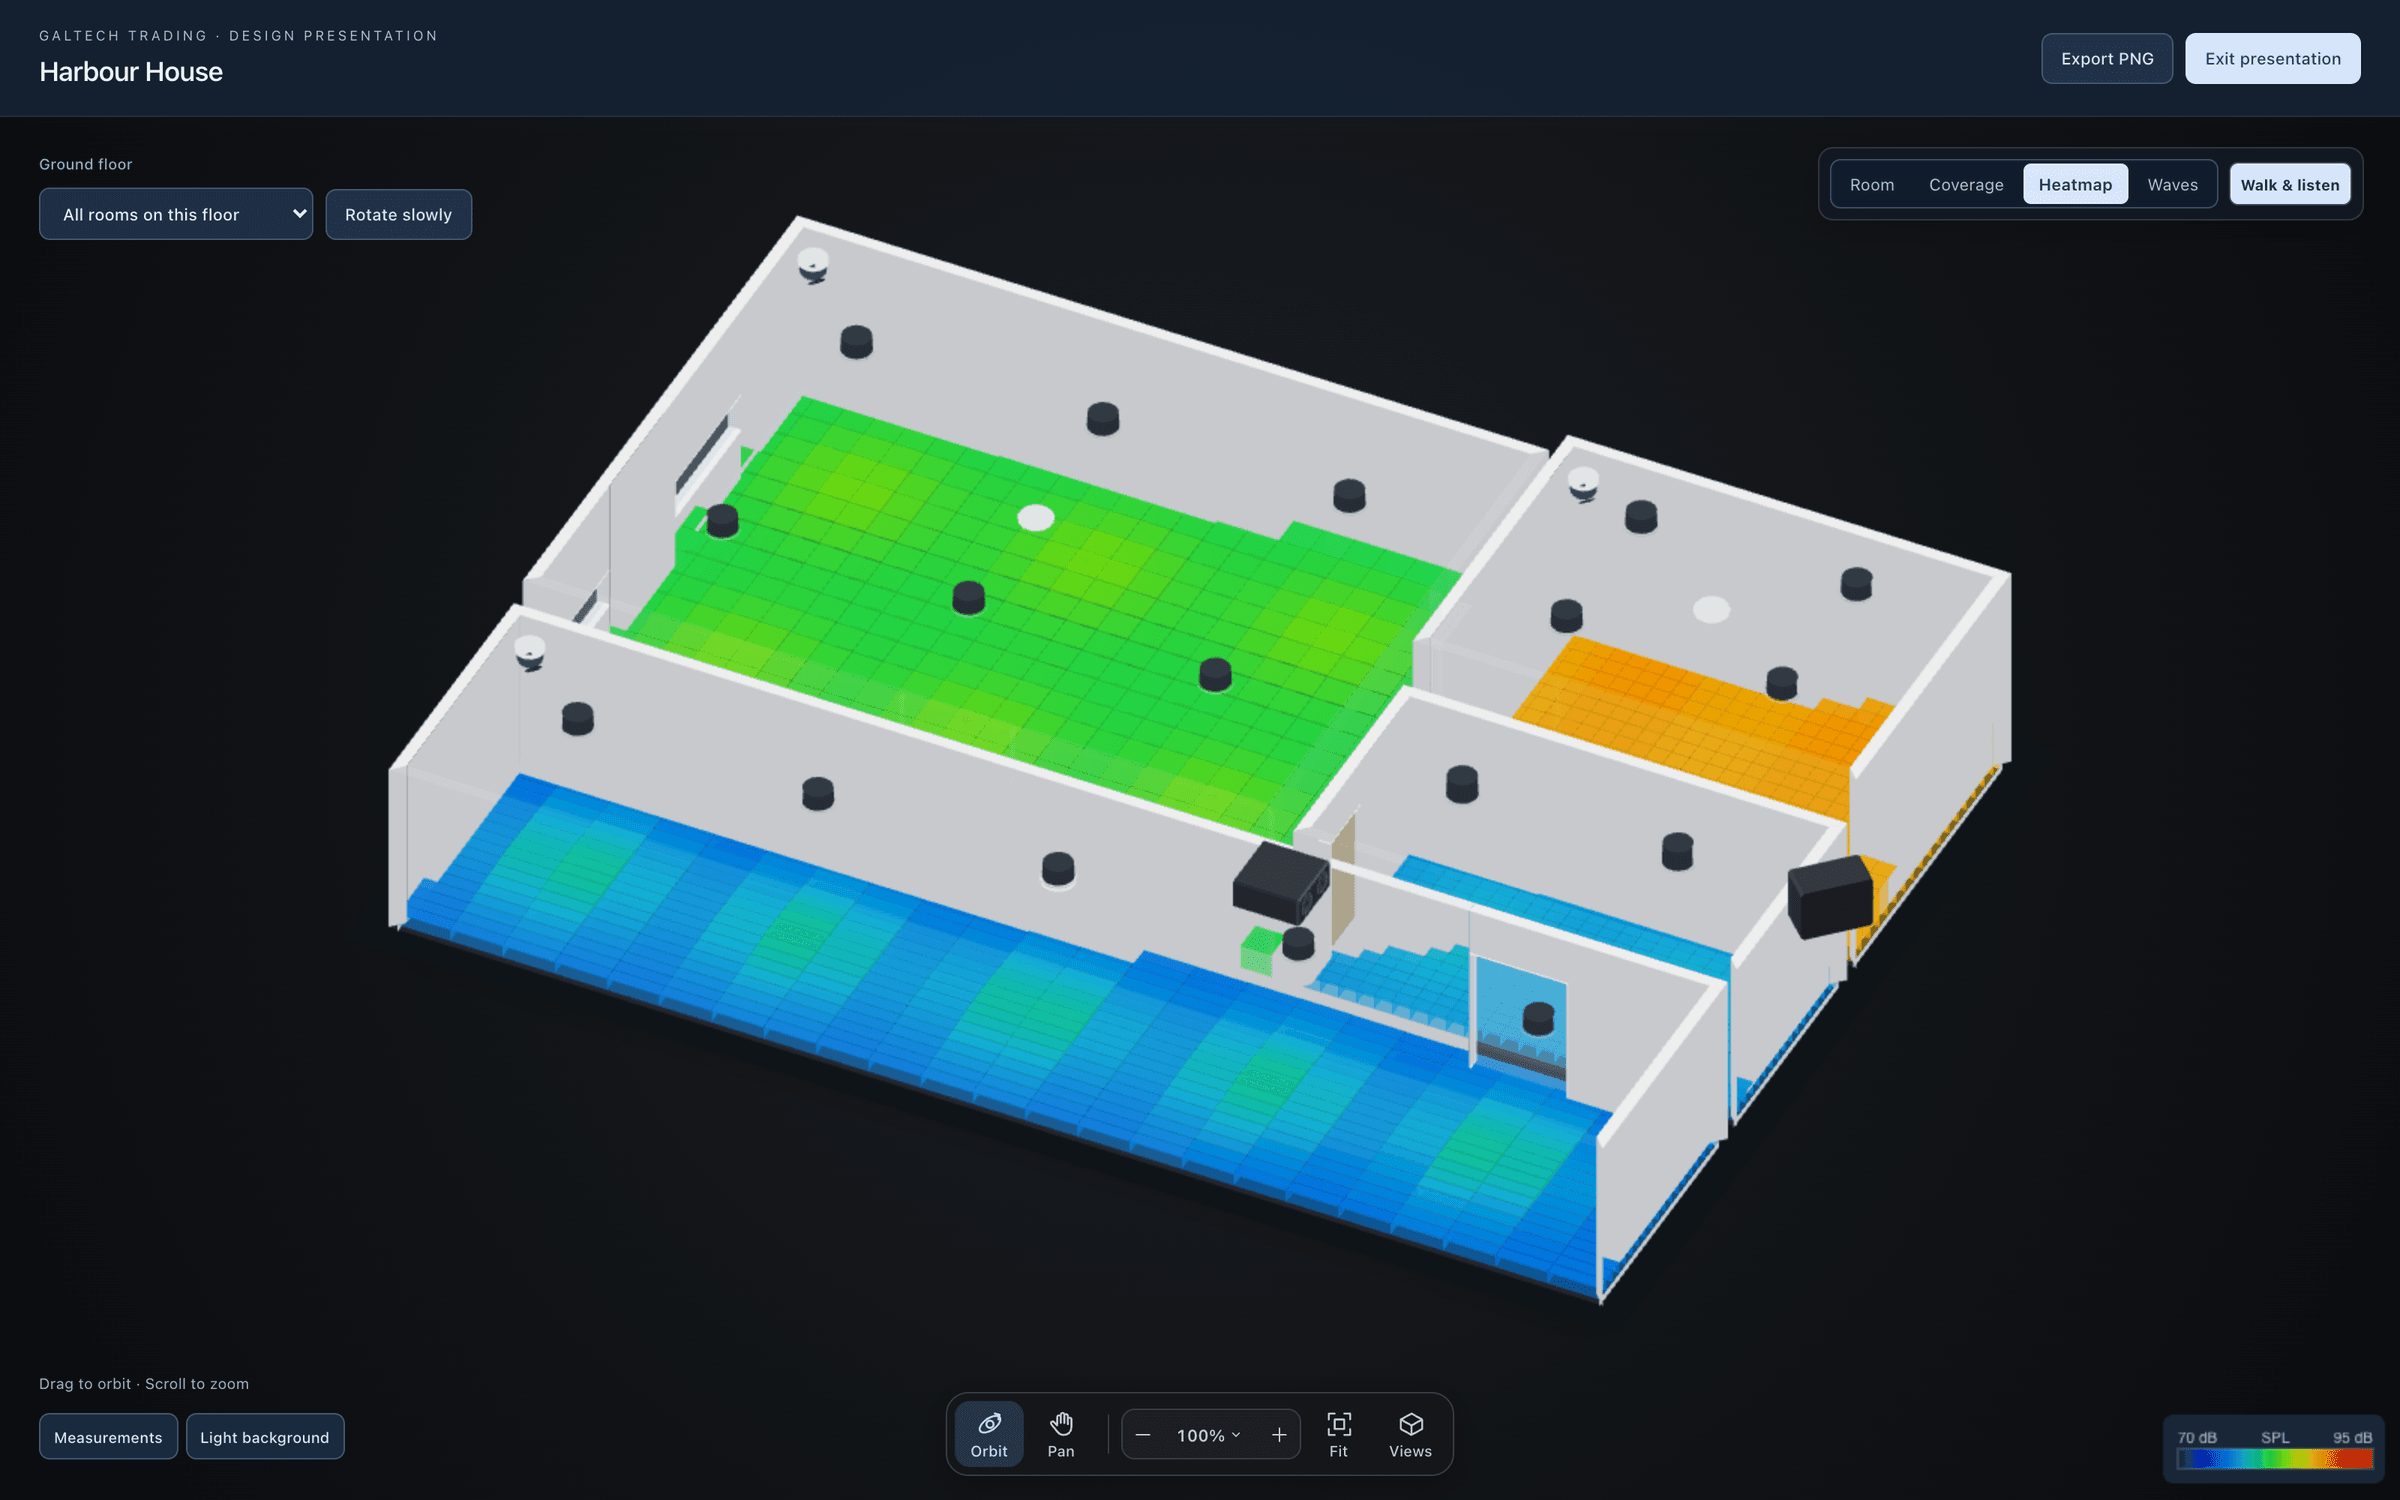
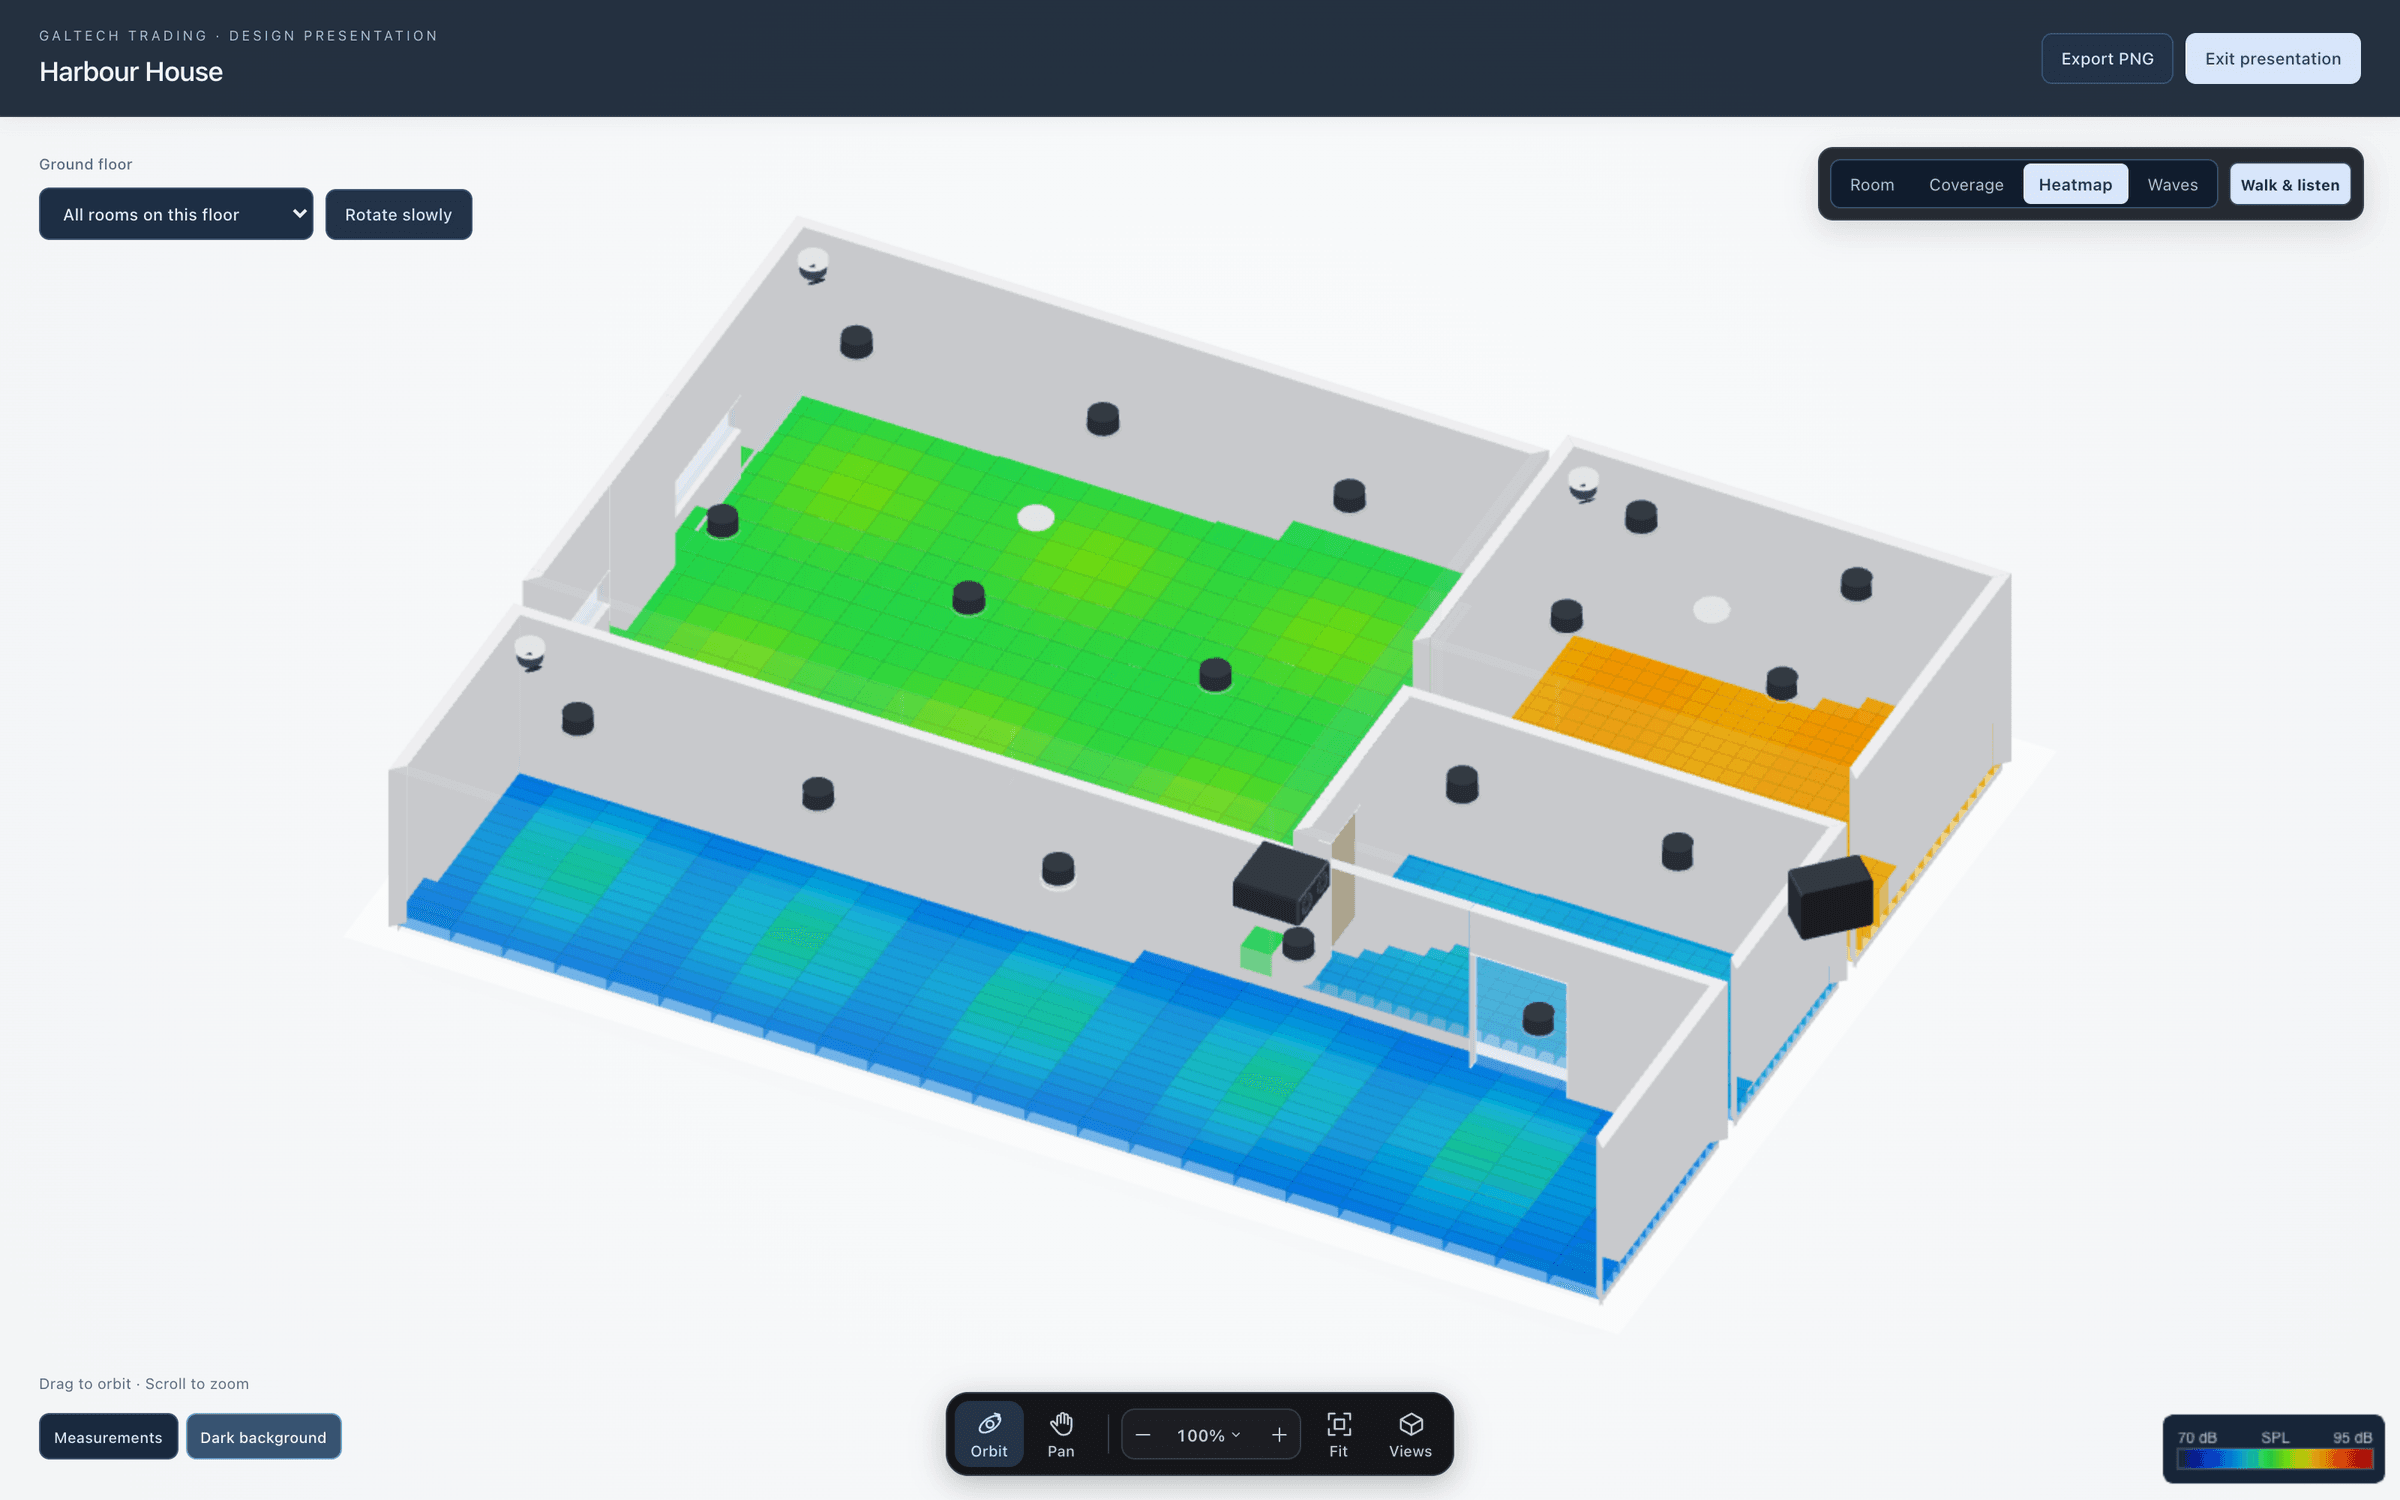
On the whole floor, each area carries its own heatmap and SPL range, so the loud bar and the quiet private dining room read side by side. A project can hold several floors; 3D shows the one you have selected.
Access points and cameras stand in the model too. In the CCTV module, 3D is the quickest way to check mounting heights and the blind spot under each camera.
The report’s 3D view for each area is the same model, framed on that area, with a QR code under it that opens the area’s 3D tour on a phone.
in figures
The model, in figures.
- views: room, coverage, heatmap and sound wave
- 4
- camera presets: Front, Rear, Side and Top
- 4
- device types as real 3D models
- 3
- floor at a time, the one you select
- 1
| Walls | Real thickness and material, the nearest one see-through as you orbit |
|---|---|
| Openings | Doors, glass doors, open sides and open sky |
| Devices | Real models of speakers, access points and cameras |
| Overlays | Coverage cones, heatmap tiles and the sound wave |
| Camera | Orbit, and Front, Rear, Side and Top |
| Floors | The selected floor |
questions
Questions, answered plainly.
Can I see the whole building stacked in 3D?
No. 3D shows the floor you have selected. A project can hold several floors, and you switch between them in the Project explorer.
Can the 3D view change my design by accident?
No. With the edit handles hidden, a click in 3D only selects, and a speaker moves only when you drag it, by exactly as far as you drag it.
Ready when the client is.
Draw it, check it, show it, price it and hand it over, from one project.
15-day trial for approved companies. No card, nothing to cancel.