On this page
A design tool earns its place when one project can carry a job from the architect’s drawing to the installer’s pack without anything being typed twice. This is the flow we would follow in Lyra on a typical job, in order, with what to check at each step and what the tool leaves to you.
1. Start from the drawing, or a template
Import the architect’s plan as a PDF, an image, a DXF or a DWG. For a PDF with several pages, choose the page that holds the floor you need. A DWG is converted in the browser, and a very large CAD file streams in, keeping only its wall and room-label layers. If a sheet holds several drawings side by side, the tool shows each one and you pick the floor plan.
No drawing yet? The four project templates, Villa, Restaurant, Retail and Office, start a project with areas, speakers laid out by the advisor, and Wi-Fi and CCTV already calculated.
2. Set the scale, then check it
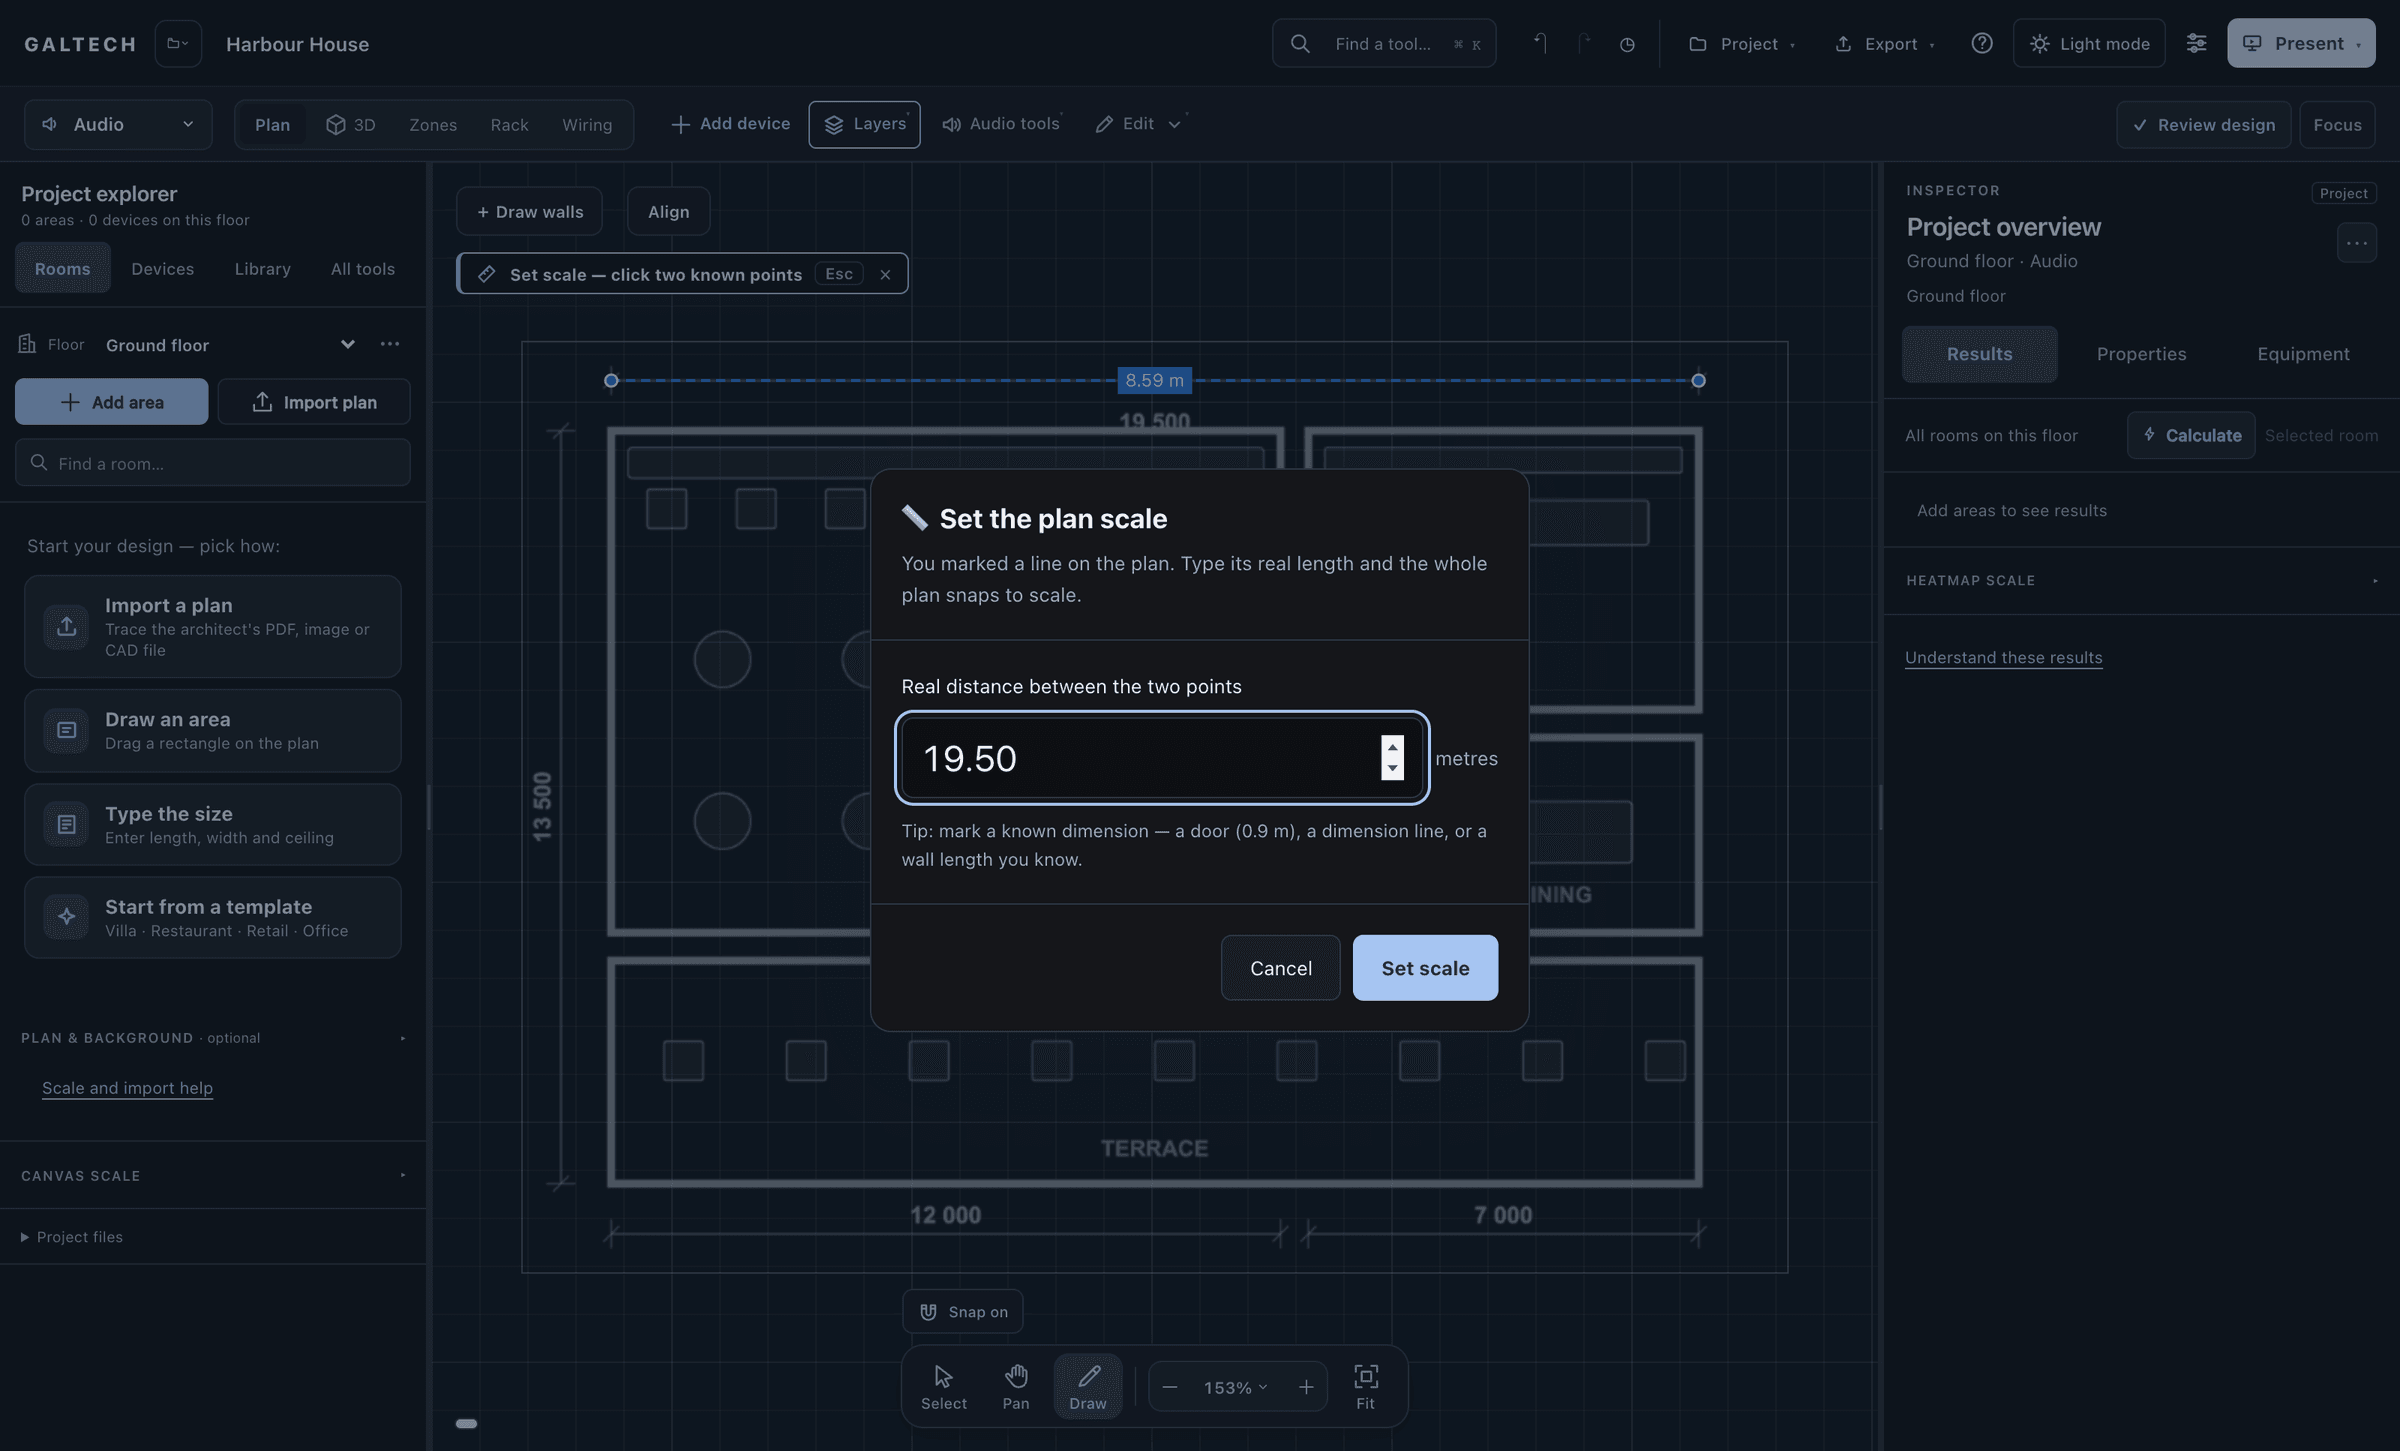
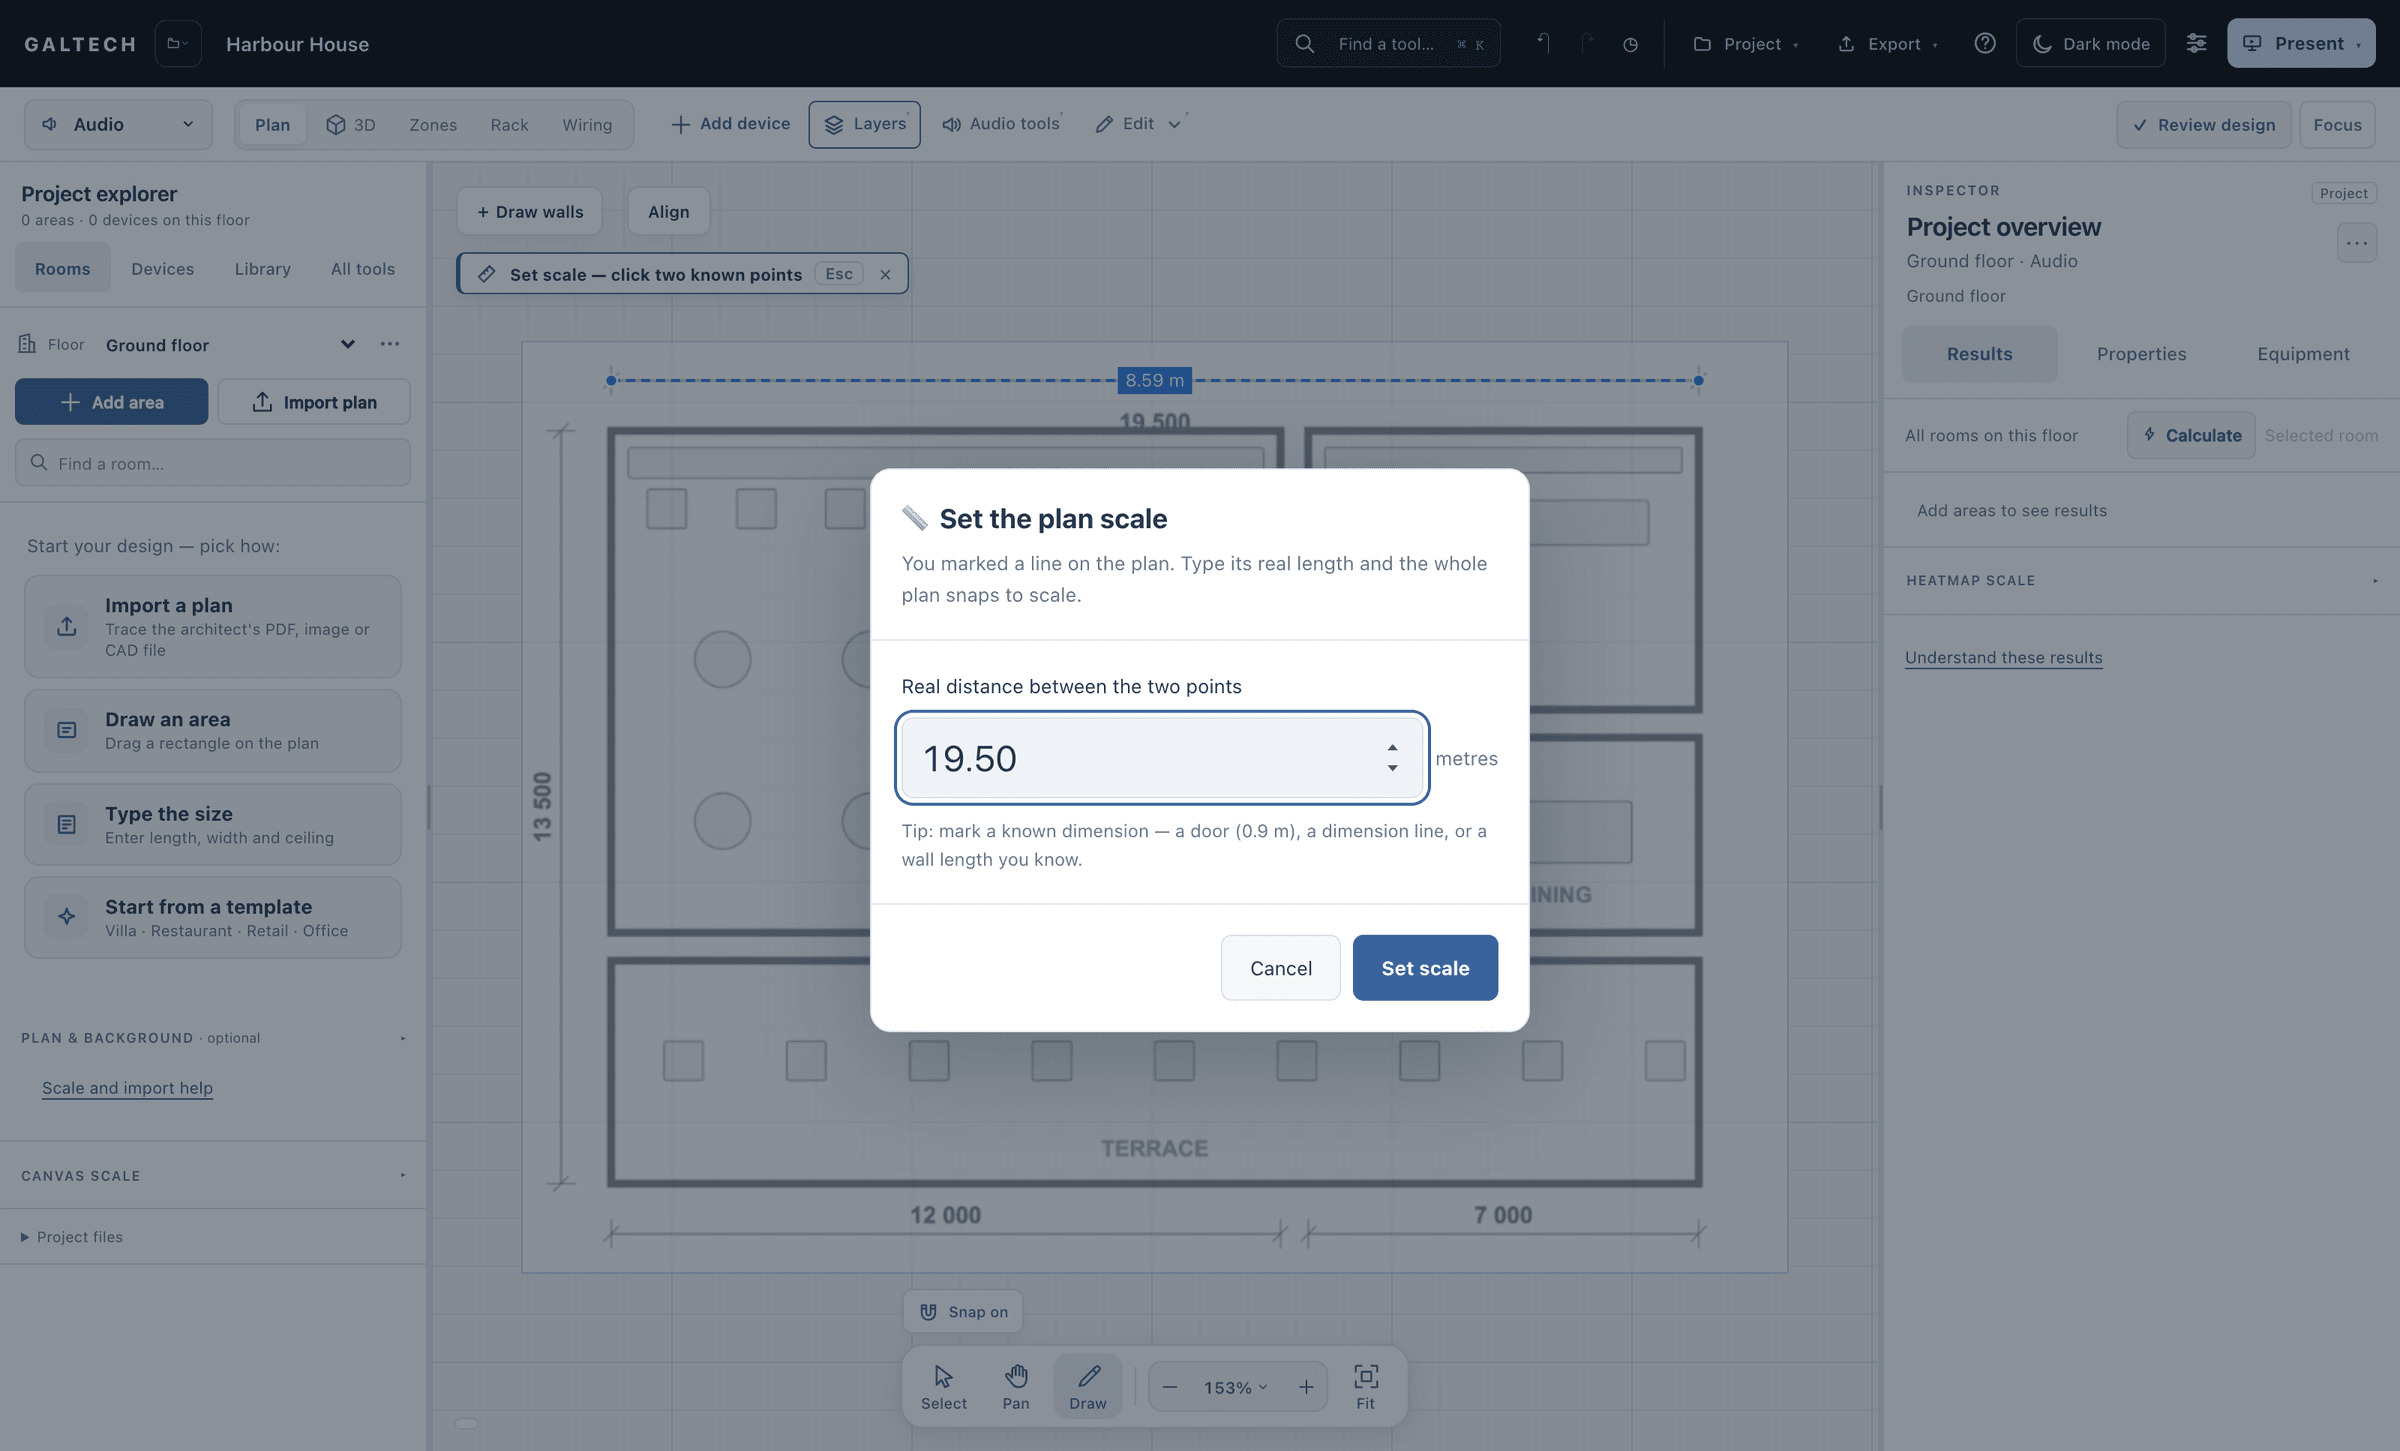
A PDF or an image carries no real-world size. Open Set scale, click both ends of a dimension you can read on the drawing and type its length in metres. Then check a second dimension before you trace anything, because coverage, cable lengths and every schedule depend on this one number. A DXF already carries its own scale.
3. Draw the areas and their walls
Trace each room with Draw walls and turn the outline into an area, or let Detect all rooms find every enclosed room on a clean drawing. Each area needs its ceiling height and the listening height of the people in it. A venue preset fills in a target level, a reverberation time and a noise floor, all of which you can change.
Click any wall to set its length, bend it or give it a material: glass, brick, wood, concrete or drywall. The Wi-Fi model and the acoustics both use the material, so this step pays twice. A building gets one floor per level, each with its own plan.
4. Place devices against a target
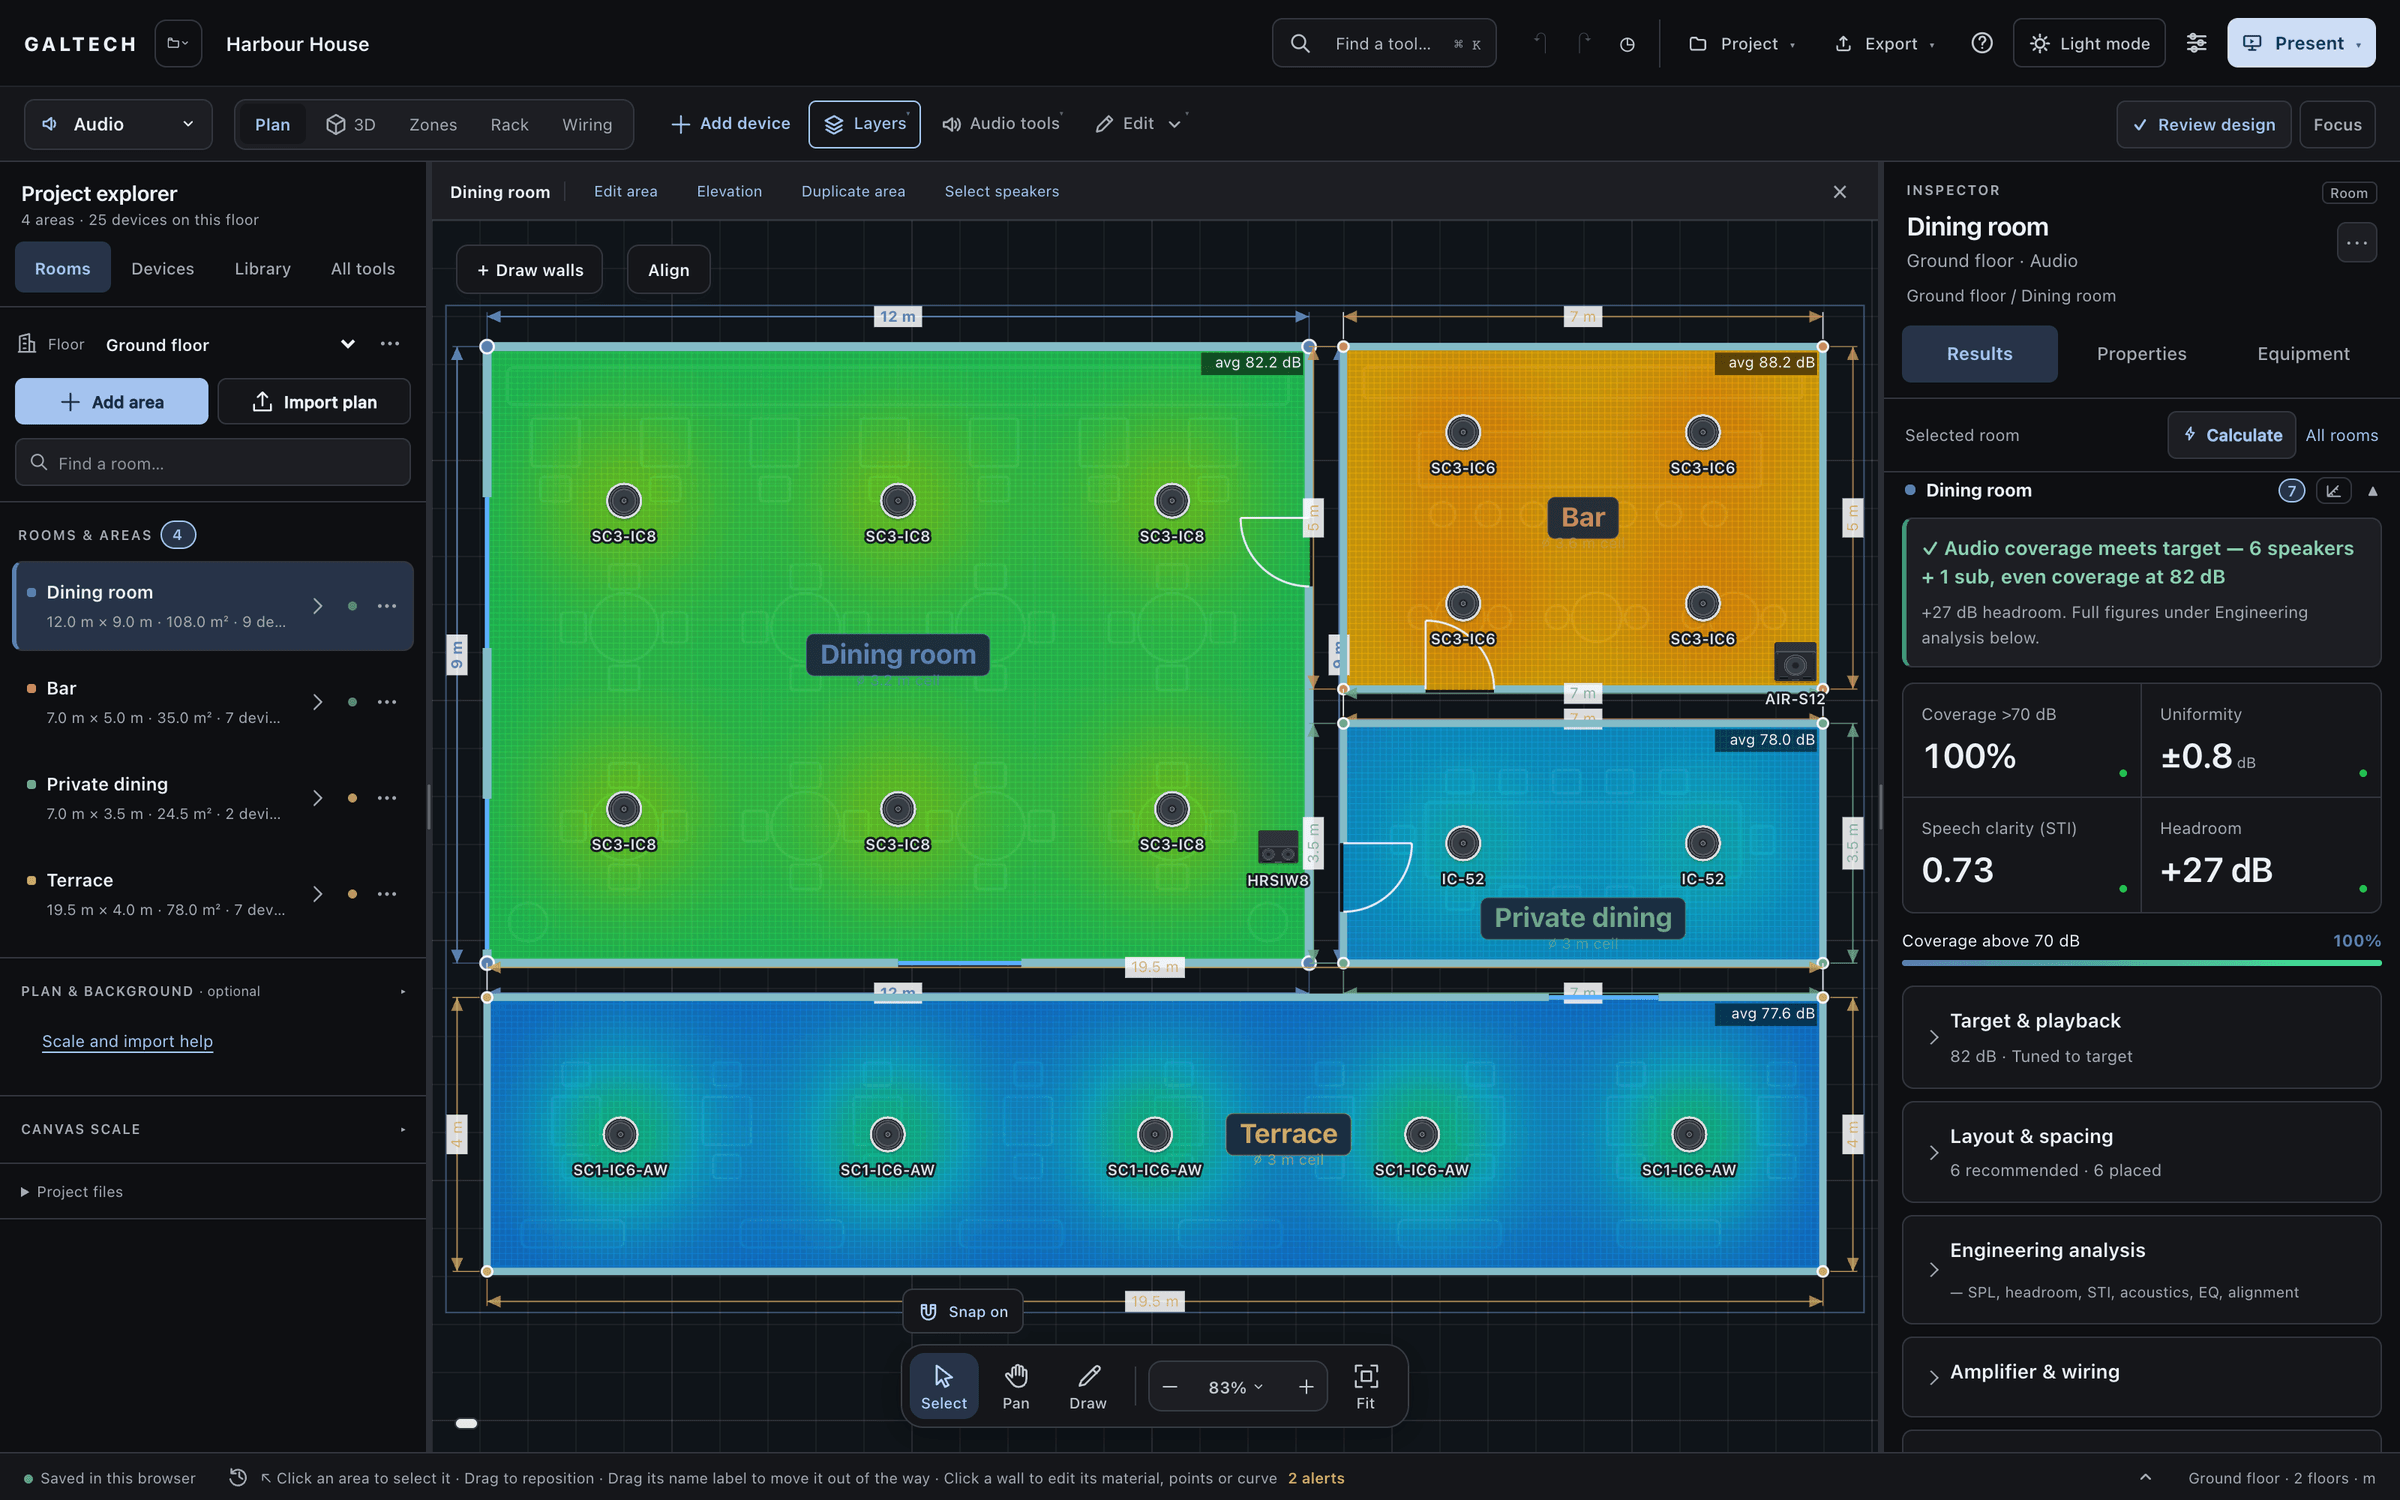
Set each area’s target level before placing anything. The Coverage Advisor then suggests how many speakers the area needs for the model you have chosen and shows the grid, and Apply layout places it. Drop standing or seated people where the sound matters most, such as the bar, a stage or a group of tables, and the levels, the aiming and the time alignment are tuned to them.
5. Read the numbers, not just the colours
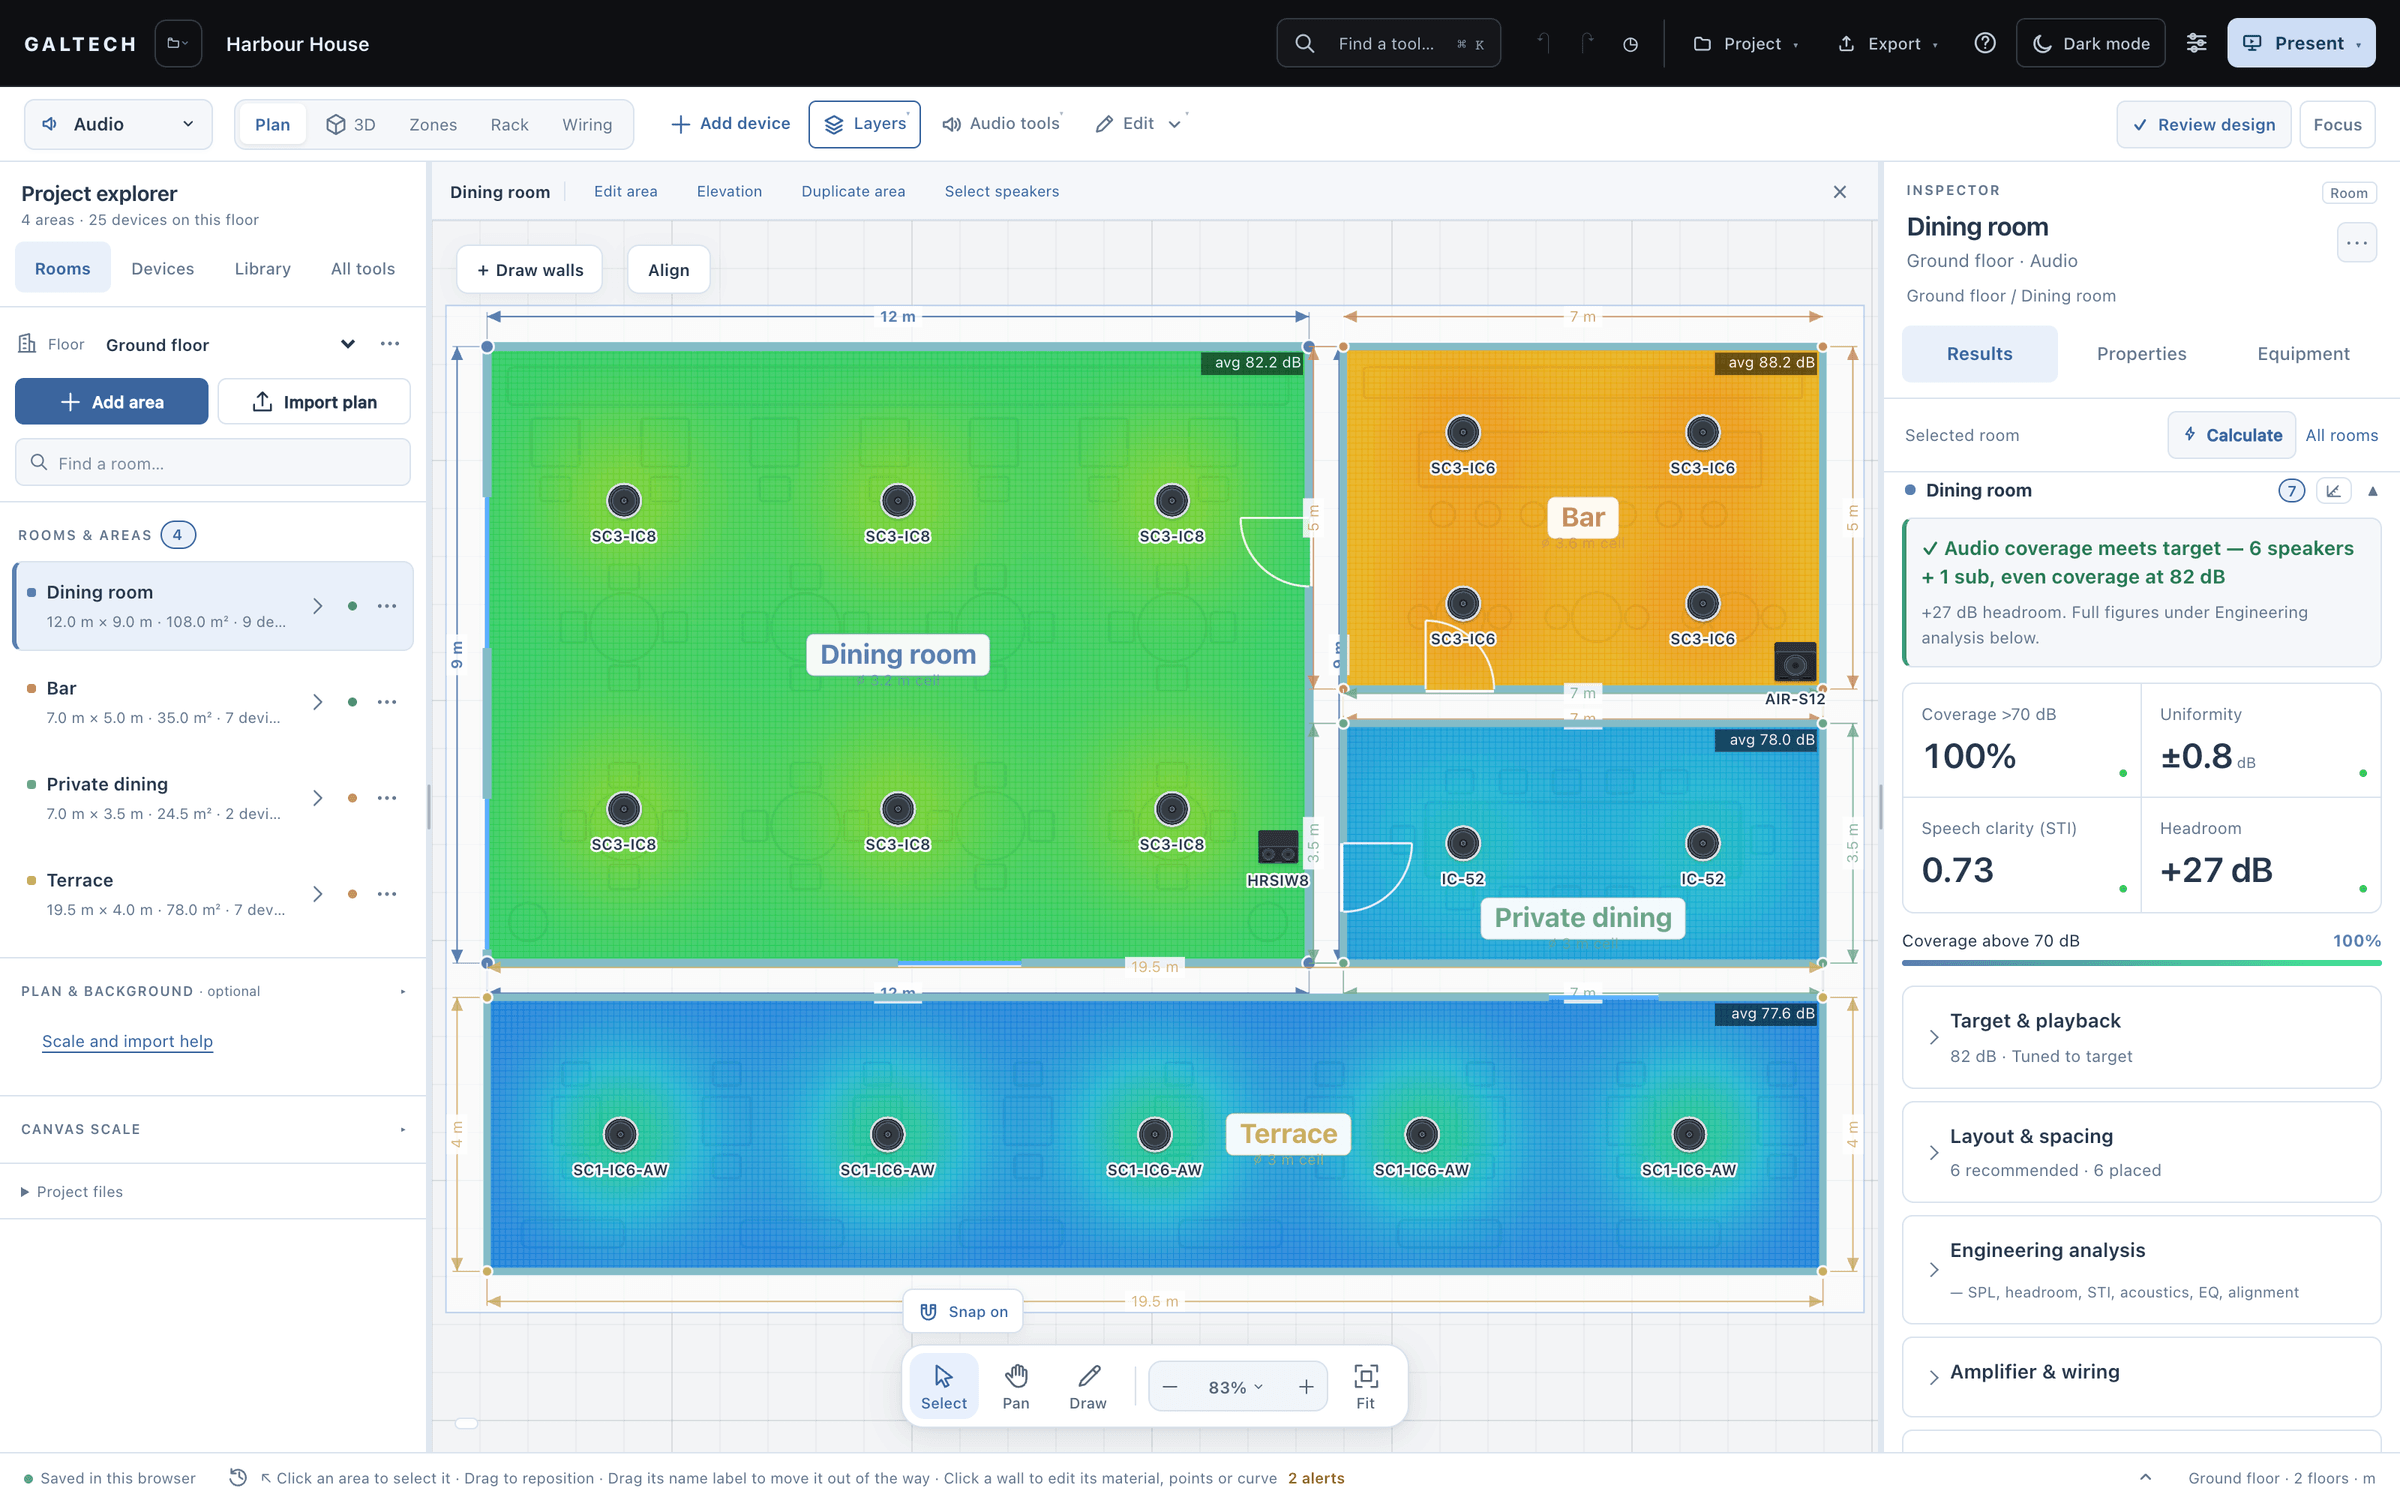
Check each area’s results: coverage, uniformity, speech intelligibility (STI) against 0.60, the continuous level and the headroom against the target, and the standards check that grades them. Look at the vertical aim of the wall speakers, then open the 3D view and walk the room at ear height.
6. The other disciplines, on the same plan
The areas and the plan are shared, so switching discipline changes the tools, not the drawing:
- Network: place access points and read the signal per band through the walls you gave materials.
- CCTV: place cameras, read the DORI grades and size the recorder for the retention.
- Video: choose a display for each area; auto-design picks an HDBaseT matrix or AV over IP.
- Control: count the touch panels, door stations and cameras per area, and let the tool size an ELAN system for them.
7. Zones, amplifiers and the rack
Every area becomes a zone. Assign amplifier channels, single or parallel, at low impedance or on a 70/100 V line, or let auto-assign start you off. Then open the Rack Designer and fill it from the project: patch panels and switches at the top, amplifiers at the bottom, and PDUs sized to the mains-powered equipment. Check the front and the rear, the power draw, the heat and the weight.
8. Wiring the installer can follow
Build the wiring from the project. The system diagram shows the rack and the rooms as containers; the schematic shows every port, with cable IDs and a cable schedule; room sheets print one page per area. The wiring also exports as a DXF with cable layers and a legend.
9. Review the design
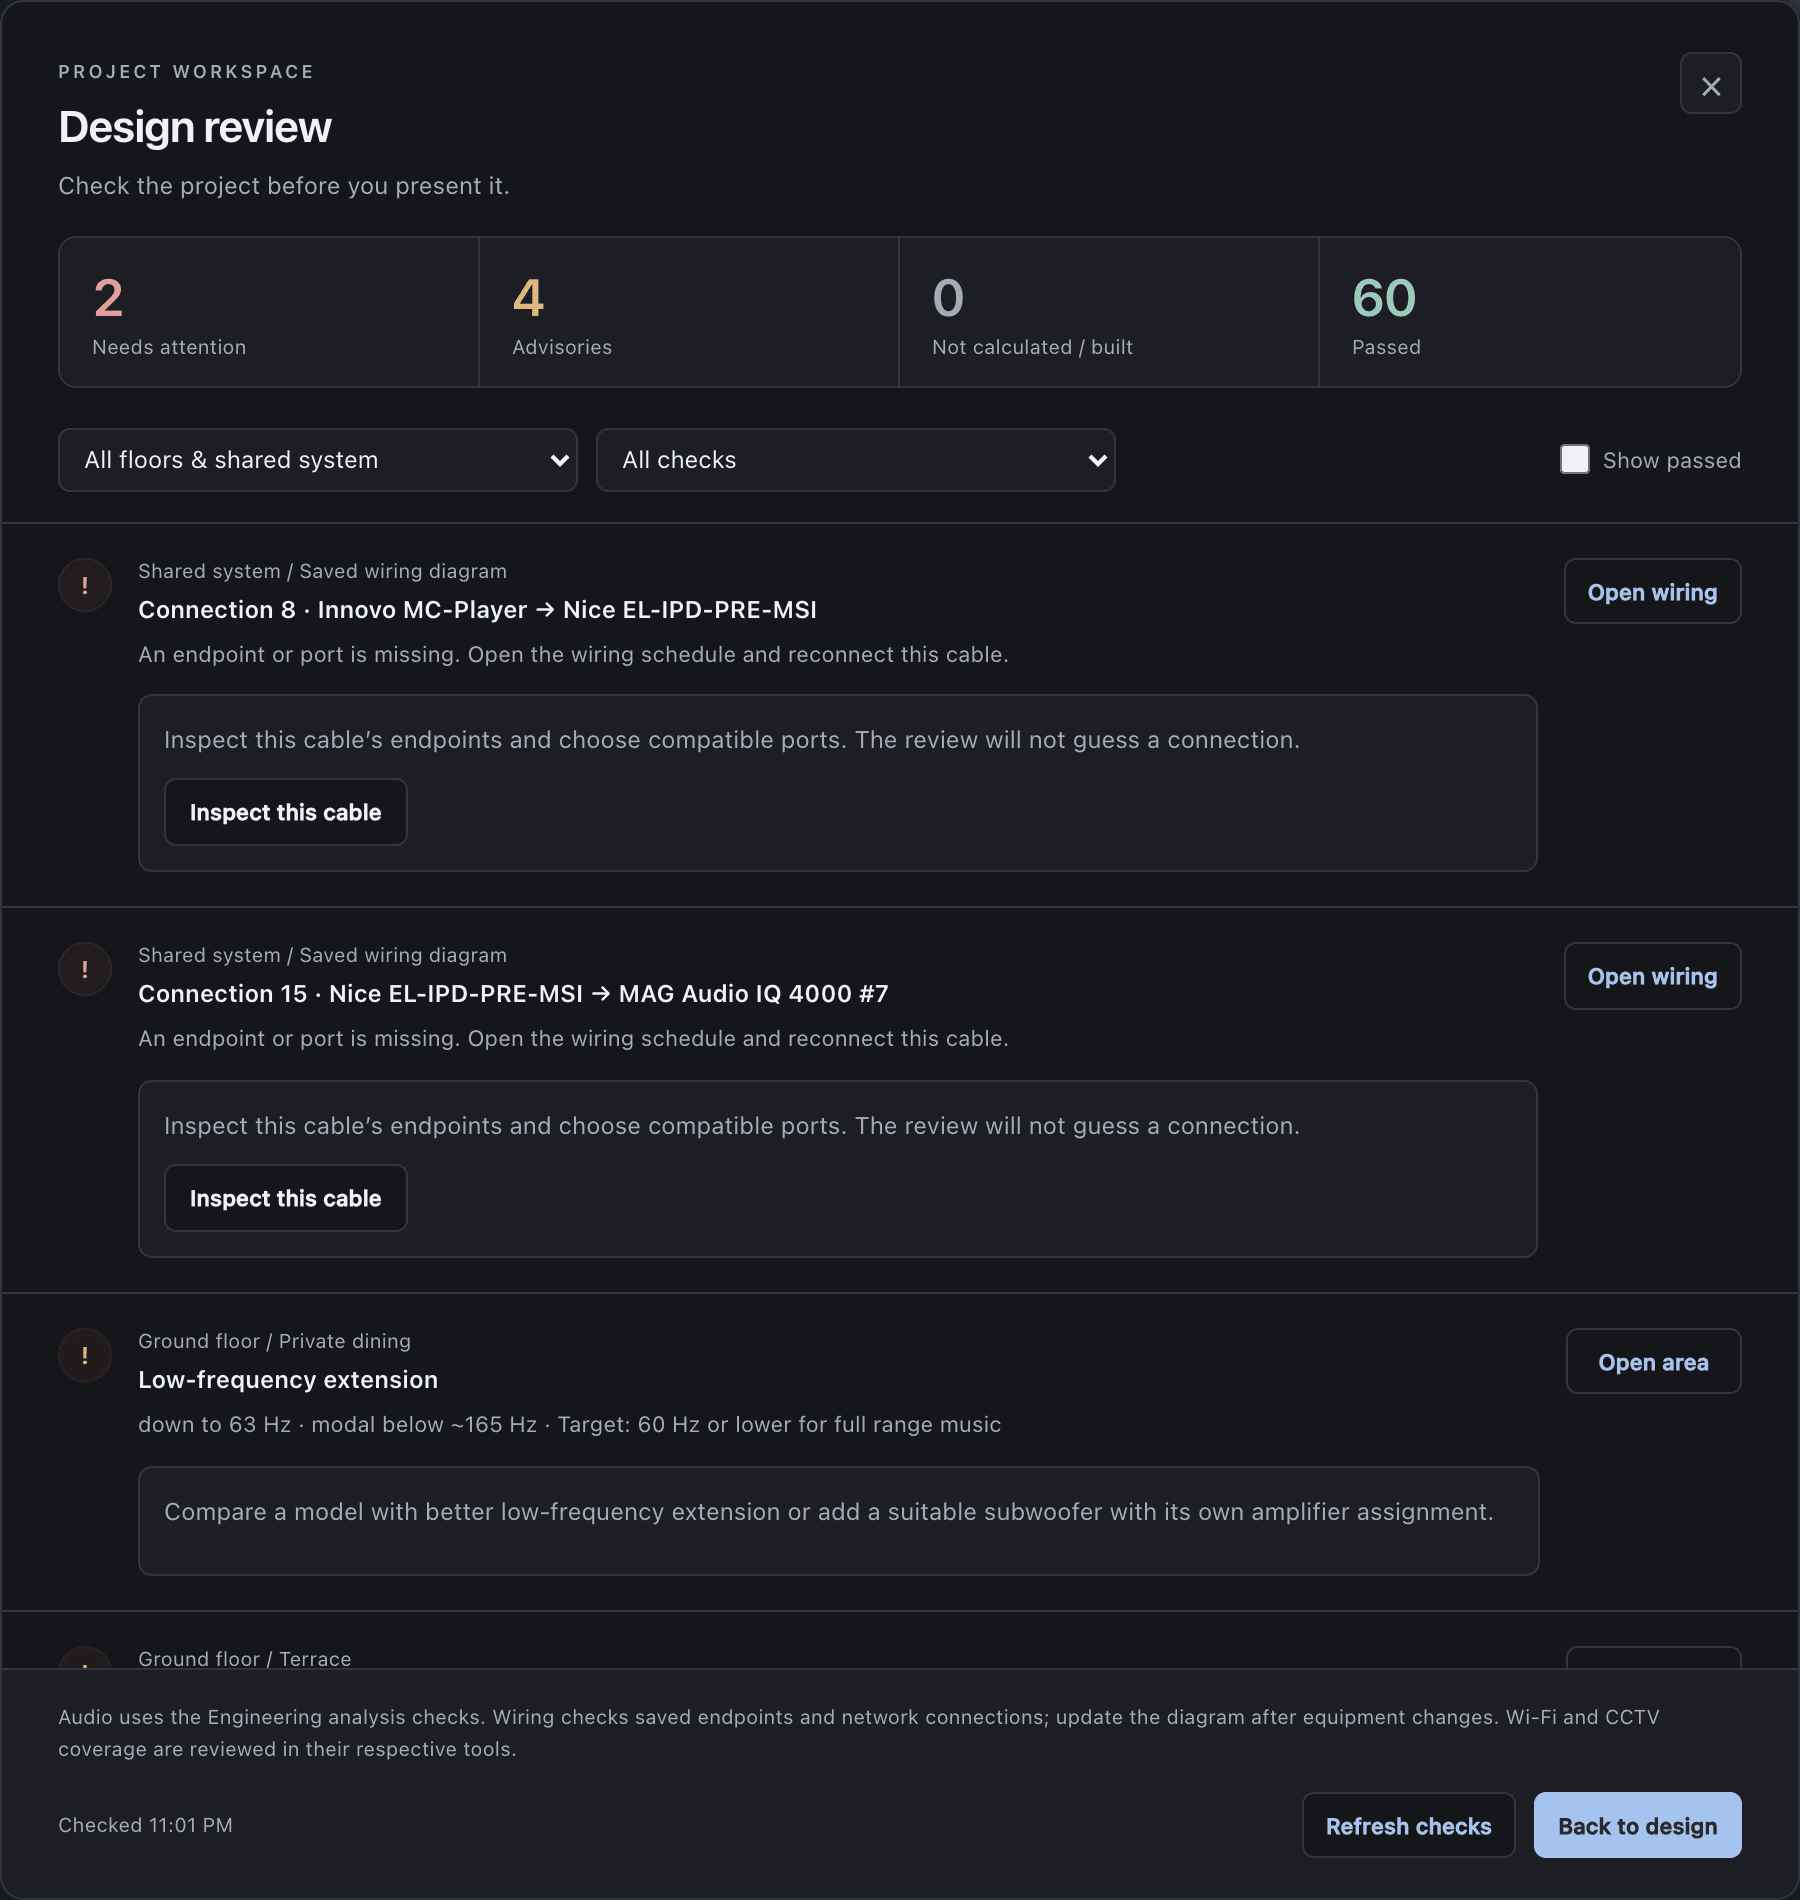
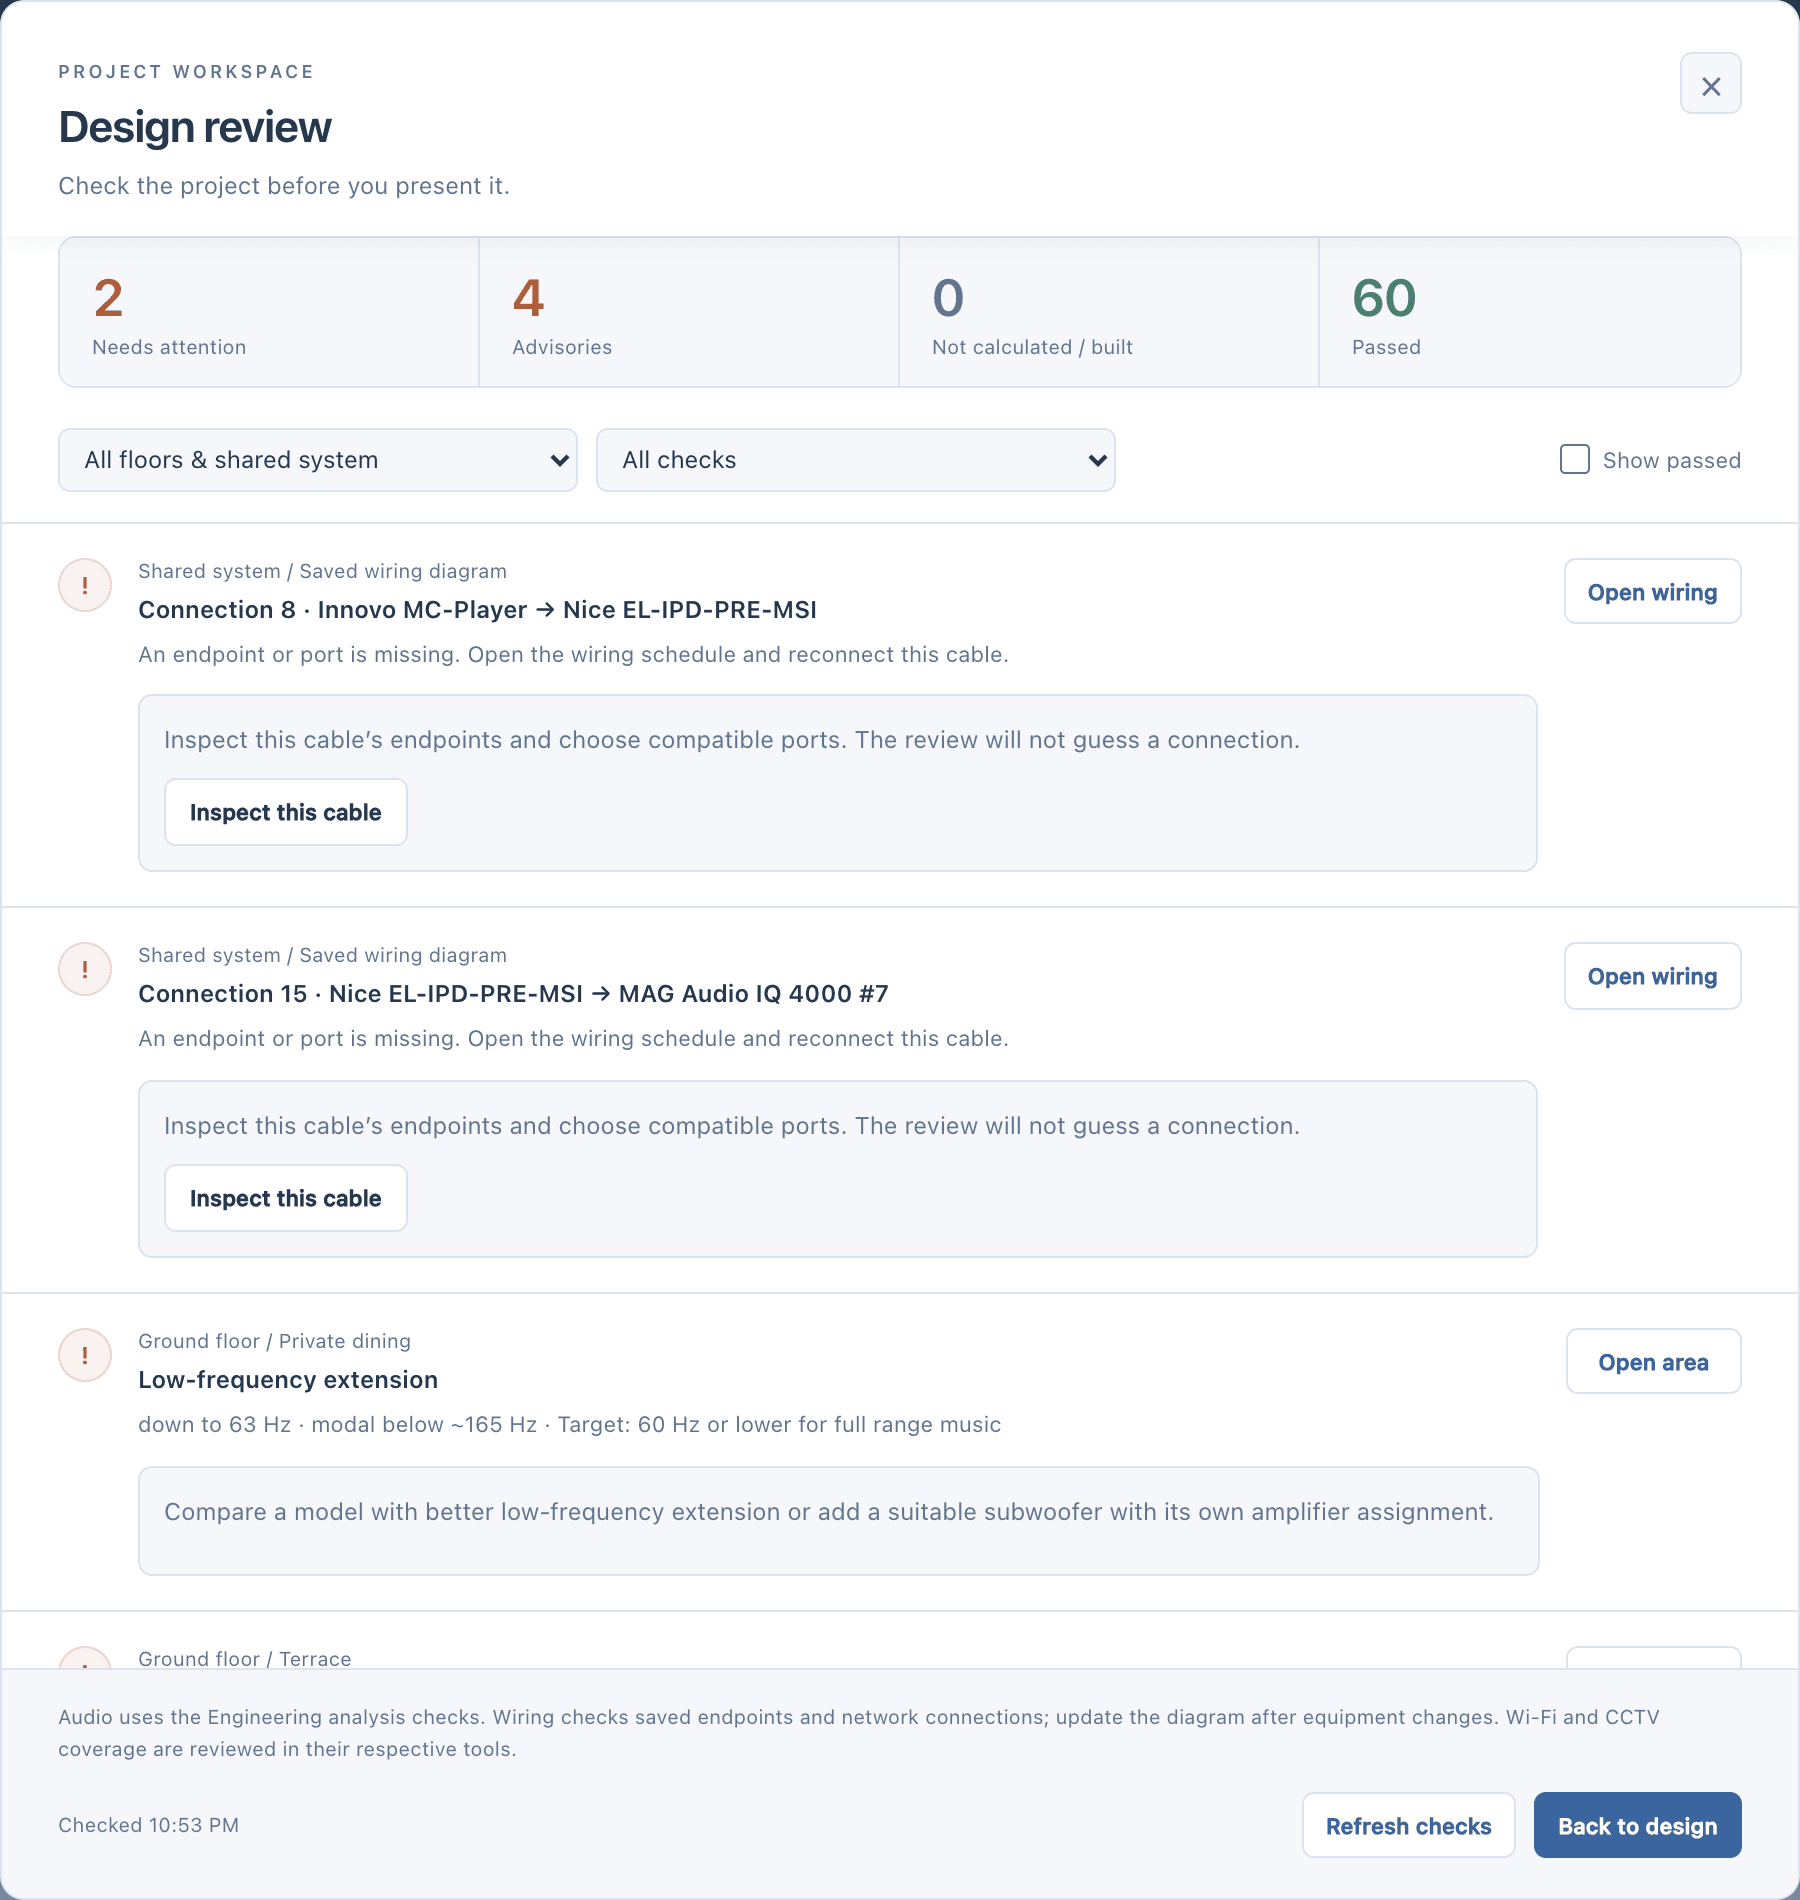
Review design lists every open check across the project, each with a fix. Clear the ones that matter before anything leaves the office.
10. Reports and the proposal
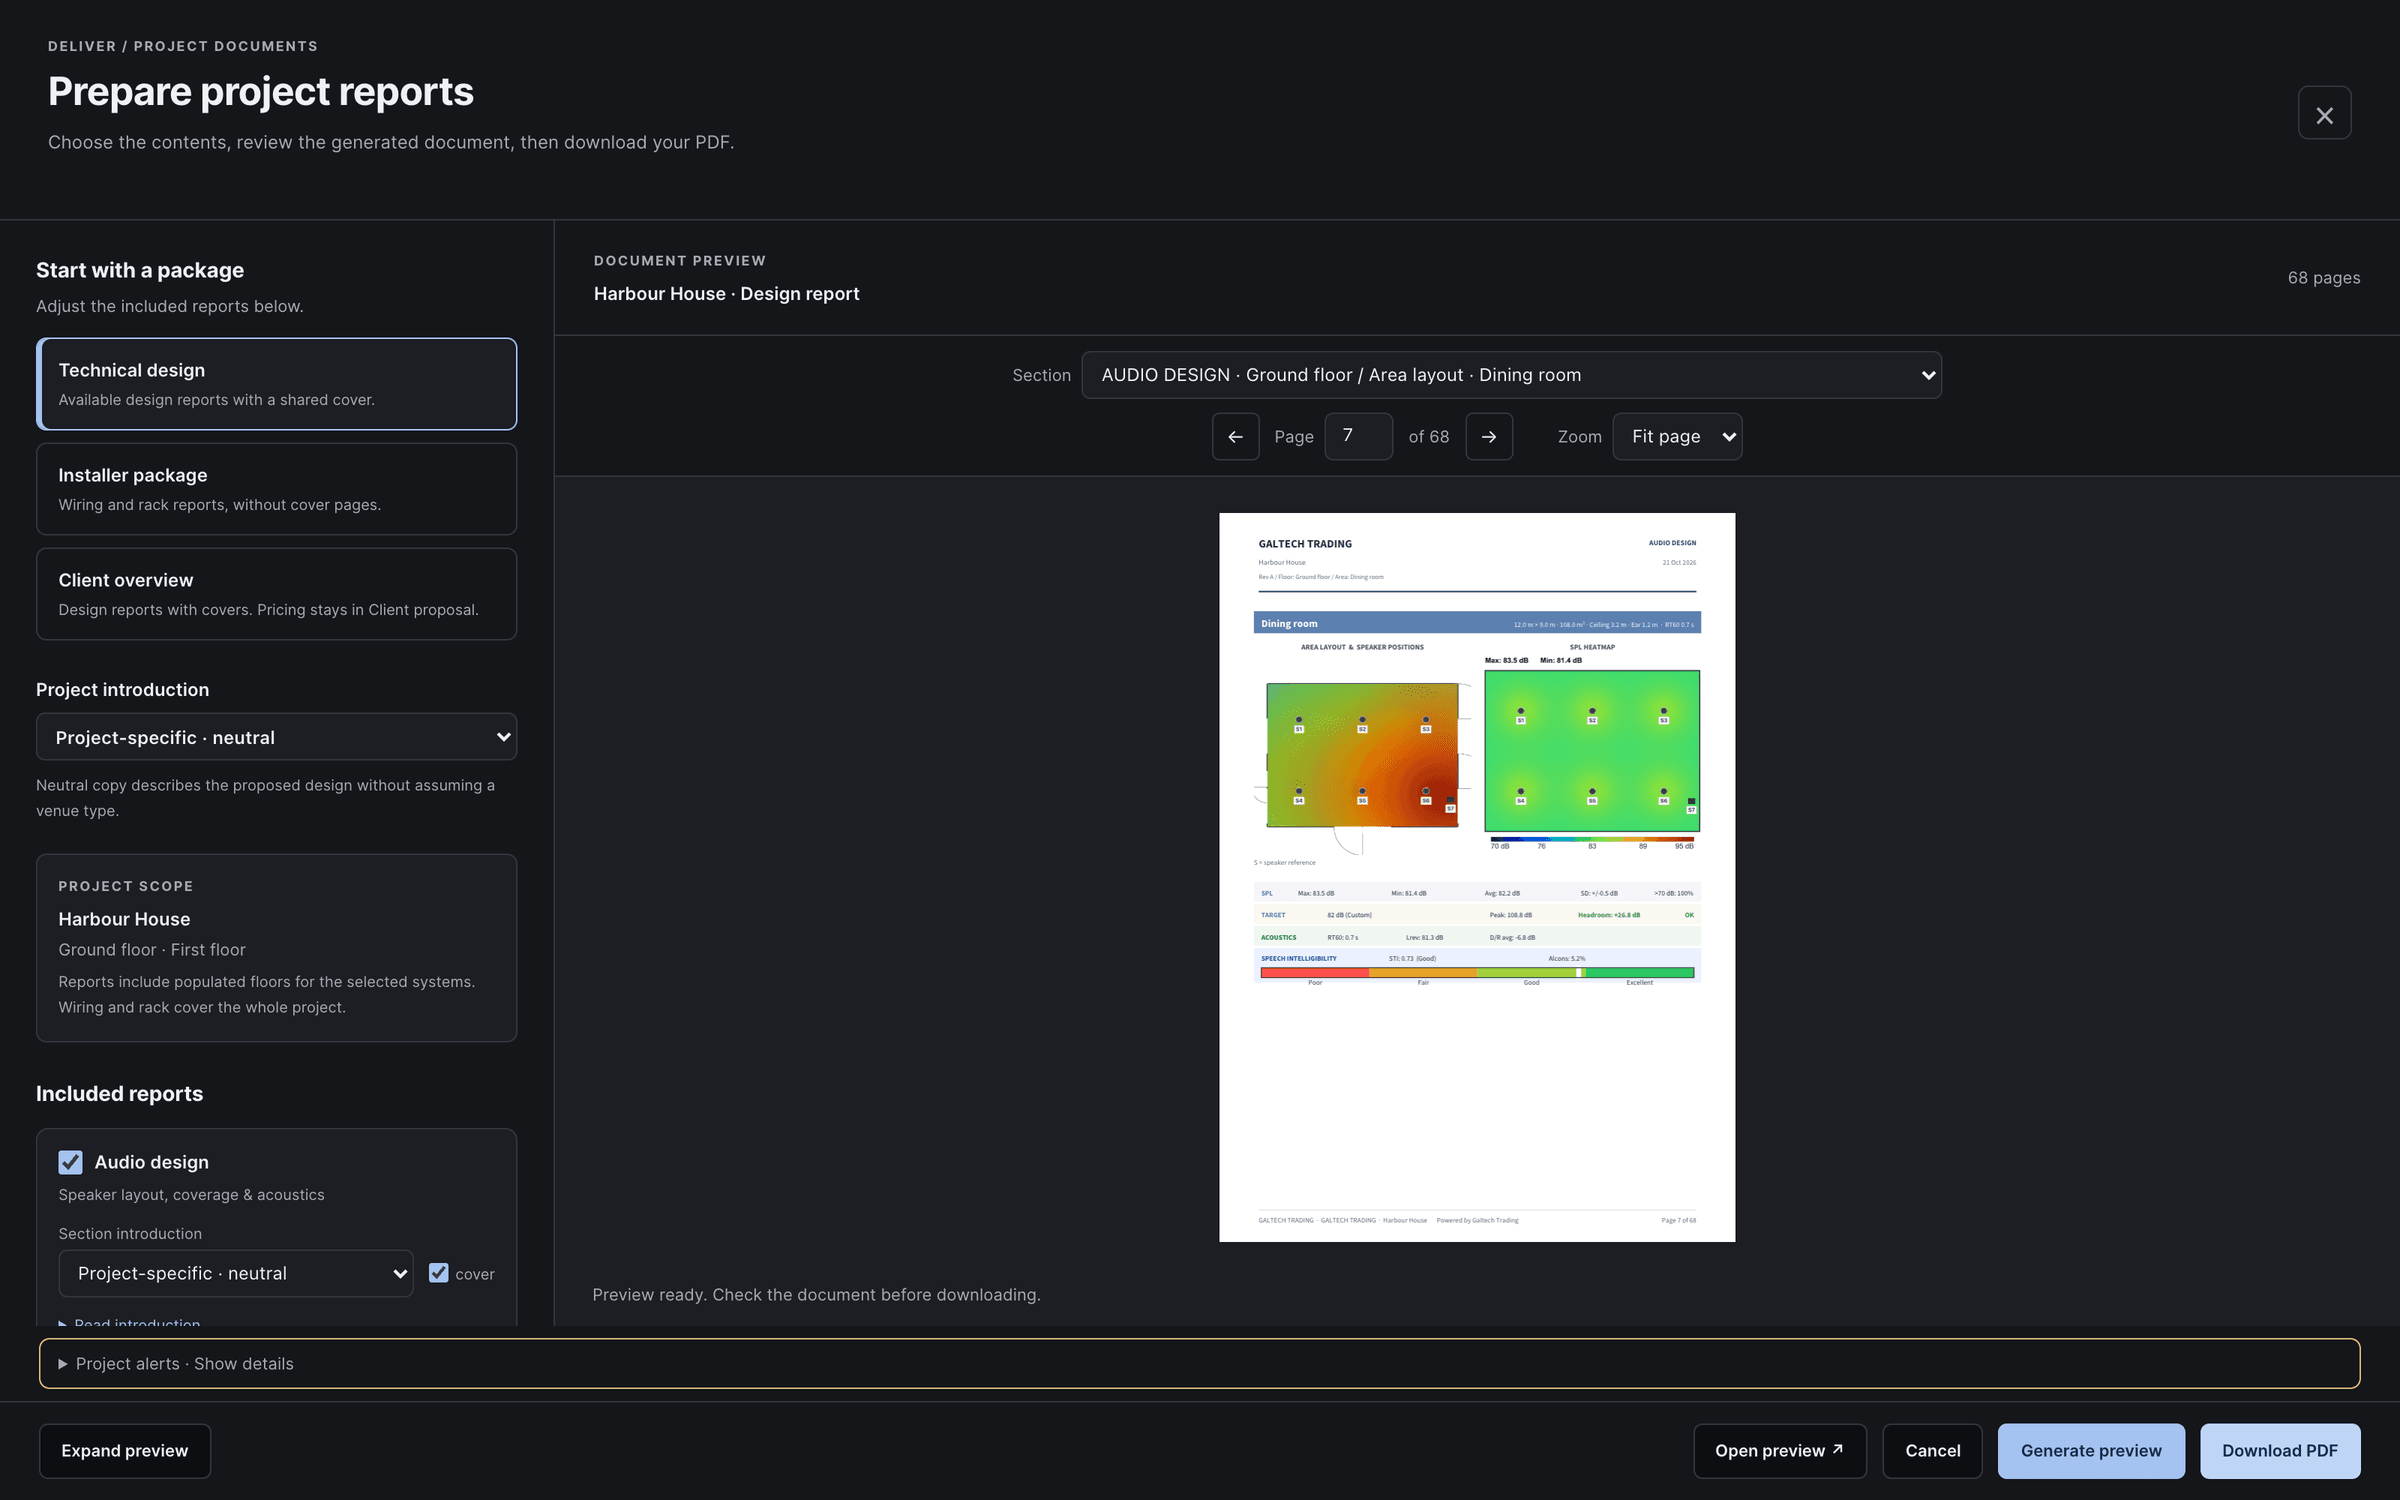
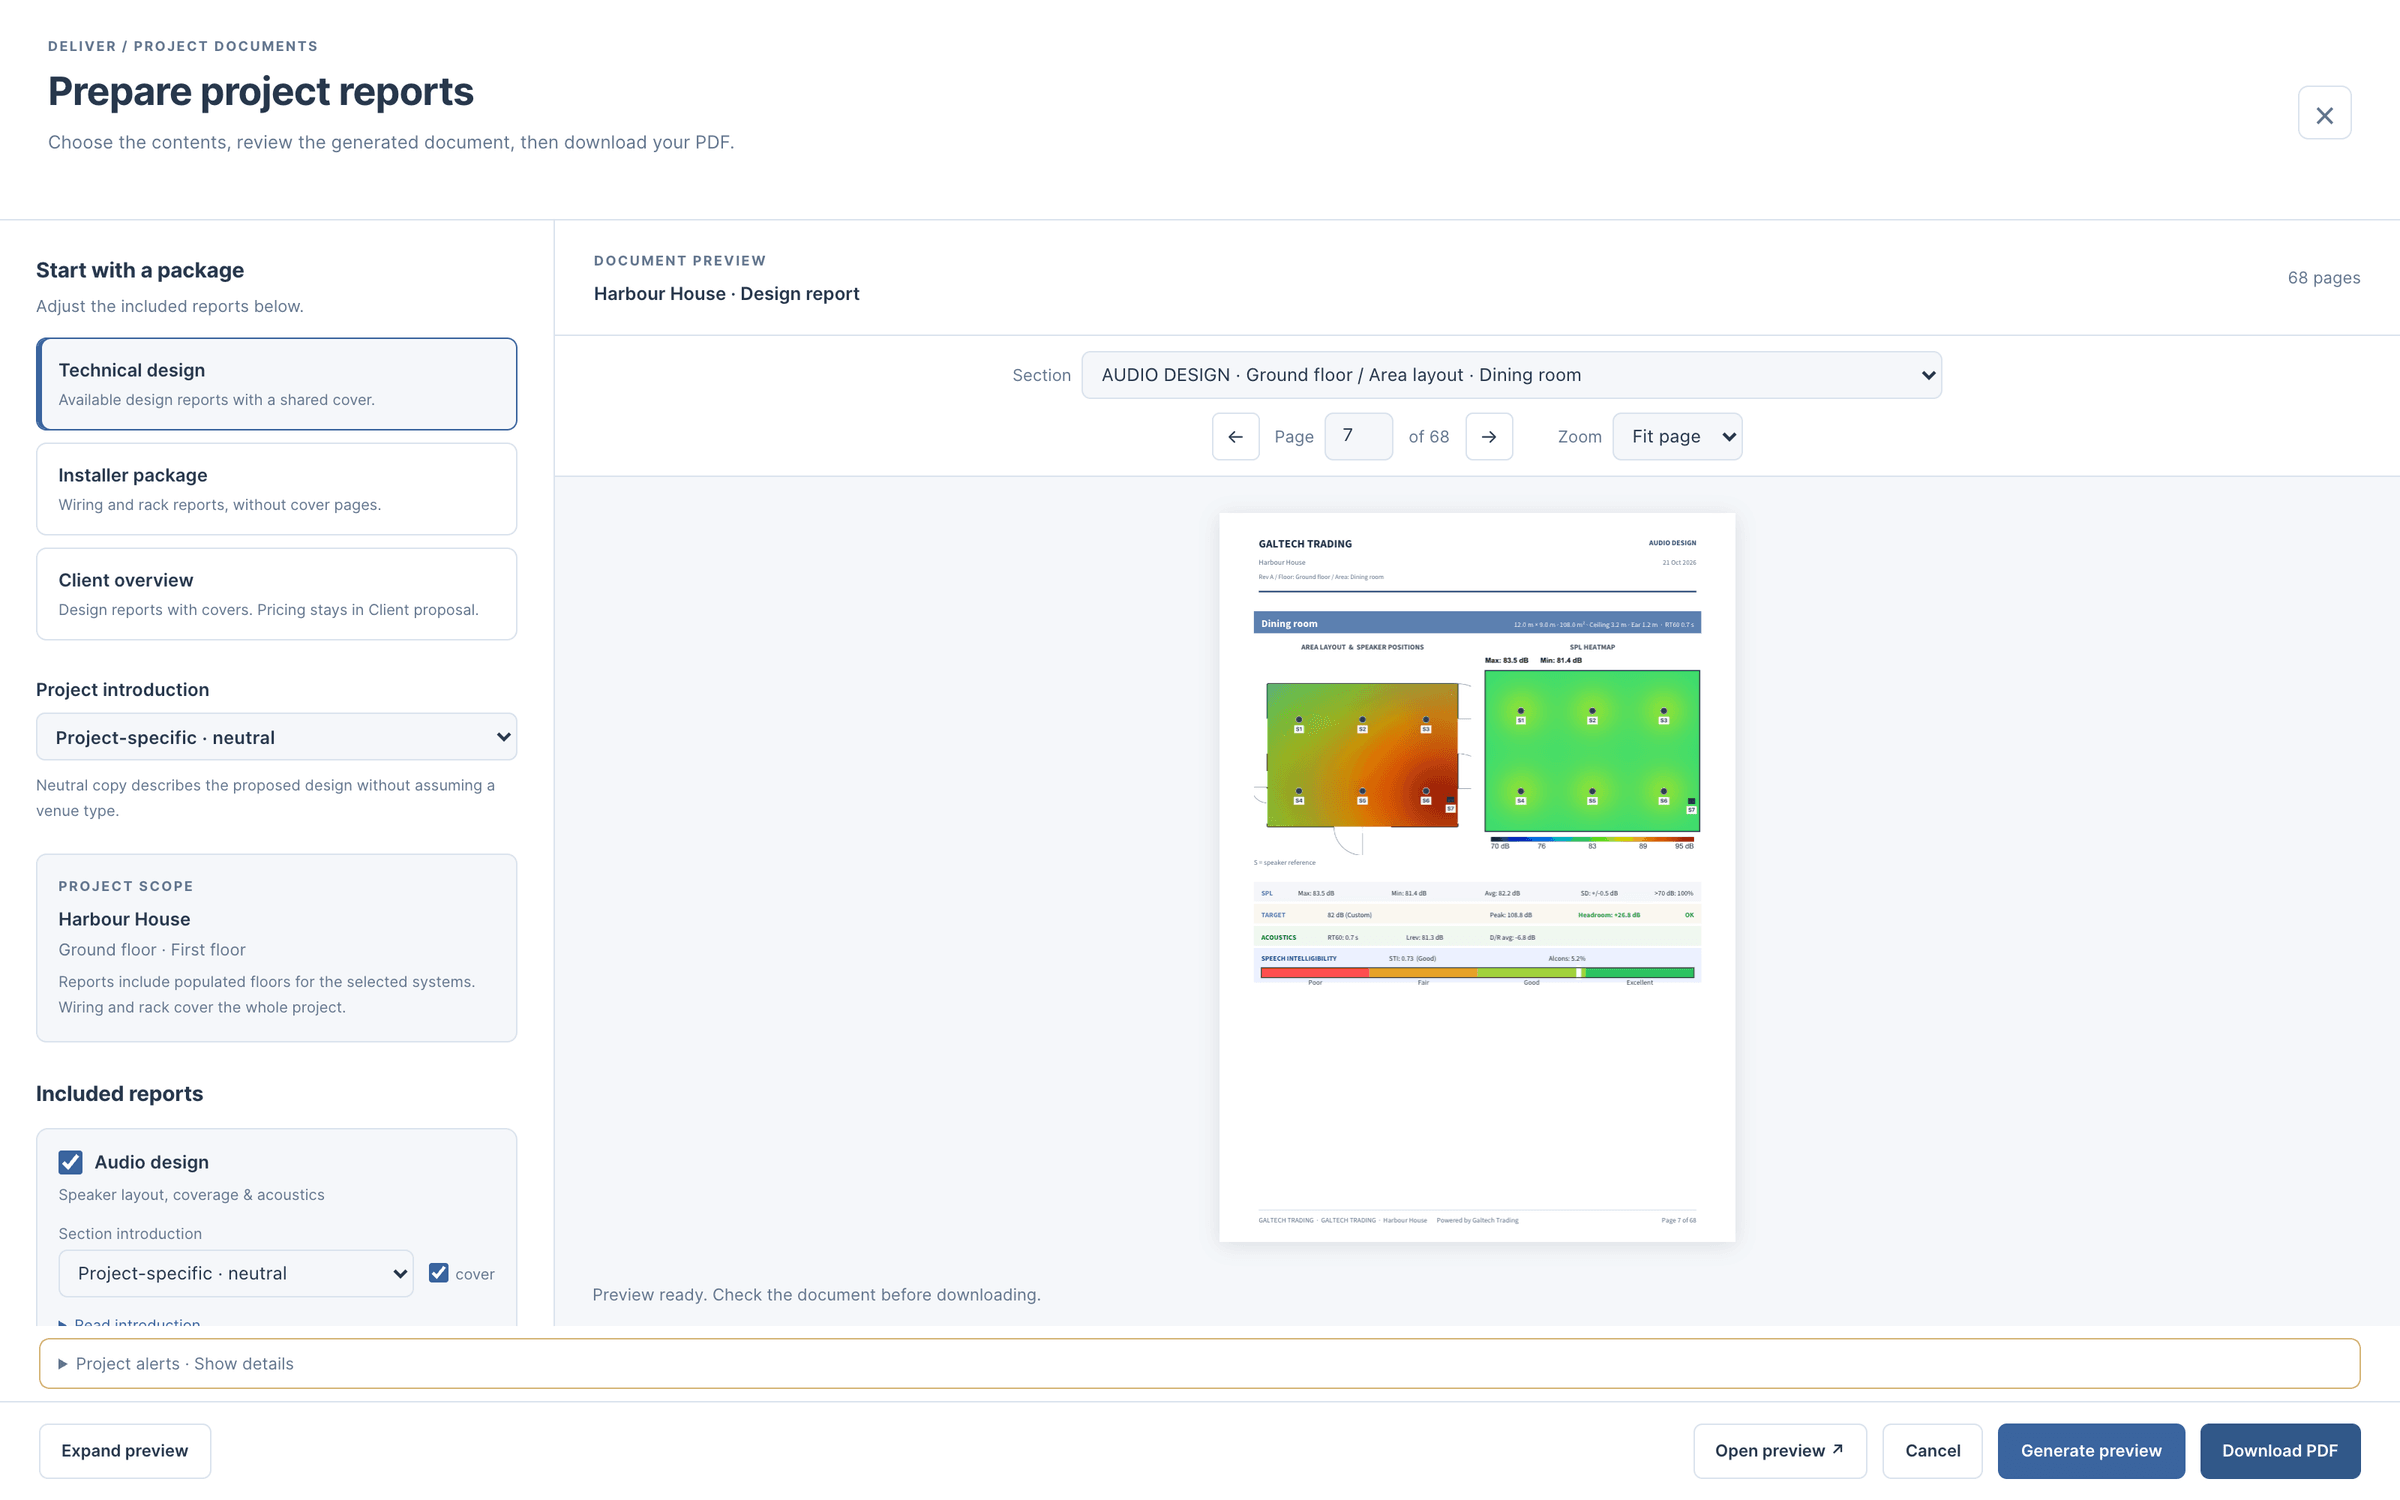
Prepare reports opens a full-page workspace. Choose a client, installer or full handover package, pick an introduction for the venue type and generate a live PDF preview with contents and bookmarks. Nothing is saved until you press Download.
The client proposal, a Premium feature, carries your logo and details, an optional cover image, priced lines grouped by area, labour and tax, your terms and a signature block, in $, AED, EUR, GBP or SAR. Lines without a price print as “On request”. The bill of materials exports as a CSV, and quote lines export as a CSV for Zoho Books or QuickBooks.
11. Show the client
Share any area as a 3D tour. A QR code or a link opens it on the client’s phone, where they can walk in and hear the predicted sound. Links expire after 90 days by default and can be revoked. Each area in the audio report carries its own QR code as well.
12. Hand over, then track the site
The client handover prints the plan, equipment and connection schedules. The DSP preset sheet gives the installer a starting channel strip for every output. Site tracking follows each area through installation and records the measured SPL, STI and RT60 beside the design values, and site calibration trims the model to what you measured. Dealers can also send the bill of materials straight to their portal cart with Order online.
What it leaves to you
- Measurement. The tool predicts; it does not measure. Commission the audio with a meter and survey the Wi-Fi on site.
- Programming. It schedules the control system; programming it is still part of the installation.
- Judgement. Every check can pass on a design that does not suit the client. The numbers are a planning baseline, not a guarantee.
The web app runs in the browser once you are signed in, and the Windows app keeps working offline for up to 7 days. Two narrated lessons follow this flow on screen: lesson 01 from the plan to the walls, and lesson 03 from zones to handover.