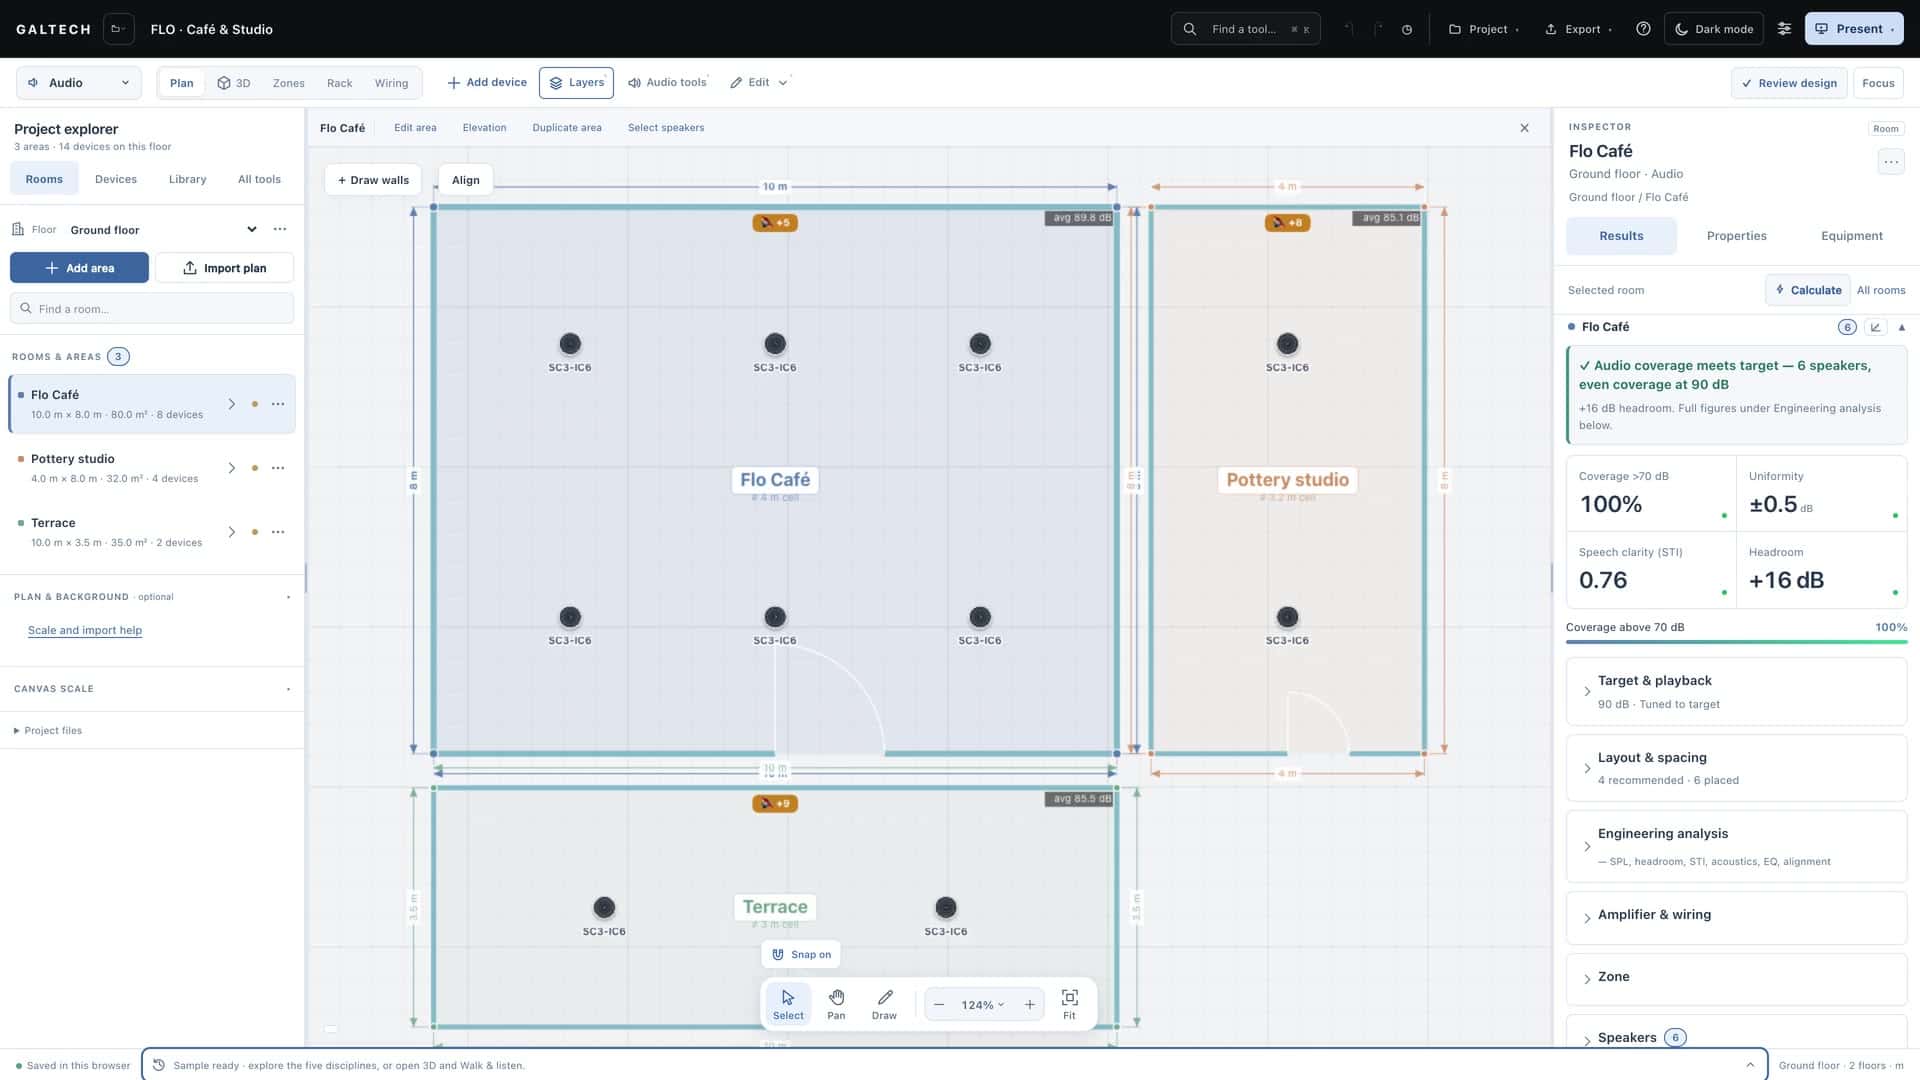
Plans and rooms
Import a floor plan and set its scale
Bring in the architect’s PDF, image, DXF or DWG drawing, set its scale from a dimension you know, check a second one, then trace the rooms on the right floor.
On this page
Most projects start from the architect’s drawing. The tool places it behind your design as a reference, and everything you then measure on it depends on one thing: the scale. Coverage, cable lengths, the equipment list and every schedule follow from it, and checking it takes thirty seconds.
Which file to use
| File | Notes |
|---|---|
| Choose the page with the floor you need. A PDF carries no real-world size, so set the scale. | |
| PNG or JPG | Works as it is. Like a PDF, it needs its scale set. |
| DXF | Carries its own scale. The rooms can be detected from it automatically. |
| DWG | Converted to DXF in the browser as it imports. |
For large or busy CAD drawings, choosing layers and detecting rooms, see Import CAD drawings and fill rooms.
Import the drawing and set its scale
- In the Project explorer, select the floor the drawing belongs to. Each floor has its own background and its own layout.
- Choose Import plan and pick the file. For a multipage PDF, choose the page with the floor you need.
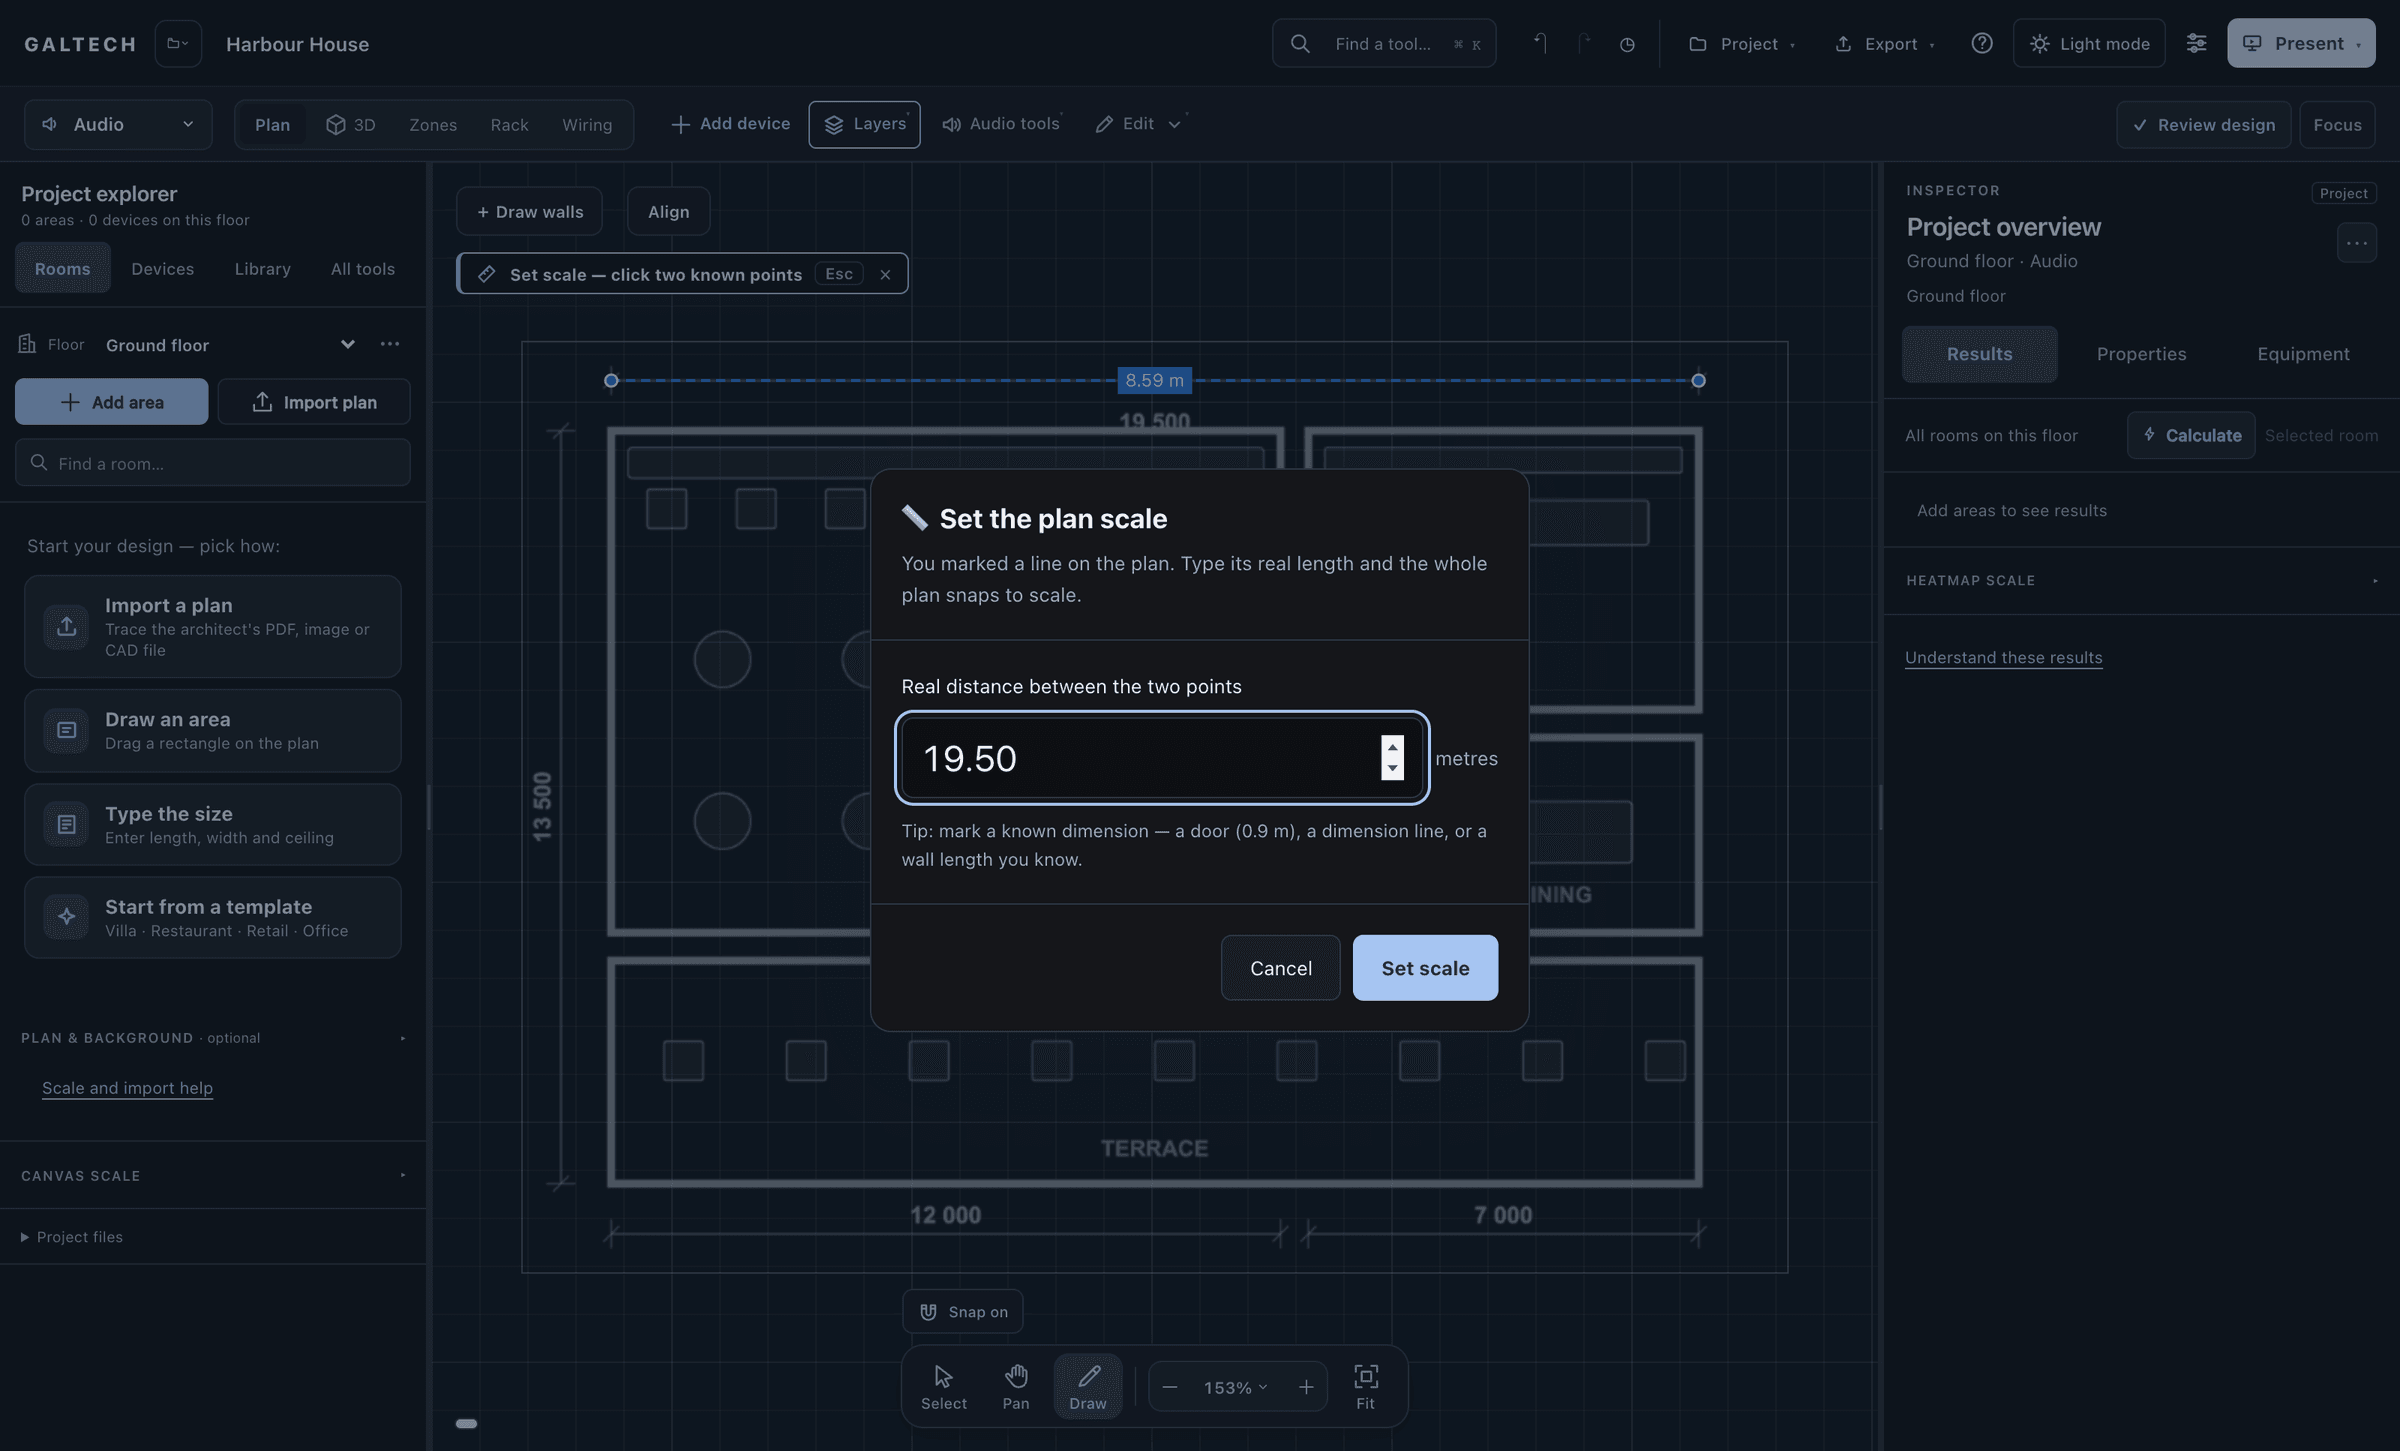
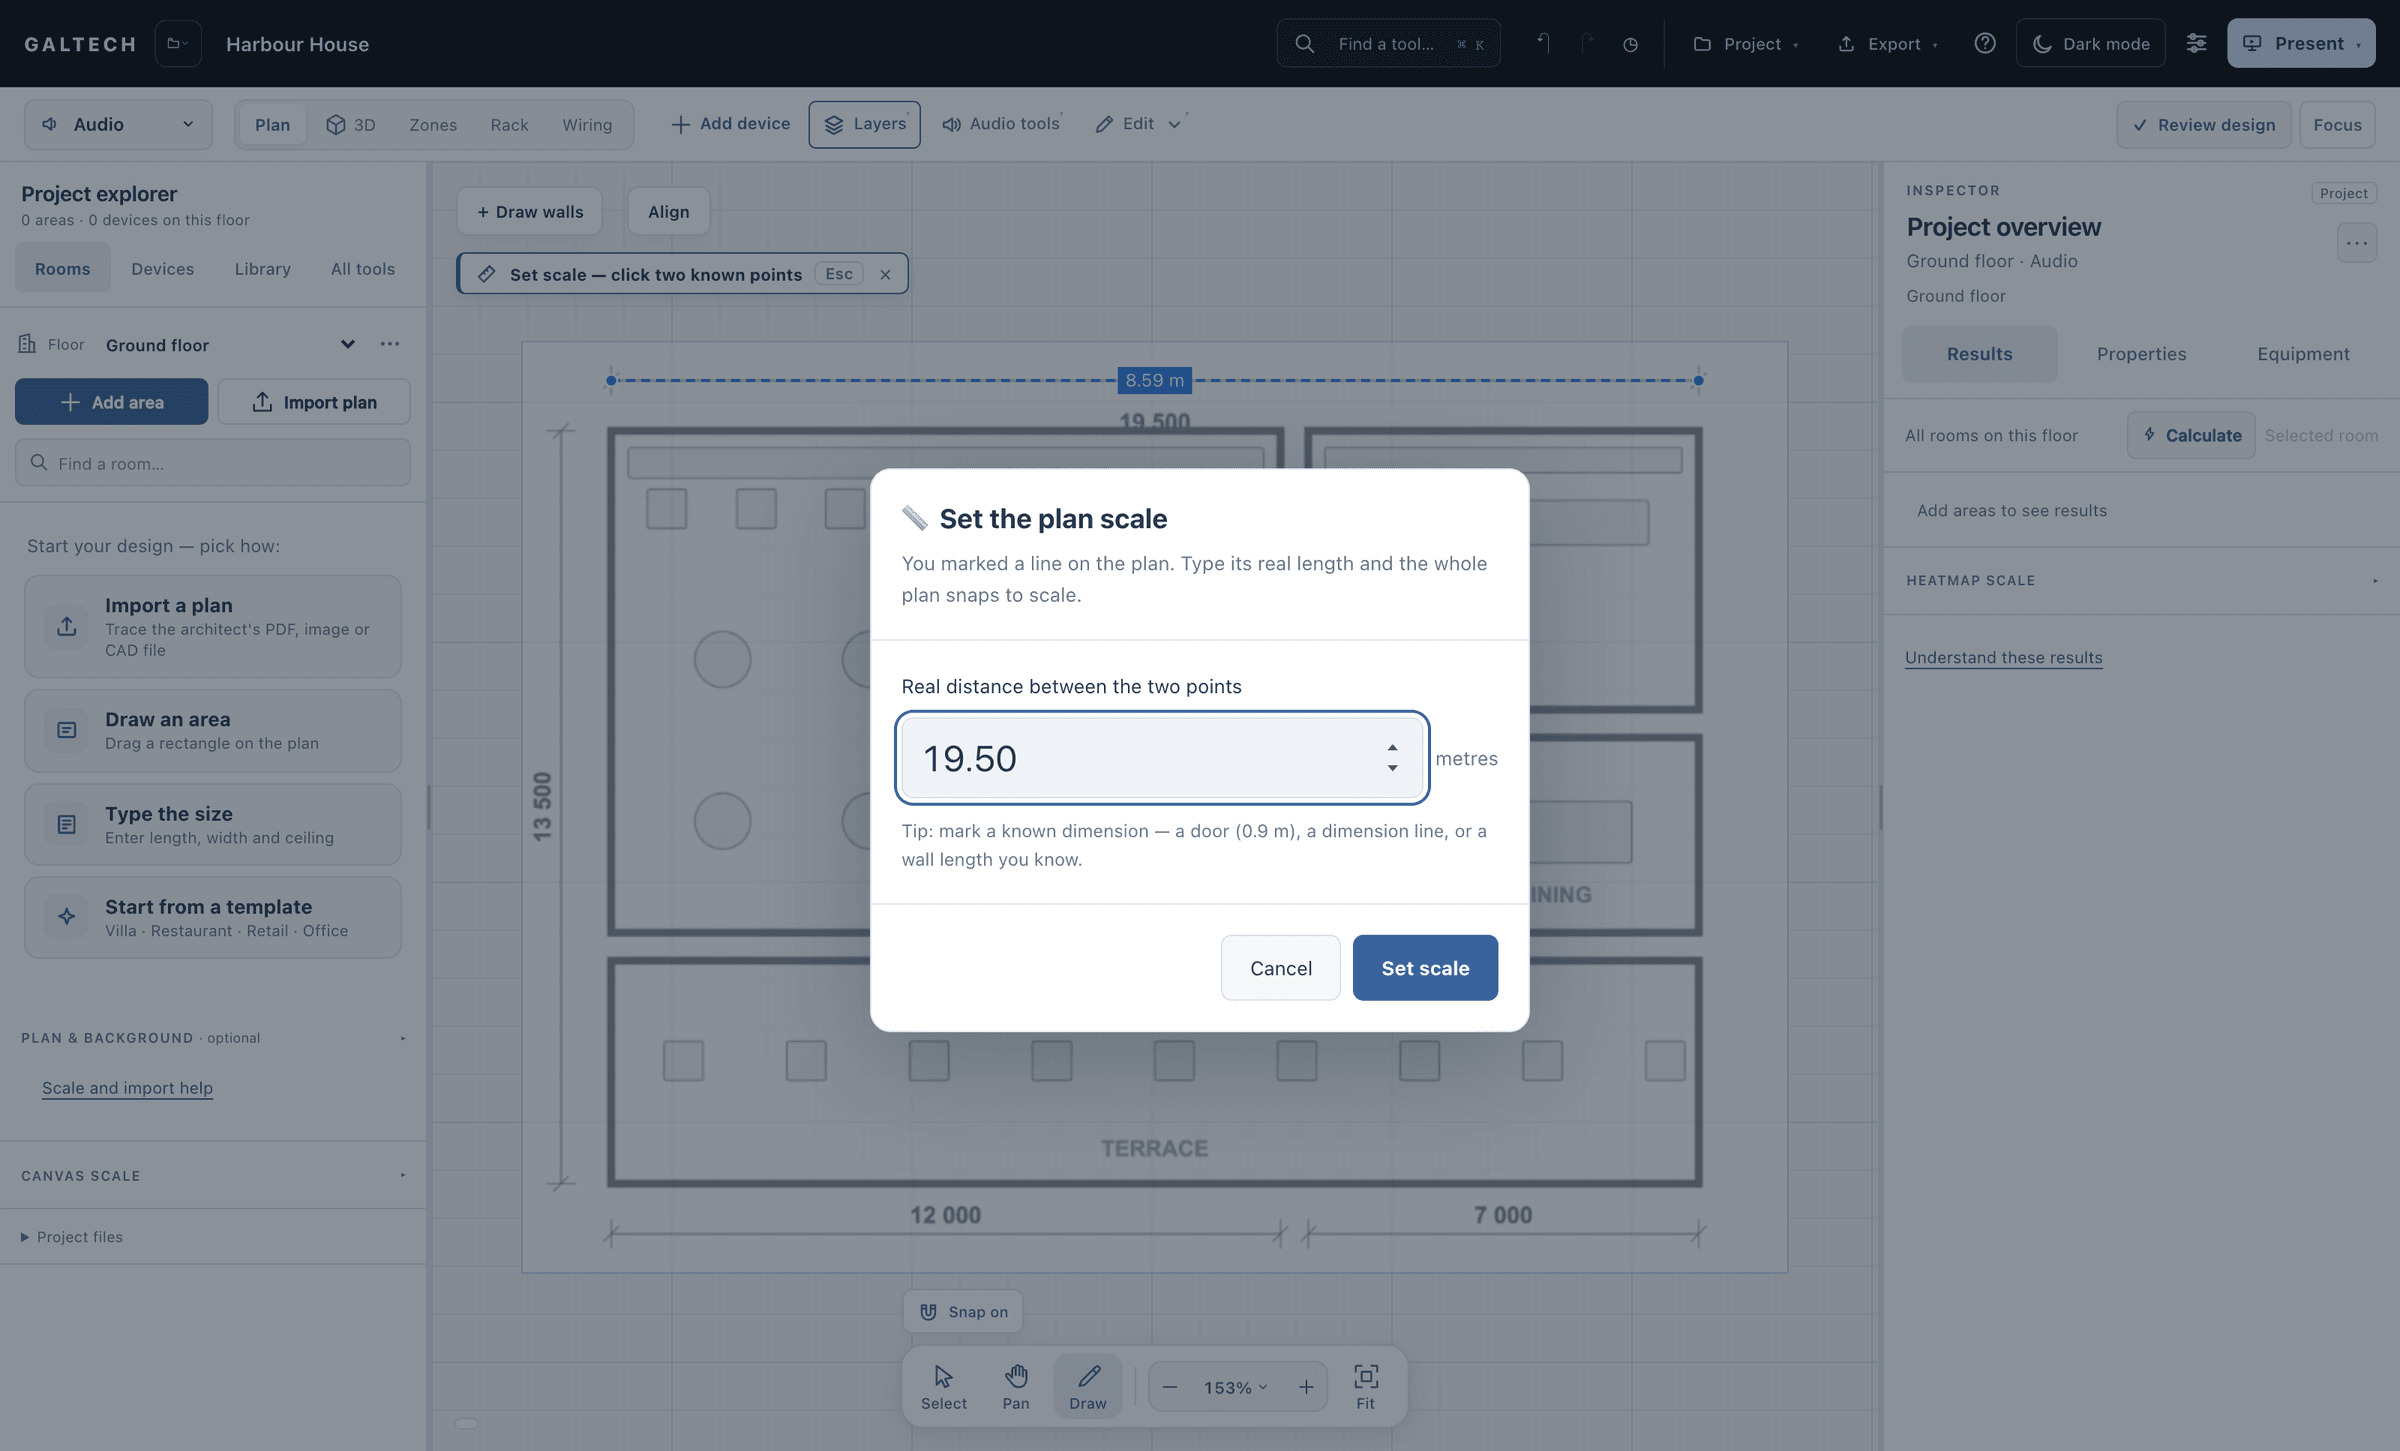
- Open Draw on the canvas dock and choose Set scale (calibrate).
- Click both ends of a dimension that is printed on the drawing, such as a 10.00 m dimension line.
- Type its real length in metres and choose Set scale. The drawing stays where it is on screen; only its size changes.
Check a second dimension
Before you trace anything, confirm the scale on another labelled distance:
- Choose Set scale (calibrate) again.
- Mark both ends of a second printed dimension, such as a 6.00 m wall.
- Read the length the tool suggests. It should match the drawing.
- Choose Cancel, so no new scale is applied.
If the second dimension disagrees, recheck the endpoints you clicked and the units, then set the scale again. See My plan dimensions are wrong.
Tip
Calibrate on the longest dimension you can find. A click a few pixels off the end of a short line is a large error; on a long line it is a small one.
Trace the rooms
With the scale right, turn the drawing into areas you can design in:
- Draw wall, then Wall → Area: click each corner of a room, then convert the outline into an area. A live ruler shows each wall’s length as you go.
- Detect all rooms finds every enclosed room at once, on a DXF or on a clean PDF or image.
- Fill room fills one room at a time, out to its walls, wherever you click.
Keep the drawing where it is once you start tracing: moving the background afterwards leaves your rooms out of line with it. Build areas, shapes and floors covers the drawing tools in detail.
Good to know
- Plan width. The Plan & background section of the Project explorer also takes the real width of the plan, if you know it, as another way to set the scale.
- No plan at all. A drawing is optional. You can add areas from their sizes alone, which is the quickest start after a site visit.
- It is saved with the project. The background comes back when you reopen the design from a file or your portal account.