Plans and rooms
Import CAD drawings and fill rooms
Import DXF and DWG drawings of any size, pick the right drawing on a busy sheet, tick the wall layers, then detect every room at once or fill them one by one.
On this page
An architect’s CAD file already knows where every wall is. Import it, tell the tool which layers are walls, and it can trace the rooms for you, named from the labels on the drawing.
What you can import
| File | What happens |
|---|---|
| DXF, any ASCII version | Imports to scale, from R12 to the latest. |
| DWG | Converted to DXF in the browser as it imports. The converter downloads once, about 10 MB. |
| Binary DXF | Convert it to ASCII DXF first, with Save As in AutoCAD or the free ODA File Converter. Do the same for a DWG that fails to convert. |
| PDF, PNG or JPG | Imports too. Set the scale before detecting rooms. See Import a floor plan and set its scale. |
Large files are fine. Real architect’s files often run to hundreds of megabytes, with 3D, ceiling patterns and furniture hatching. Import them as they are: the tool streams the file and keeps only the walls and the room labels, and the file never leaves your computer.
Pick the drawing on a busy sheet
Many CAD files hold several drawings side by side: the plan beside sections, details or another unit, sometimes hundreds of metres apart. The tool detects them on import and shows a thumbnail of each. Click the one that is your floor plan; the most plan-like is marked with a ★. The rest are set aside, and you can import again to switch.
To draw the box yourself, open Draw → Crop to plan. The whole sheet is shown: drag a box around the plan you want, and the tool scales to that box. You can crop again at any time.
Tick the wall layers
A CAD drawing is organised in named layers, and every office names them differently. The Import CAD layers box asks which ones are room boundaries:
- Tick every layer that draws walls, partitions, doors and glazing, for example
A-WALL,I-WALL,A-DOORandA-GLAZ. - Tick the room label layer if there is one. The tool uses it to name the rooms.
- Untick grid, dimension and furniture layers.
The best guess is ticked for you. Add any wall layer it missed, then choose Import plan.
Tip
A missing wall layer is the usual reason a room will not detect. If rooms go missing, import again and tick every wall, partition and door layer.
Turn the drawing into areas
Detect all rooms
Draw → Detect all rooms finds every enclosed room at once and adds each as an area, to scale, named from the CAD label inside it. Review the result and delete any you do not want with the Delete tool. On an image or PDF it reads the dark wall lines; a very busy or open-plan drawing may give little, and then Fill room is the better tool.
Fill room, one at a time
Draw → Fill room (one at a time), then click inside a room. The tool fills the space out to its walls, traces the outline, names it from the label and adds it as an area: a rectangle comes out as a clean rectangle, an L-shape as a polygon. Keep clicking room after room, and press Esc to stop. If a space is open-plan or opens to the outside, the fill can escape; the tool says so, and you trace that room by hand.
Click to place a device
With a DXF plan, you can skip drawing rooms altogether. Pick a speaker, an access point or a camera and click inside a room: the tool reads the walls around your click and creates that room on the spot, named from its label. The room has no walls of its own, just a light tint and a name, because the architect’s walls stay the walls. It still works as a full room in 2D and 3D, with coverage and dimensions. Genuinely open space, such as a terrace, gets a 6 × 5 m area you can stretch to fit.
Trace by hand
Draw Wall works over any plan: click each corner, then Wall → Area.
- Start typing a number to set the wall’s exact length, press Tab for its angle and Enter to place it. The line also snaps to 15° steps.
- Press and drag sideways while placing a point to bow that wall into an arc.
- Backspace removes the last point, and the corner and wall drags snap to 1 mm.
Tidy up the layout
- Combine outlines. Draw an alcove or a dressing room as a separate outline touching the main room, then press Wall → Area: they merge into one area.
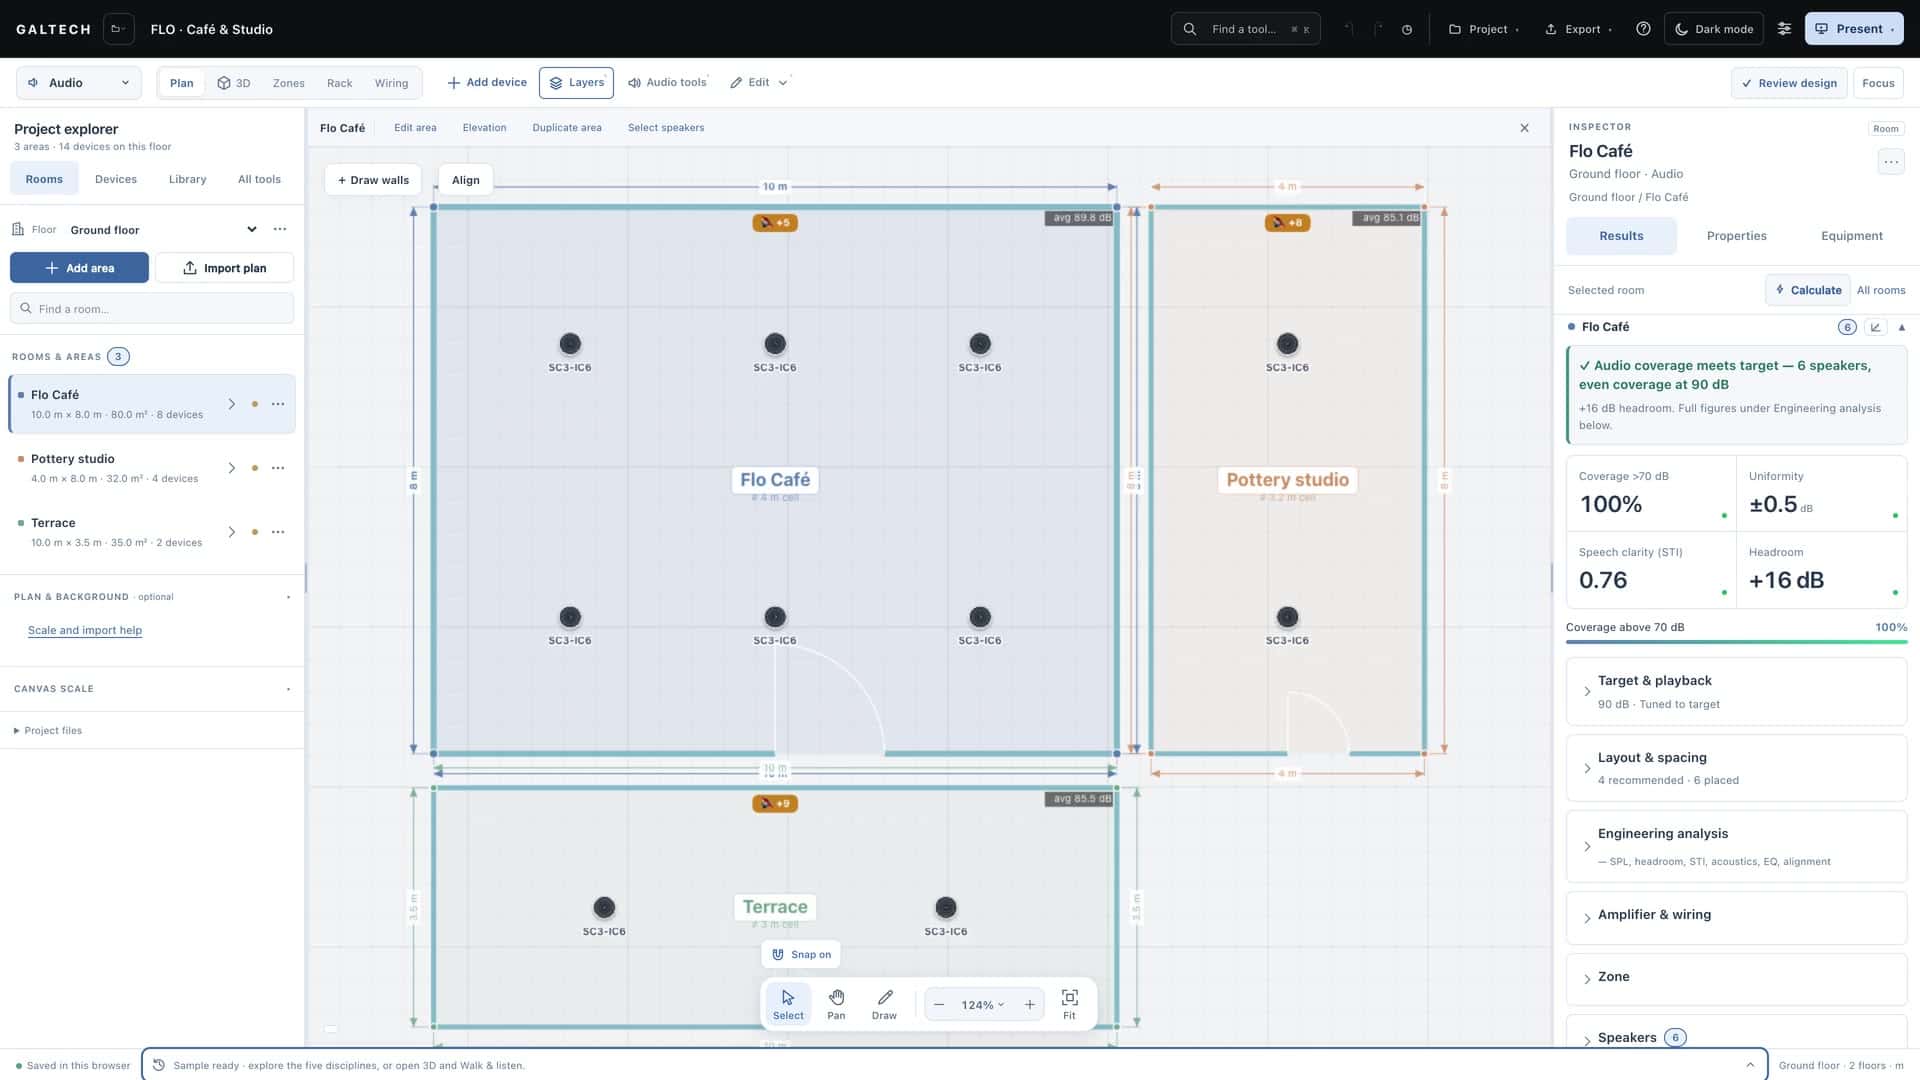
- Rooms that share a wall. A new room’s corners snap onto a neighbour’s wall, so the two share the exact same line and never overlap. Turn Layers → Dimensions off while you draw them, if the arrows get in the way.
- Align and move. Shift-click two or more areas to open Align & Move Areas: align their edges, space three or more evenly, rotate, mirror, or repeat them in a grid. The arrow keys nudge the selection by the step you set.
- Duplicate. Select an area and press CtrlD to copy it with its speaker layout, ready for a row of identical hotel rooms or offices. Pink guides appear as you drag it into line.
Then design as usual
Each area is now a normal room. A 2D drawing has no ceiling heights, so each area starts at 3 m: set the real height before you place speakers. When you export the floor plan as DXF again, the architect’s drawing comes back on its own CAD_PLAN layer, which you can freeze. See Export CAD drawings.