Getting started
How the tool fits together
What the design tool does, how one plan carries five disciplines, and the order the work follows, from the floor plan to the documents you hand over.
On this page
Lyra is a design tool for AV and low-voltage systems. You draw or import a floor plan, place real products from a curated catalogue, read the predicted coverage, and export the documents the client and the installer need. It runs in the browser and as a Windows app, and both open the same projects.
One plan, five disciplines
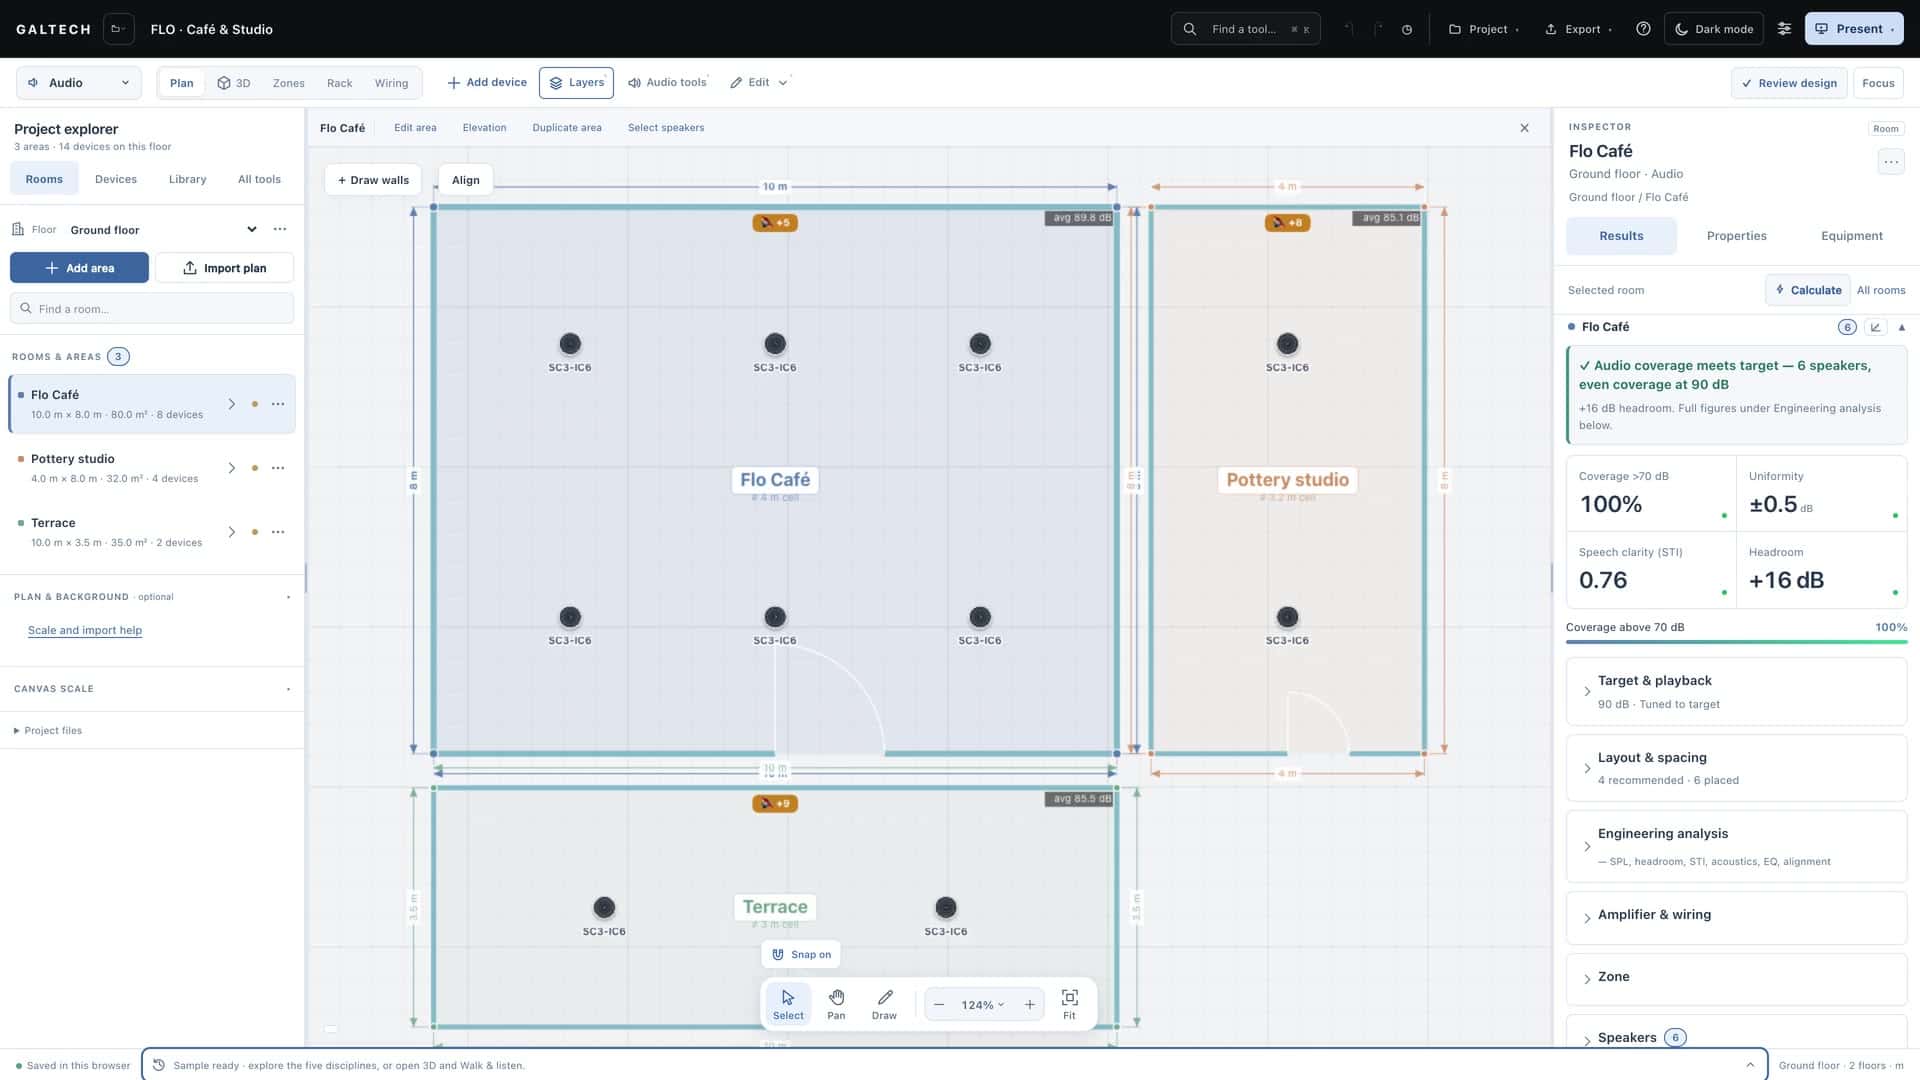
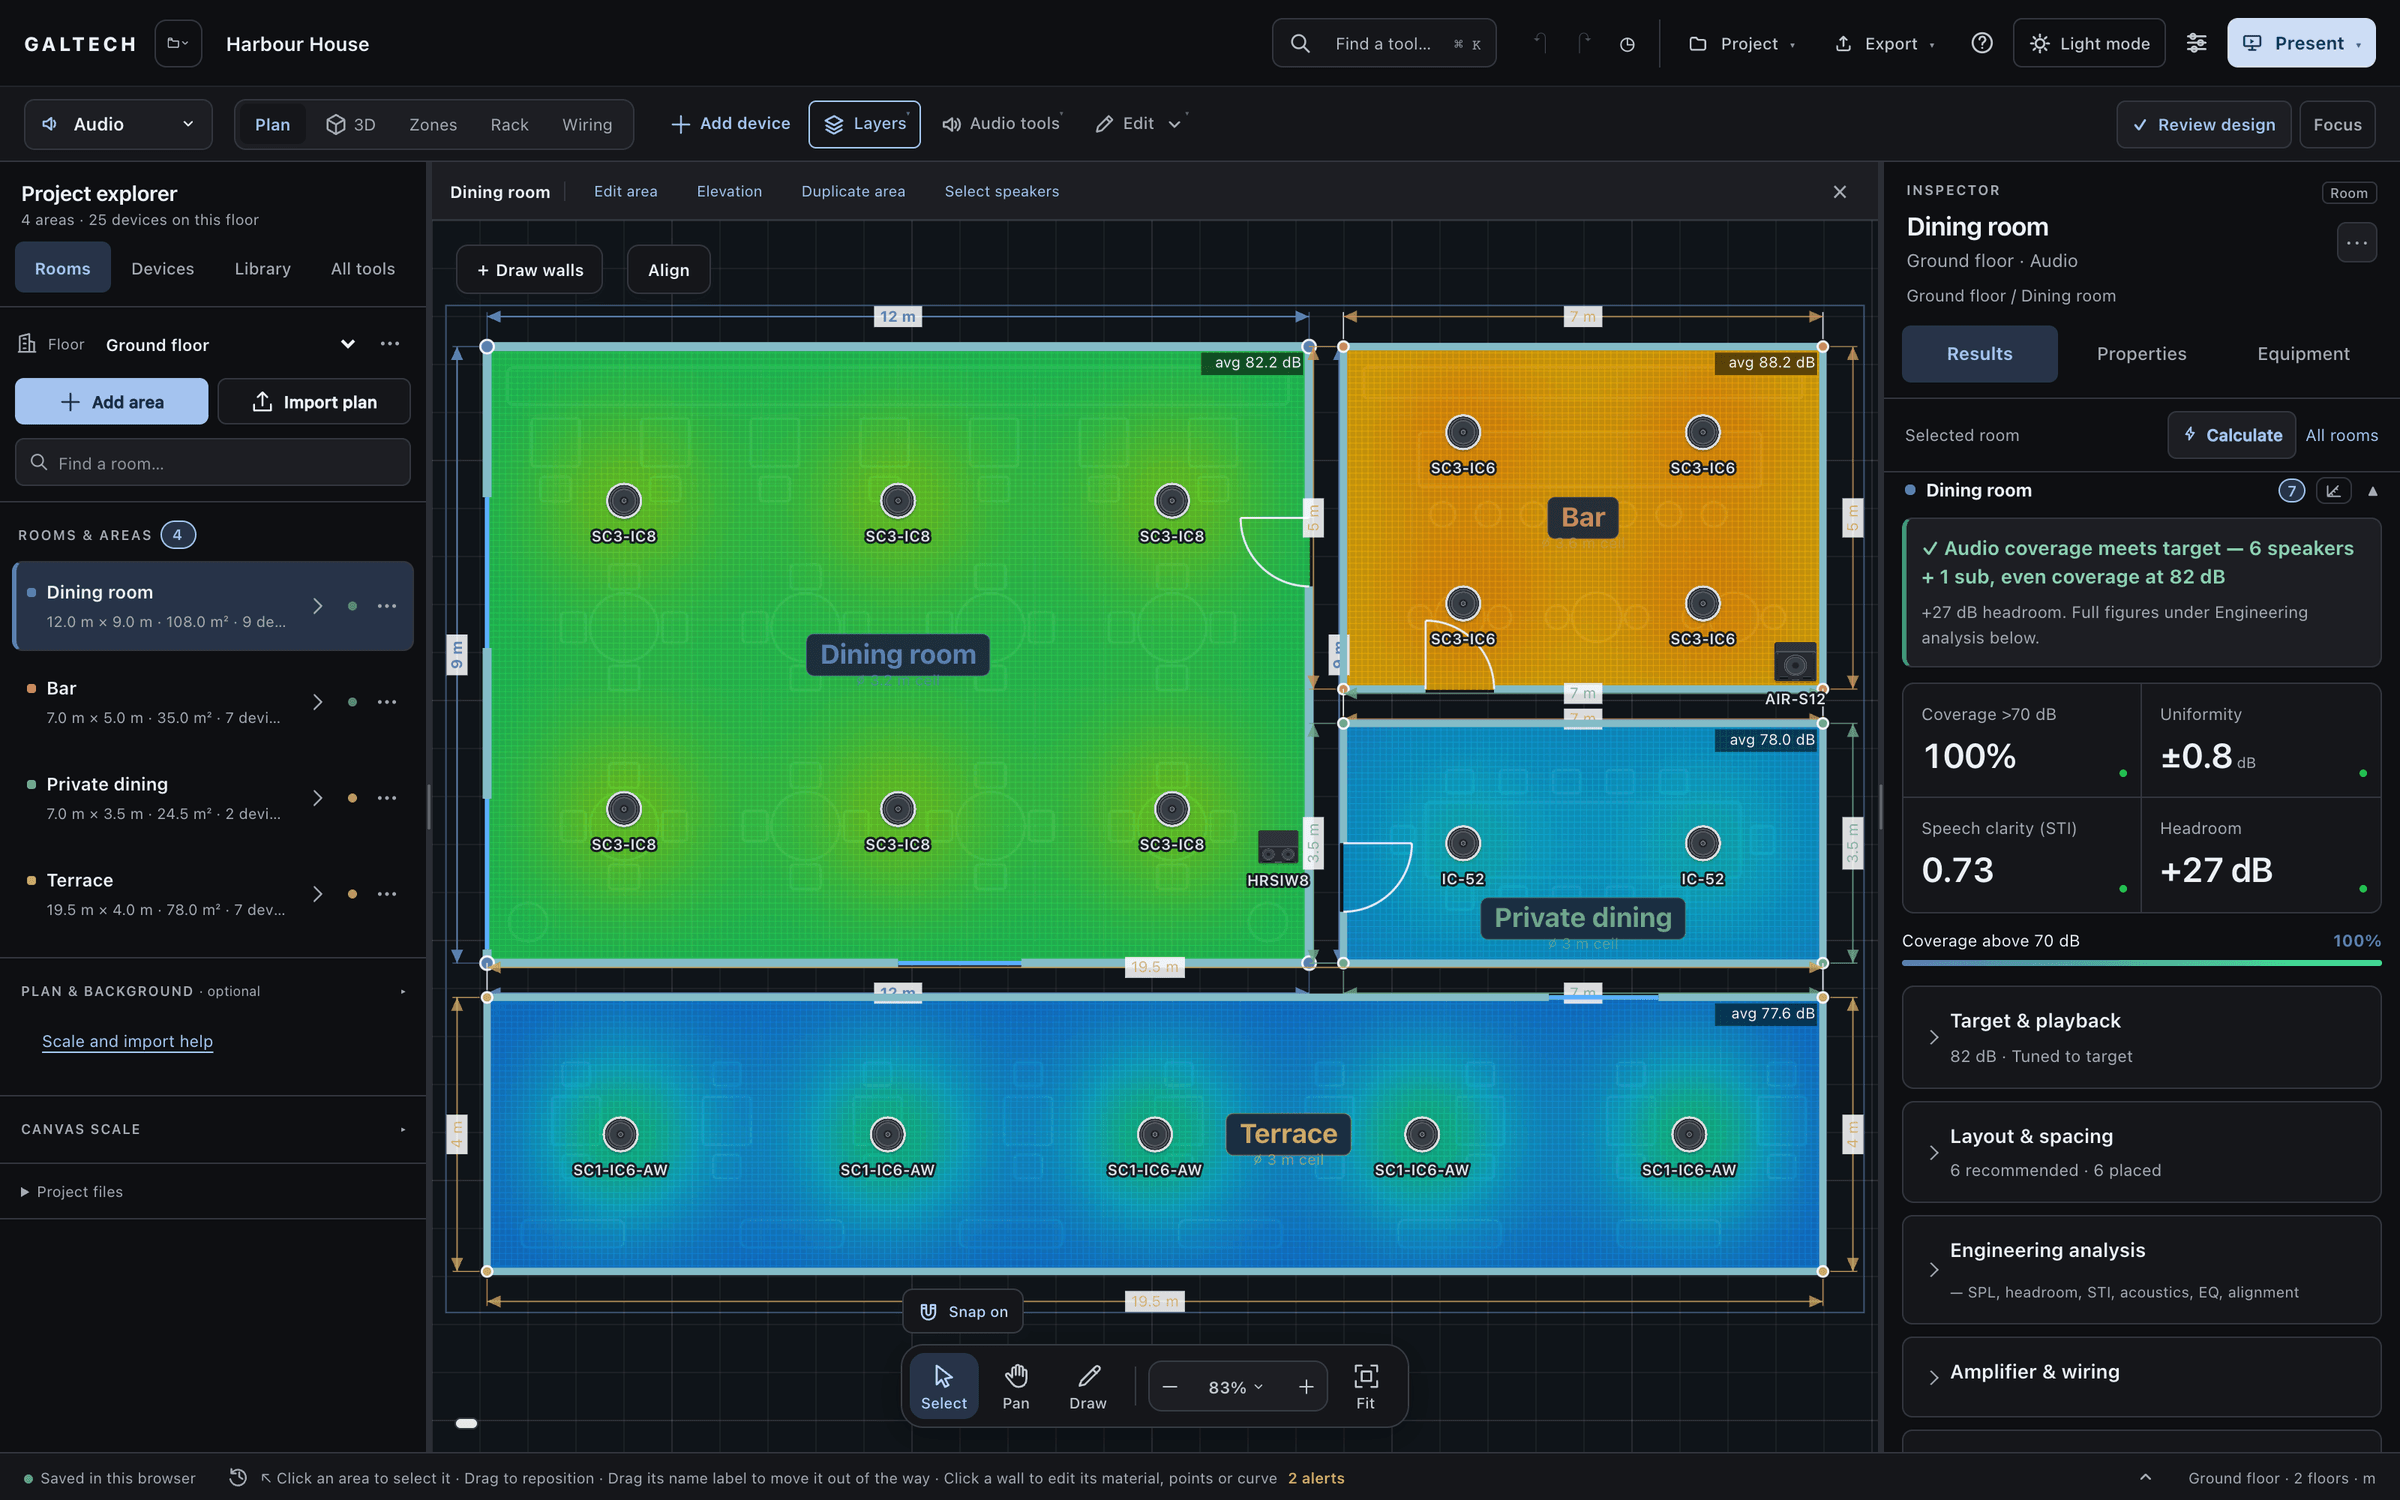
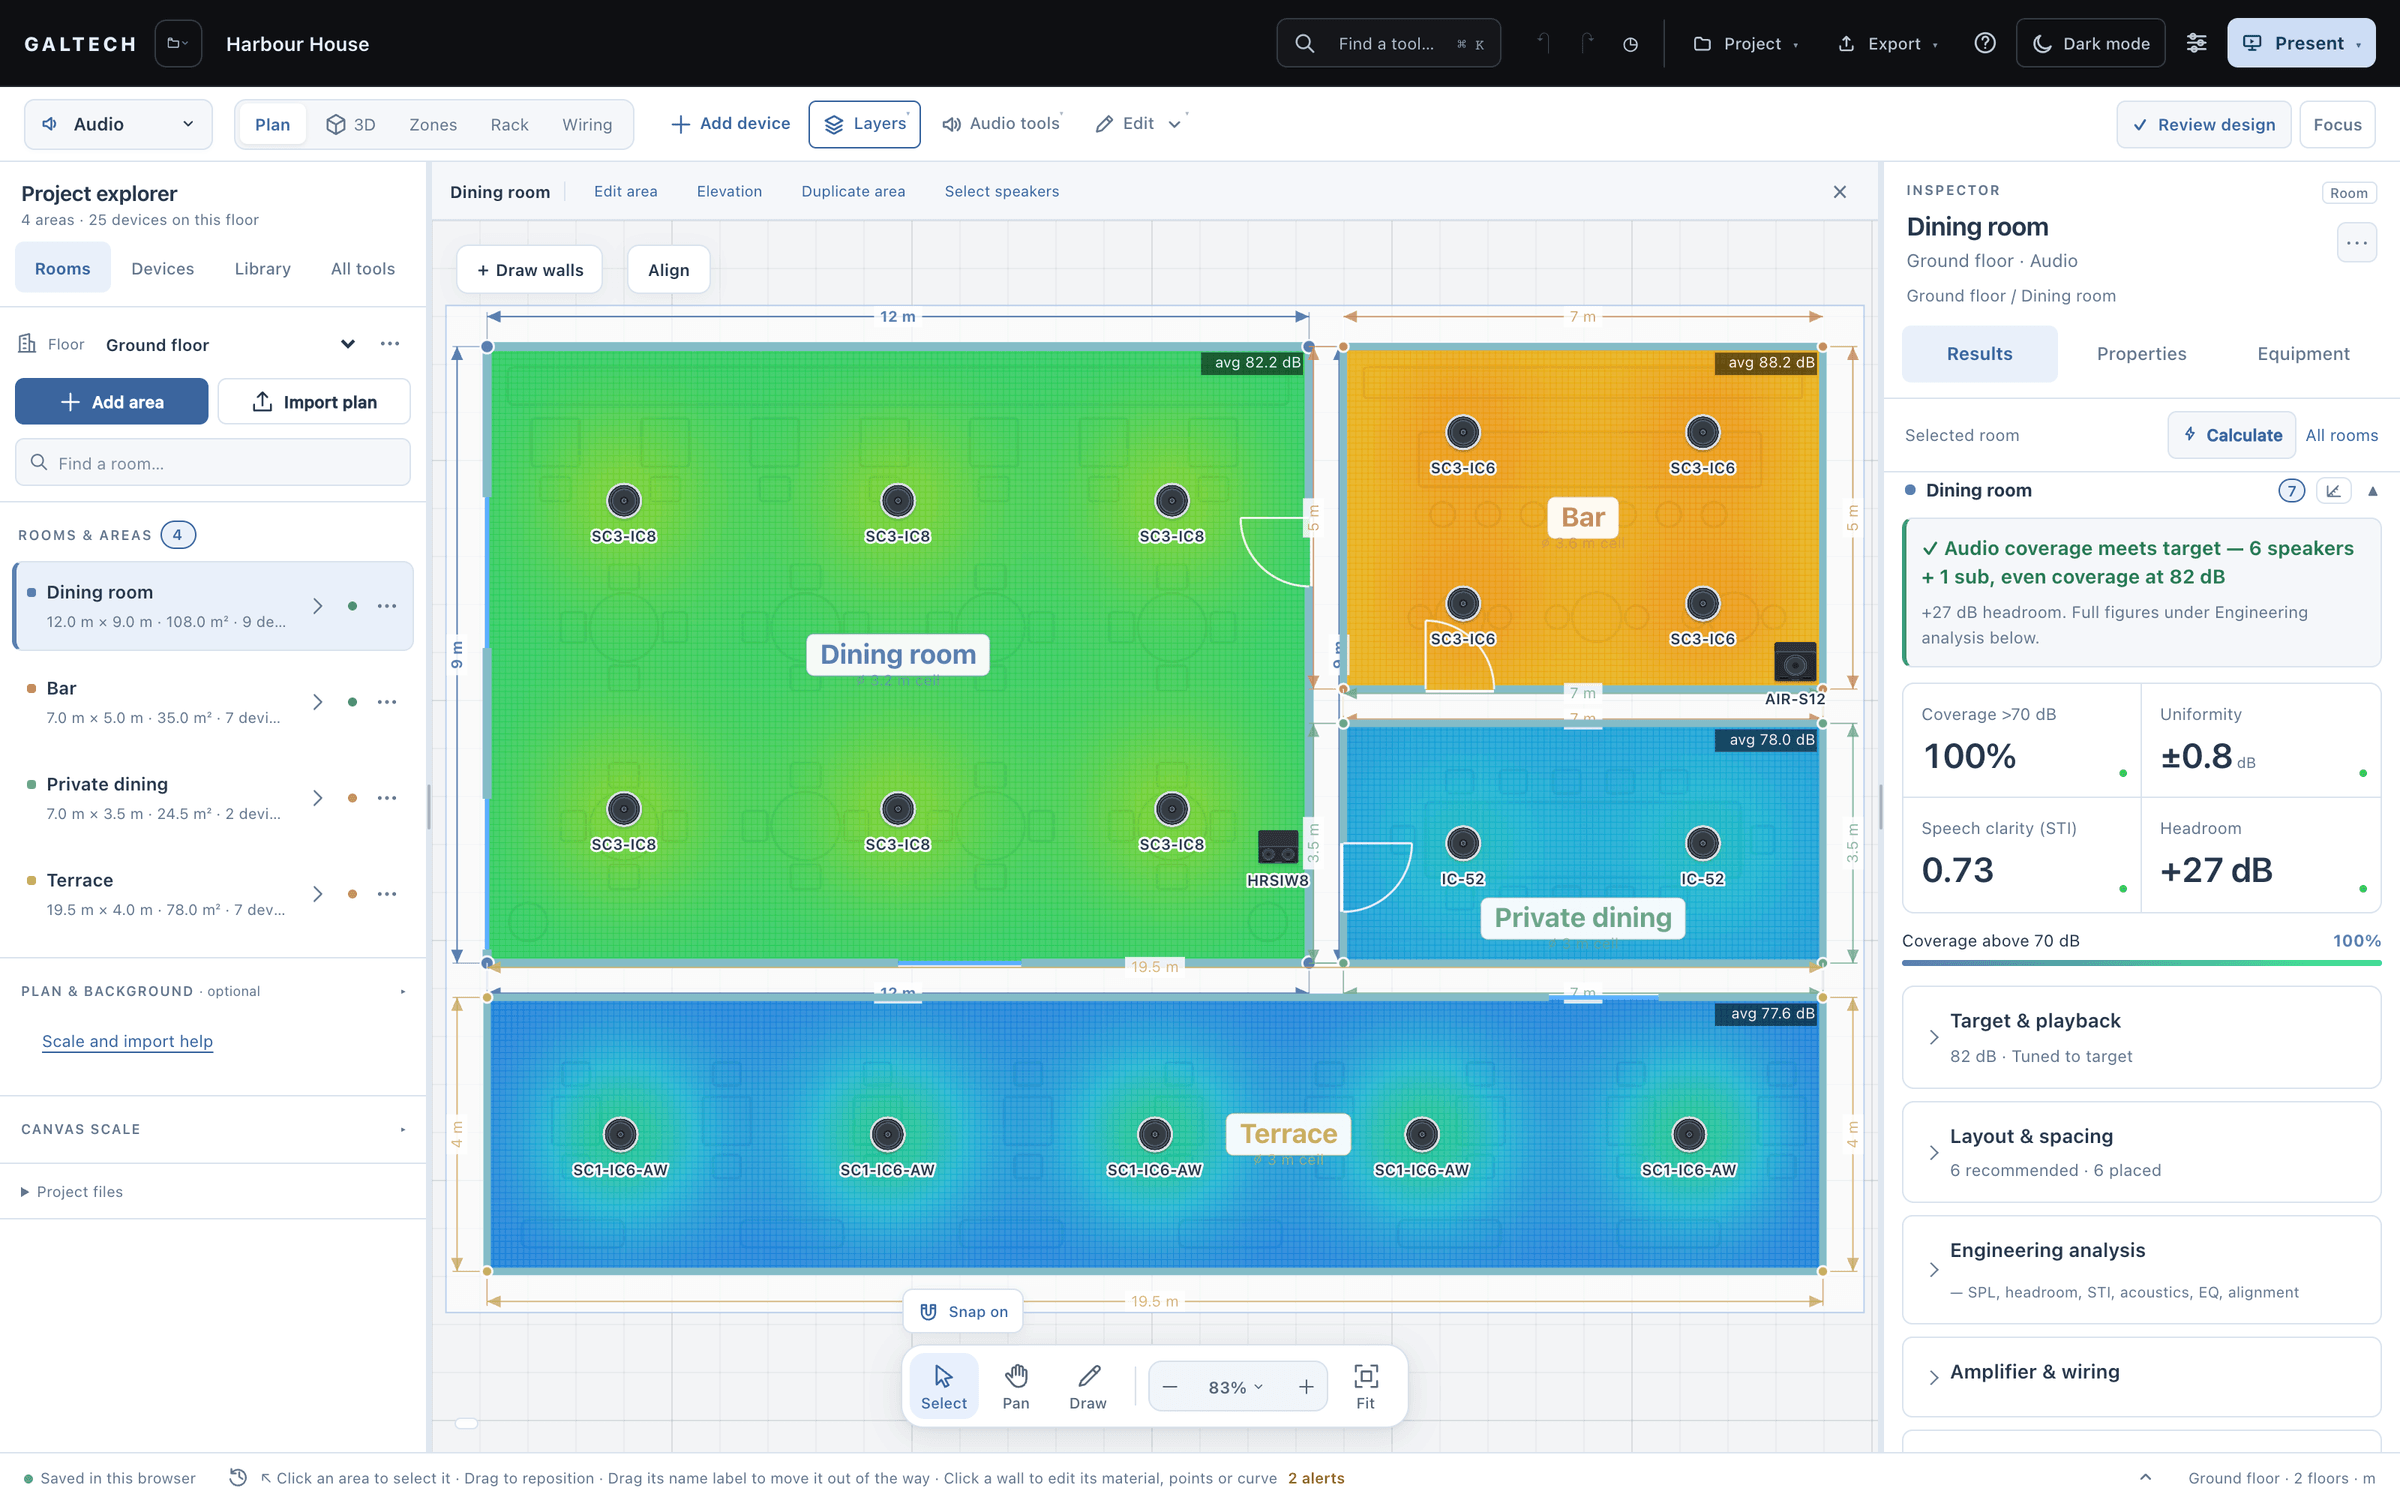
A project holds five disciplines: Audio, Network, CCTV, Video and Automation. The selector at the top left of the workspace switches between them. The floor plan, the areas and the walls are shared, so you draw the building once and every discipline uses the same rooms. Fix a wall length while you place cameras, and the audio design sees the same change.
| Discipline | What you design there | Start with |
|---|---|---|
| Audio | Speakers, coverage, room acoustics, amplifiers and zones | Place speakers precisely |
| Network | Access points and the Wi-Fi signal, band by band | Design Wi-Fi coverage |
| CCTV | Cameras, the image detail they give, and the recorder | Place and aim CCTV cameras |
| Video | Sources, displays and the system that joins them | Design video distribution |
| Automation | The control system, its touch panels and its connections | Plan control and automation |
Audio is the deepest of the five. Every area gets a predicted sound level, a speech intelligibility score, a reverberation time and a standards check. The other disciplines share the plan with it, and all five meet again in the rack, the wiring and the reports.
The catalogue behind them holds 308 real devices: 153 speakers, 34 amplifiers, 55 rack and system items, 20 access points, 34 cameras and 12 recorders, each with the figures from its datasheet.
The order the work follows
Most projects move through five steps, and these docs follow the same order.
- Draw. Import the architect’s drawing and set its scale, or draw the rooms from site measurements. See Import a floor plan and set its scale.
- Place. Choose real products from the catalogue and put them where they will be installed. See Place speakers precisely.
- Analyse. Read the predicted coverage and the results, then refine one device at a time. See Read coverage and the SPL heatmap.
- Present. Show the client the design in 3D, walk through it and listen, or send a tour to their phone. See Review in 3D and walk and listen.
- Hand over. Export the reports, the priced proposal, the bill of materials, the CAD drawings and the installer’s schedules. See Prepare reports and the handover package.
What the predictions are, and are not
The tool predicts sound level, coverage, speech intelligibility and reverberation from the room, its surfaces and the datasheets of the products you place. Wi-Fi signal and camera image detail are predicted the same way, from the walls and the devices. The figures are good enough to choose a layout, size the equipment and price the job before anything is bought.
Note
Predictions are a professional planning baseline, not a guarantee. Commission the installed system with an SPL meter, and an STI check for speech. How accurate are the predictions? explains where the model is strongest and where to treat it as an estimate.
Before you start
- Access. The tool is for companies. Approved companies get a 15-day trial; dealers have it in their portal. See Get access and start a trial.
- Where it runs. A current desktop browser, or the Windows app, which keeps working offline for up to 7 days. See System requirements.
- Your first hour. Learn the three columns of the workspace in Find your way around the workspace, then bring in a drawing.
Prefer to watch
The tool’s own Learning Centre has 4 narrated lessons, about 40 minutes in all. The first one is a tour of the workspace and the sample project.