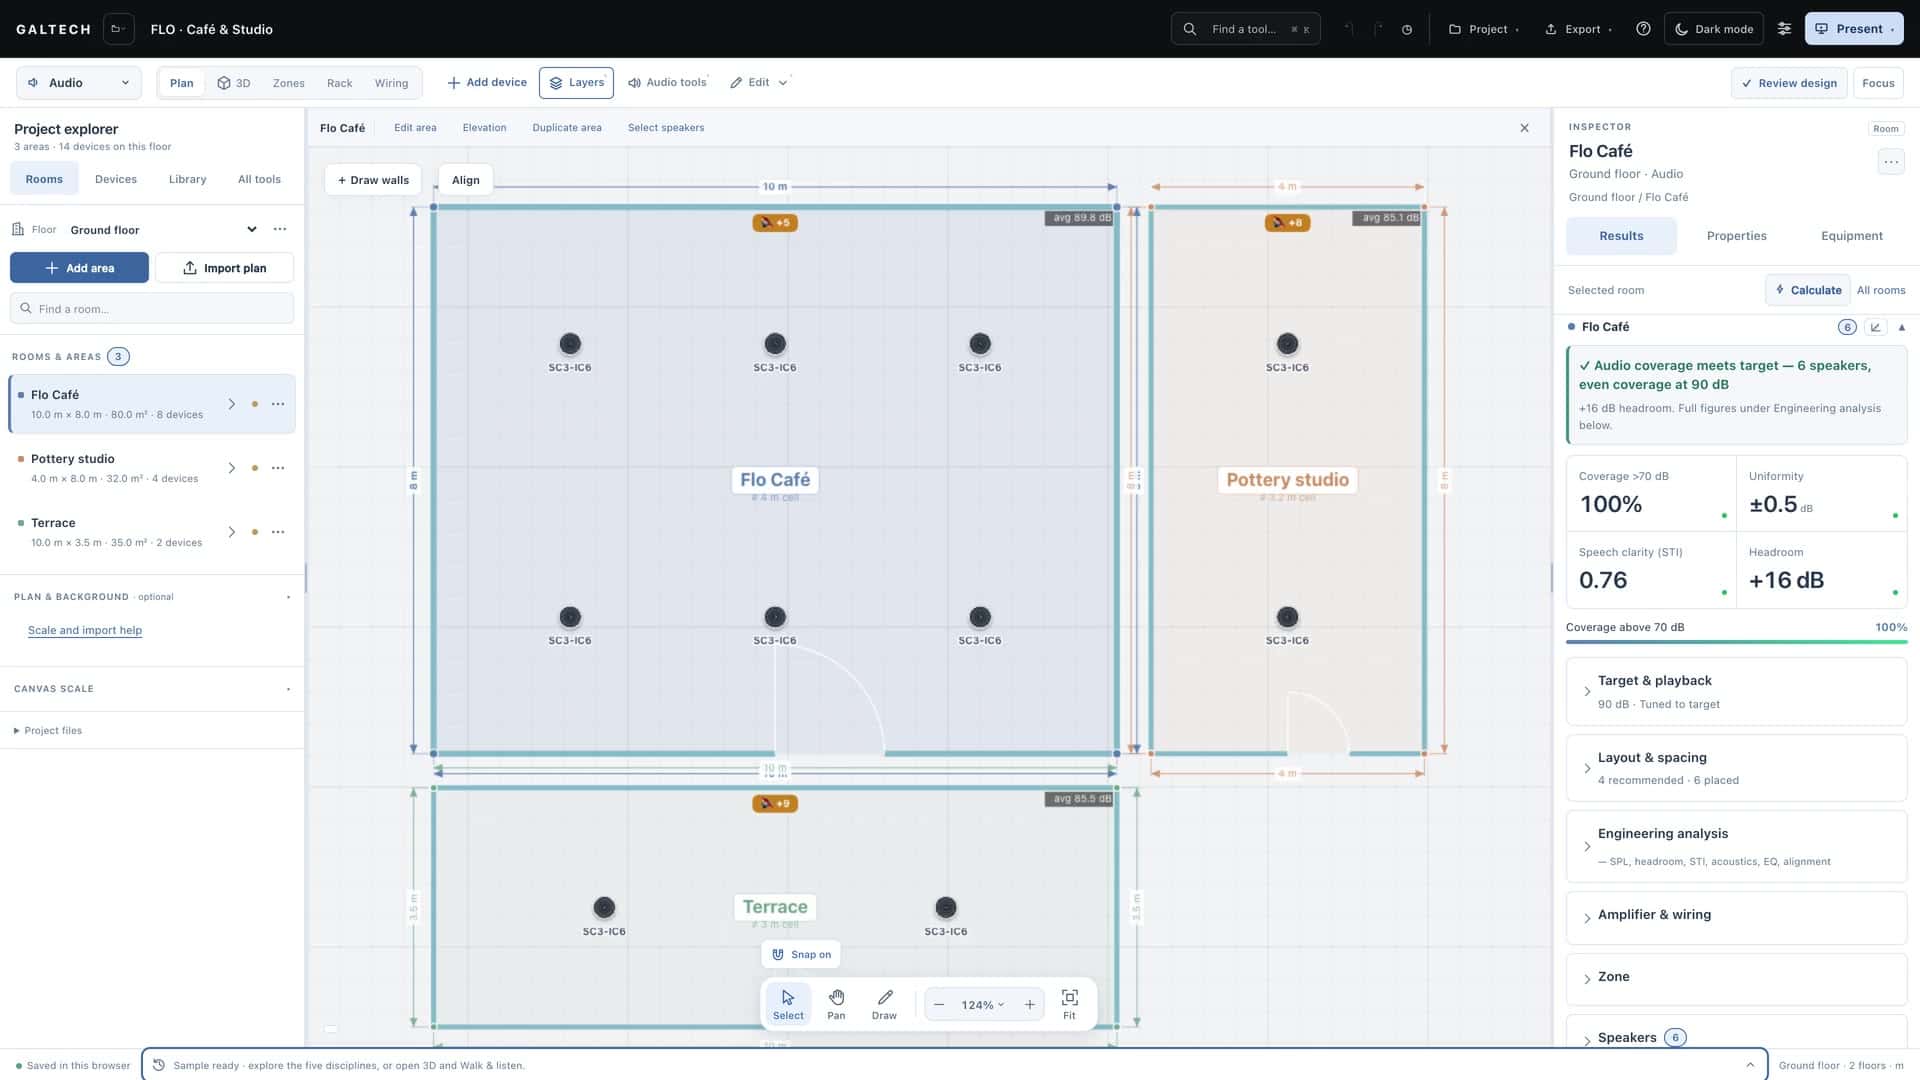
Plans and rooms
Draw walls and set their materials
Draw walls in the material they are built from, edit one segment at a time, bend it into an arc, and see how materials change sound leaks, Wi-Fi and the 3D.
On this page
Walls are more than lines on the plan. Each one has a material, and the tool uses it: for the sound that leaks from one room into the next, for the Wi-Fi signal that gets through, for the reverberation estimate and for the 3D model. Draw a glass shopfront as glass and a party wall as concrete, and the design knows the difference.
Draw walls in their material
- Choose Draw walls, above the plan.
- Before you draw, pick the material for the walls you are about to place: standard or heavy drywall, concrete, brick, wood, metal, glass, or a door. Each shows its sound reduction in decibels.
- Click corner after corner.
- Choose Finish.
Edit one wall at a time
- Select the wall. With Select active, click the middle of a wall segment. The blue highlight, the end handles and the wall number in Edit wall show which one you have.
- Change its length. Type a new Length, then press Tab or click outside the field to apply it. Look at the corners next to it: a length change can move them.
- Choose its material. Open Wall material and choose how the wall is built. Scroll the list if you need to, check the highlighted choice, then select the next wall to check its own setting.
- Curve or straighten it. Choose Arc to show the Bend field, and adjust it in small steps, applying each value. Straight removes the bend.
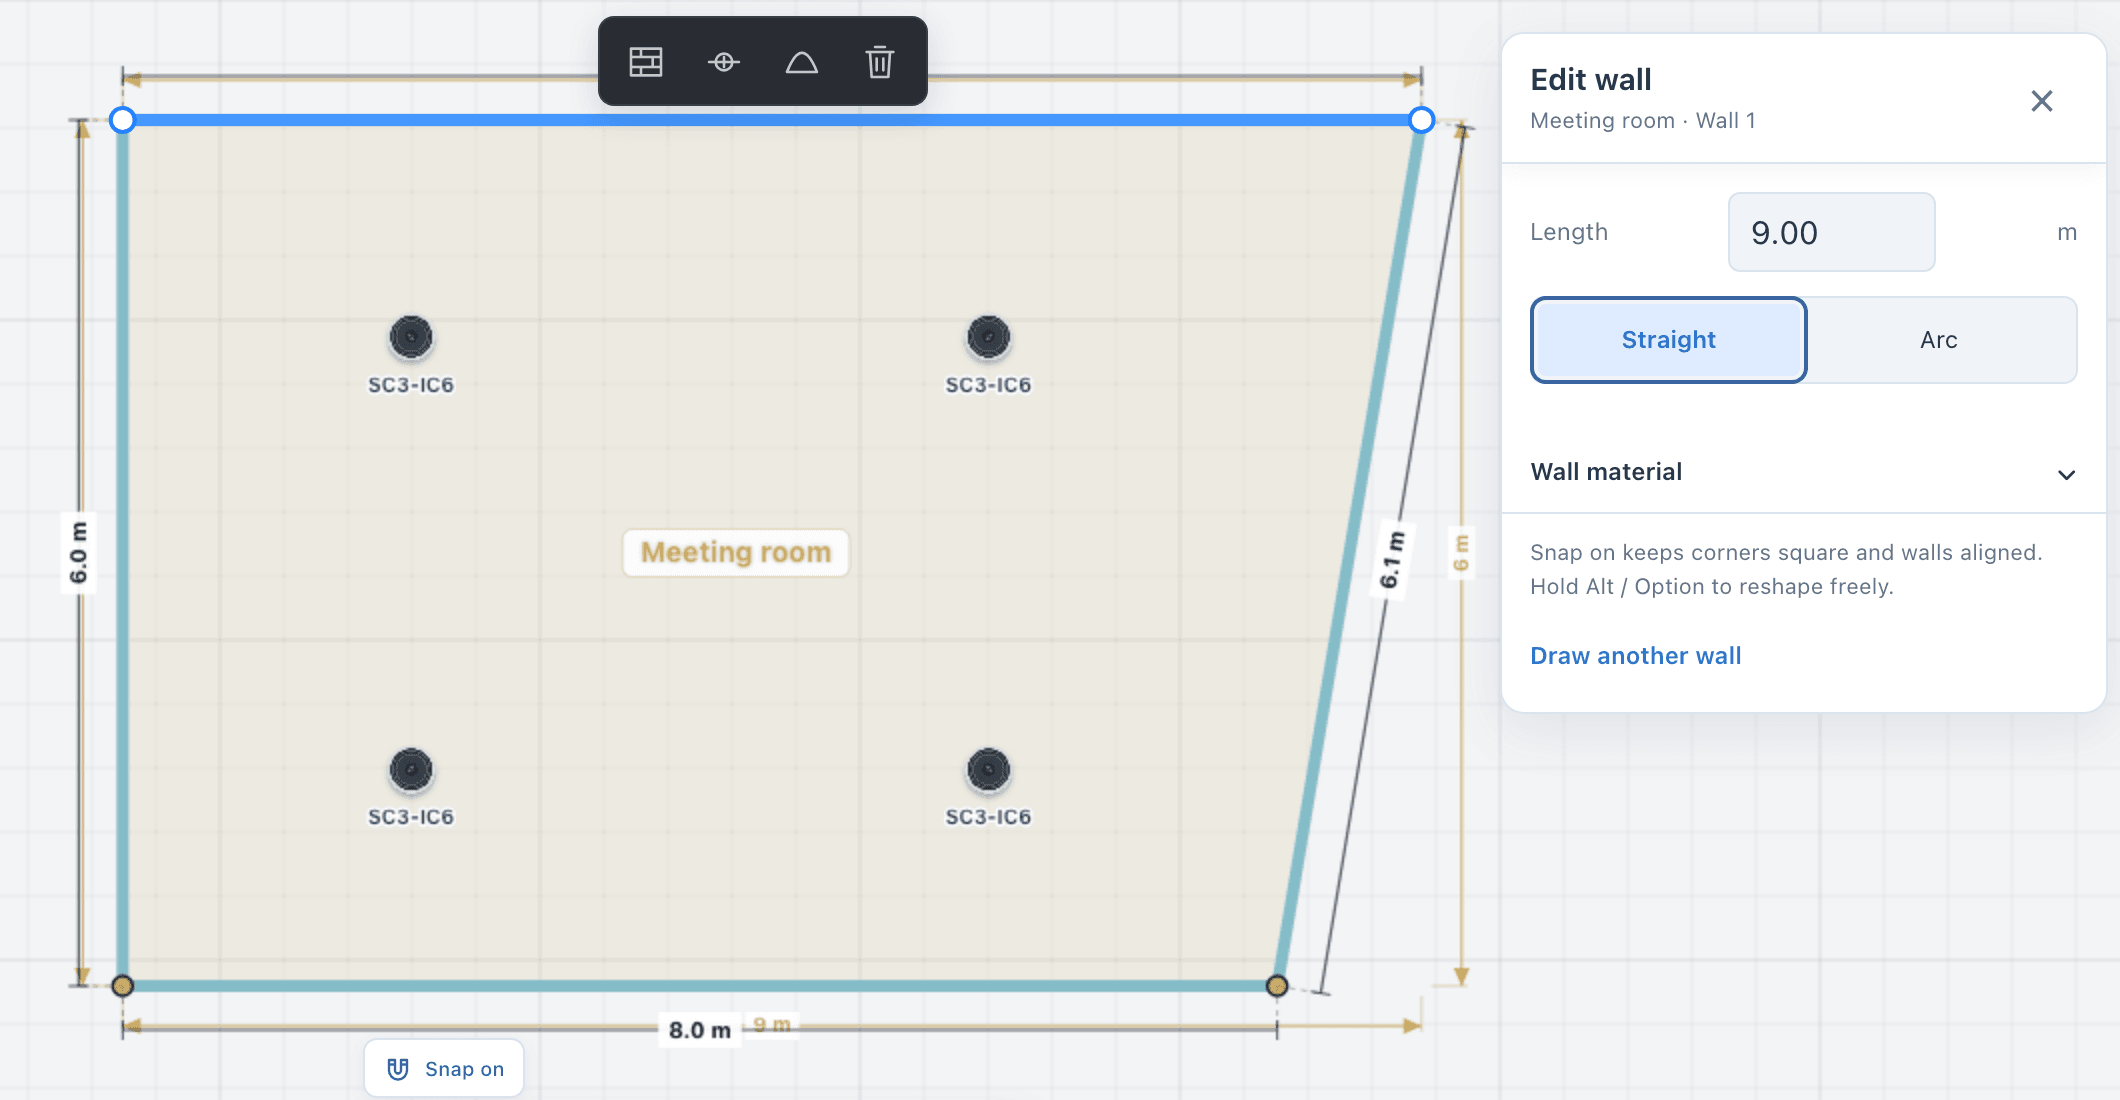
The wall toolbar at the top of the plan, beside Draw walls and Align, adds a point to the wall for a recess, turns it into an arc, or deletes it. Corners and neighbouring walls follow, and the room’s outline stays closed.
Tip
With Snap on, corners stay square and walls stay aligned. Hold Alt, or Option on a Mac, to reshape freely.
What a material changes
- Sound between rooms. The tool works out how much sound leaks from one area into the next through the walls between them, and the status bar warns when the leak rises above the neighbouring room’s background level. A heavier wall, or a different layout, brings it down.
- Wi-Fi. A glass partition barely touches the signal; a concrete wall takes a large bite out of it. The Wi-Fi heatmap uses the same walls. See Design Wi-Fi coverage.
- Reverberation. When you estimate RT60 from the room rather than typing it in, the wall materials count with the floor and ceiling finishes. See Set room acoustics and RT60.
- The 3D view. Walls are drawn in their material and thickness.
Shape and material are separate choices: changing a wall’s curve never changes what it is built from.
Check the whole outline
A new length moves the corners at both ends of the wall, and so its neighbours. After an edit, look at the whole outline, compare it with the drawing underneath, and check the material on each wall before you place devices.