Audio
Place speakers precisely
Find a model in the library, place it, then set its exact position, height and mount, swap models in one step, and line up several speakers at once.
On this page
Every audio design starts in the library. Choose a real model, place it, then set where it is installed as numbers rather than by eye. Position, mounting and aiming are separate settings, so you can change one without disturbing the others.
Find a model
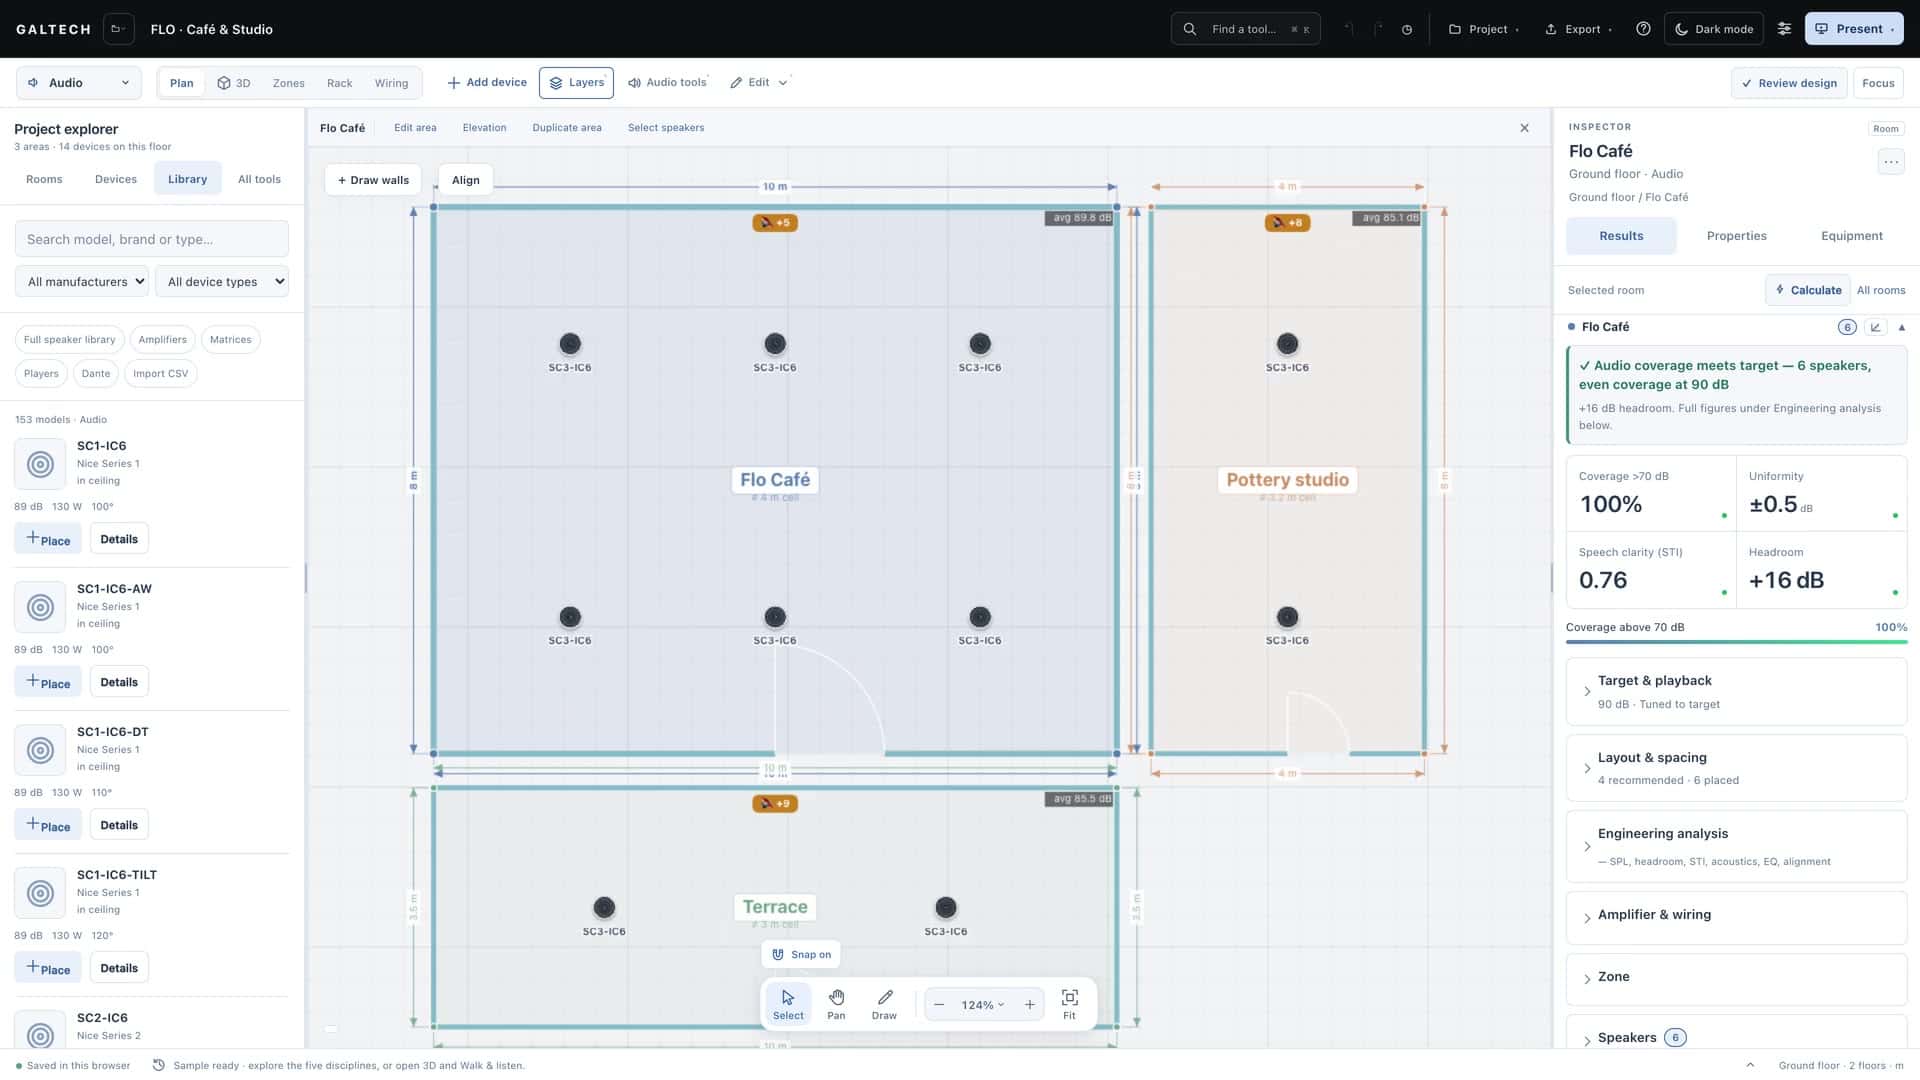
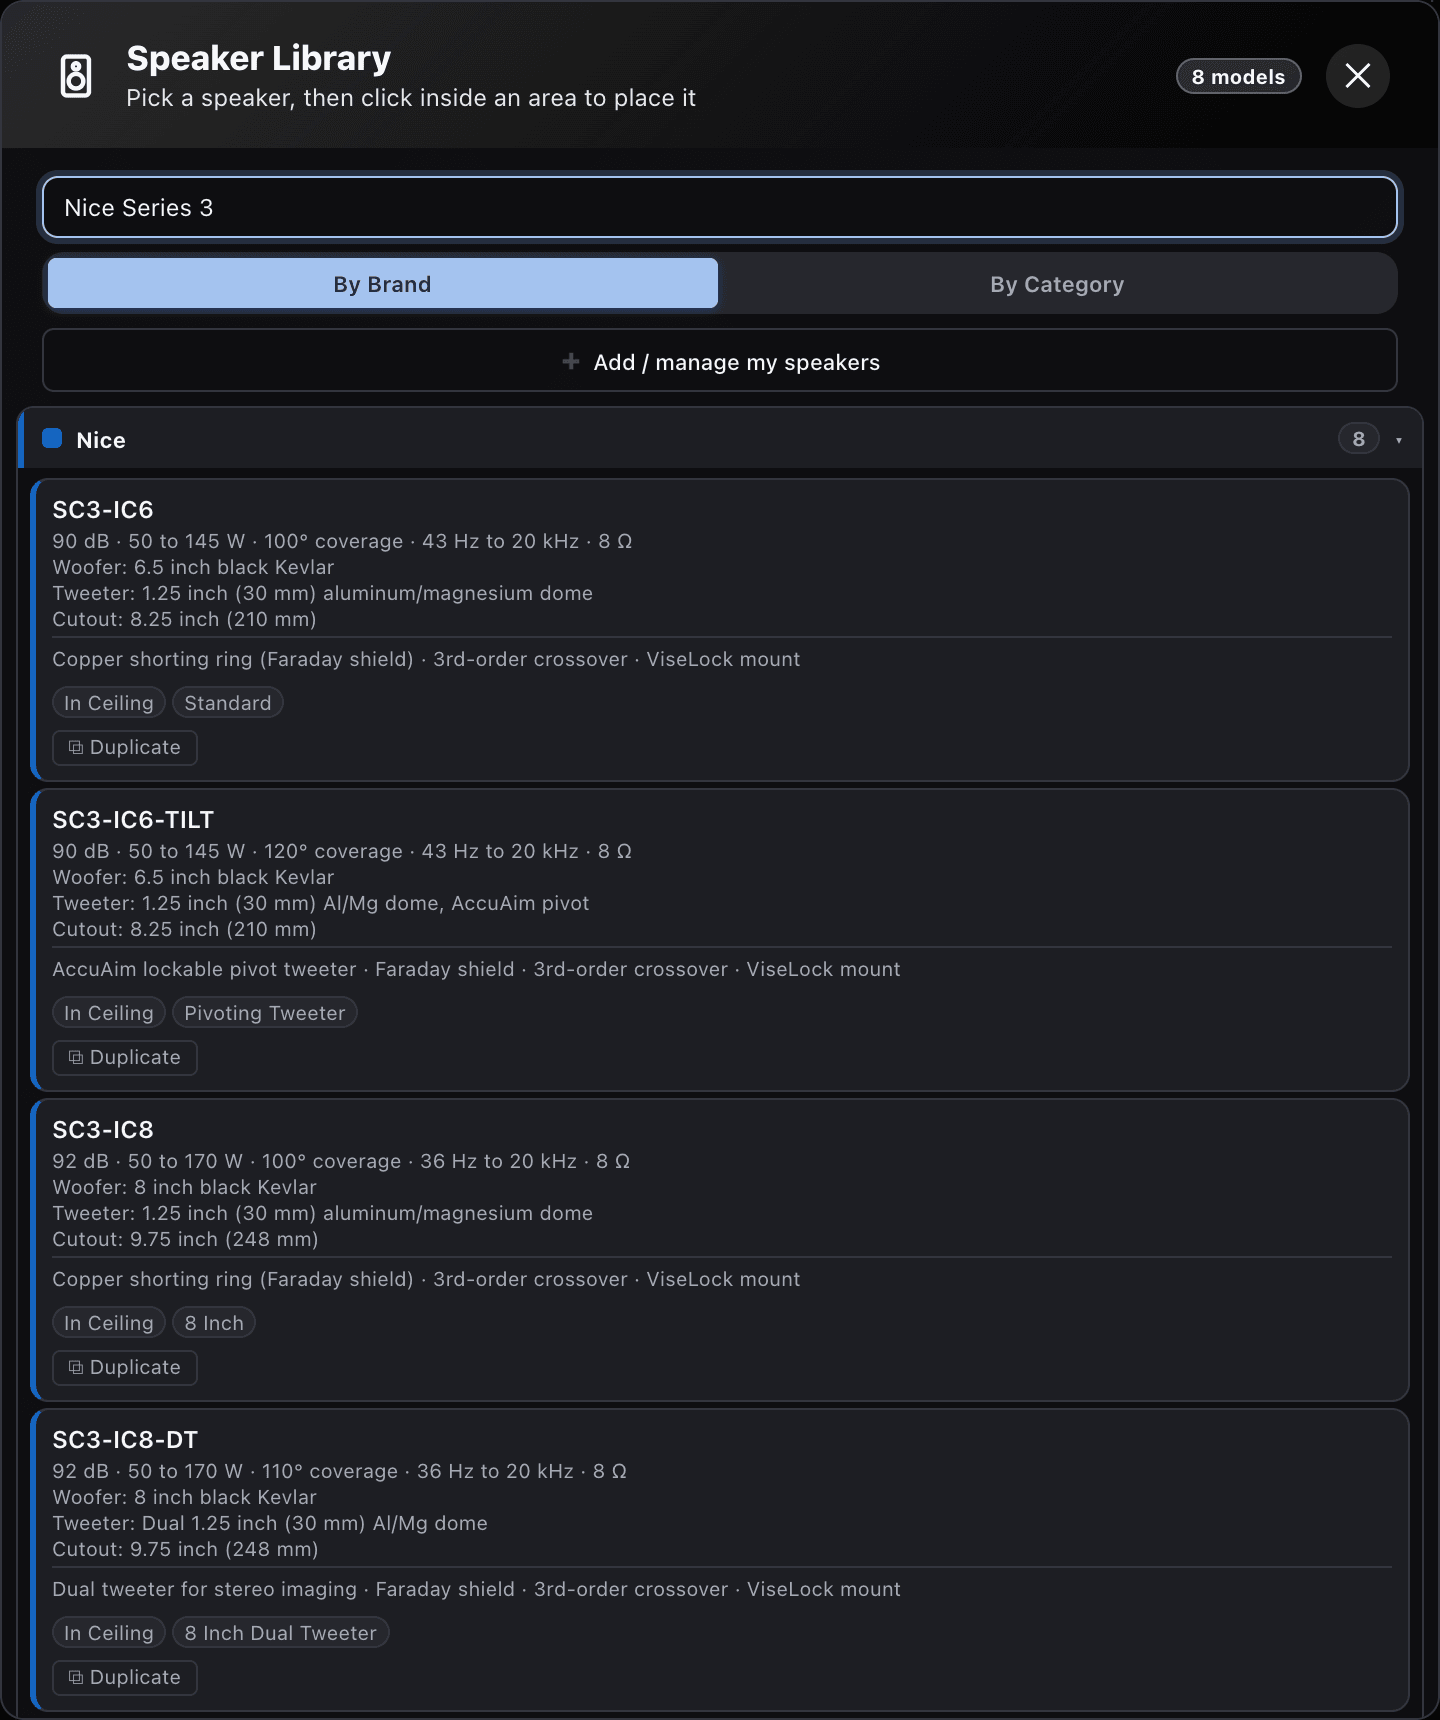
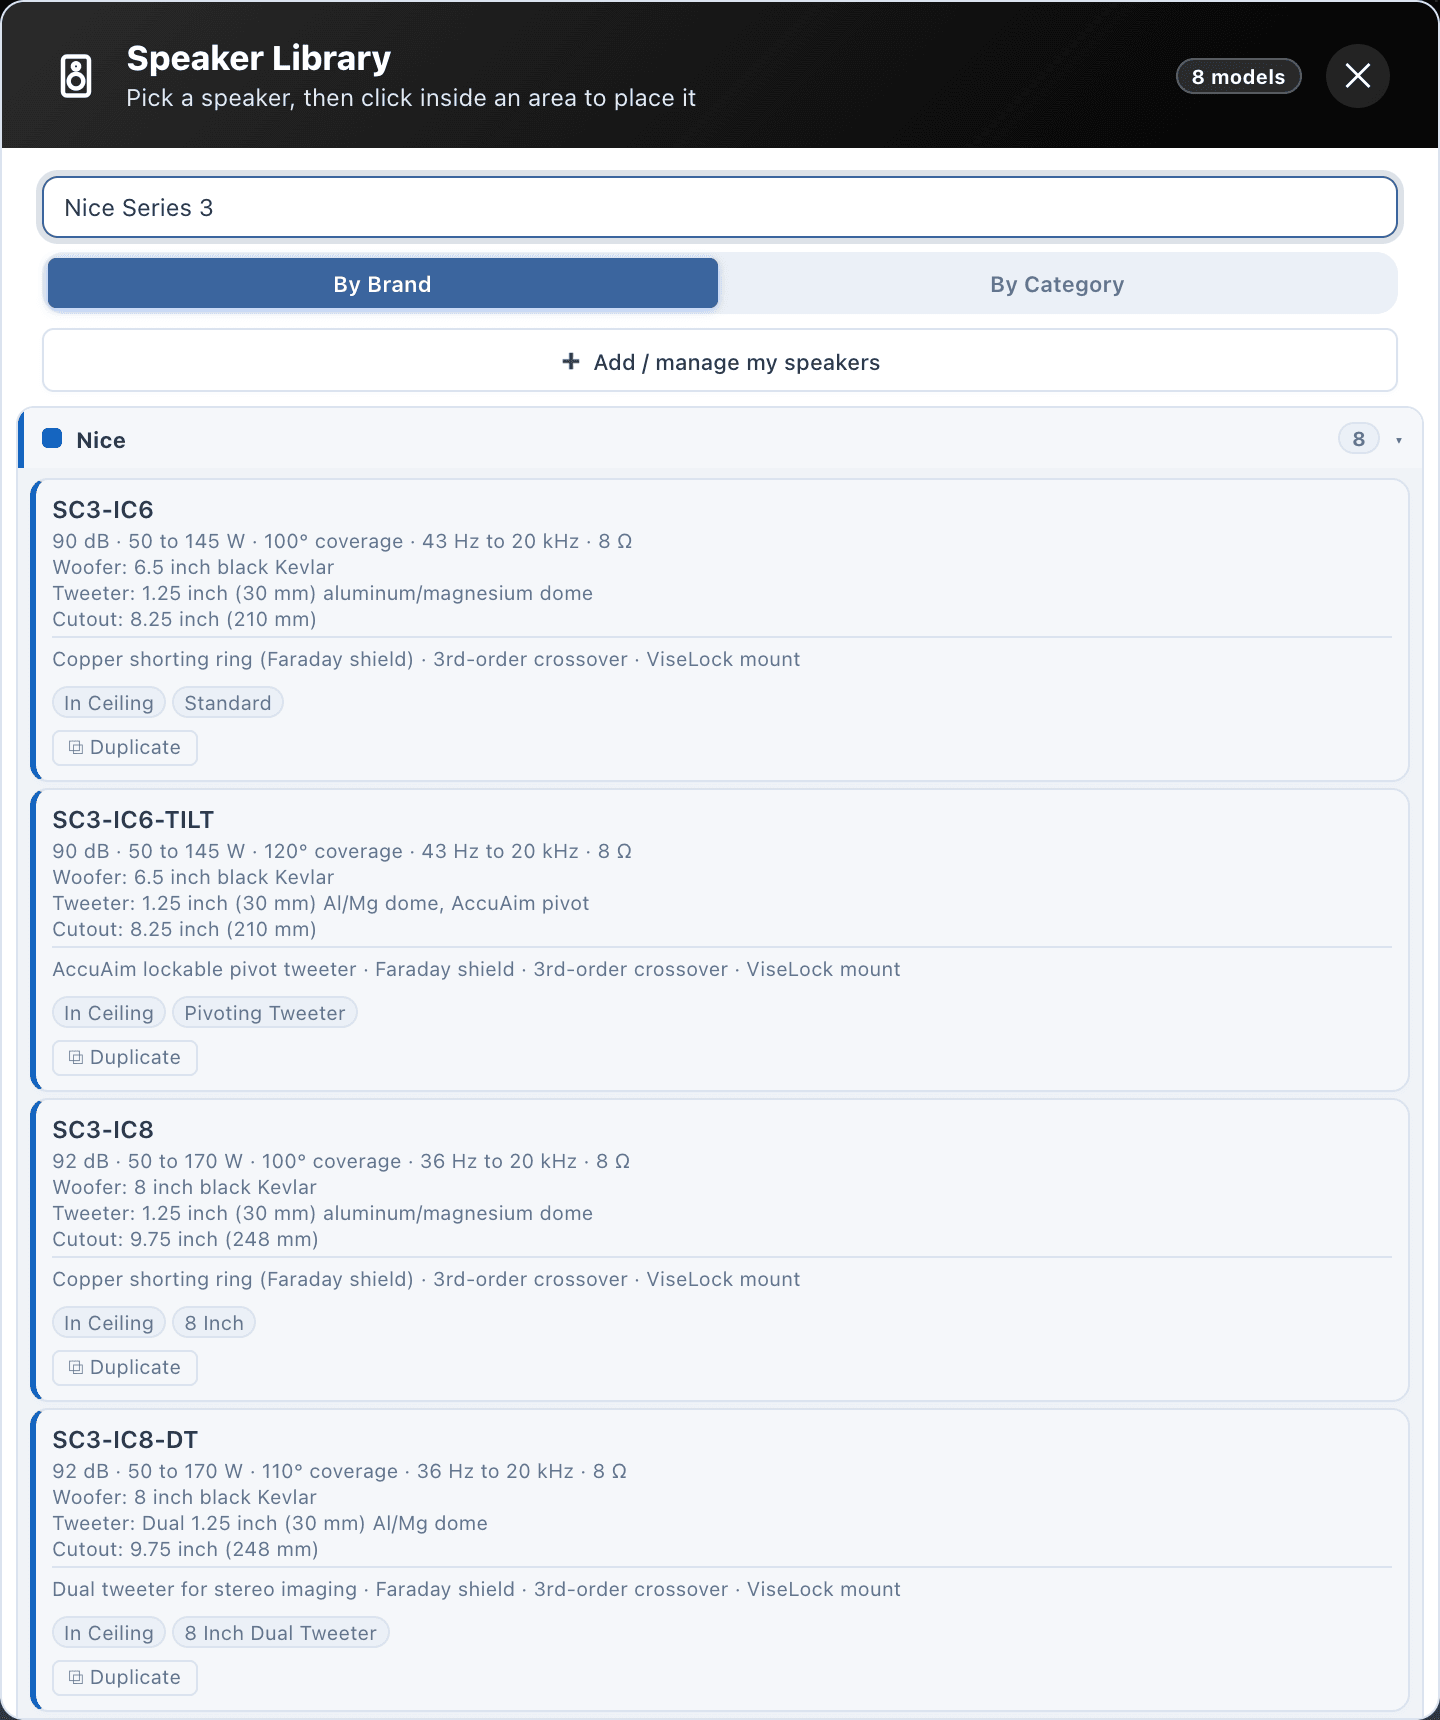
The Library is the third tab of the Project explorer. The speaker library opens by default, with separate lists for amplifiers, matrices, players and Dante devices along the top. The catalogue holds 153 speaker models, from in-ceiling and in-wall to surface, corner, garden and subwoofers.
- Search by model, brand or type. Type “IC6”, for example, and the list narrows to the models with that in their name.
- Filter by manufacturer or by device type, to see only in-ceiling models, say, or only subwoofers.
- Details opens the datasheet figures without placing anything. Sensitivity, power handling and coverage angle matter most: together they decide how loud each speaker is and how far it reaches.
Place it and set its position
- Choose Place on the model. The cursor is armed: click inside the room to install the speaker at the pointer.
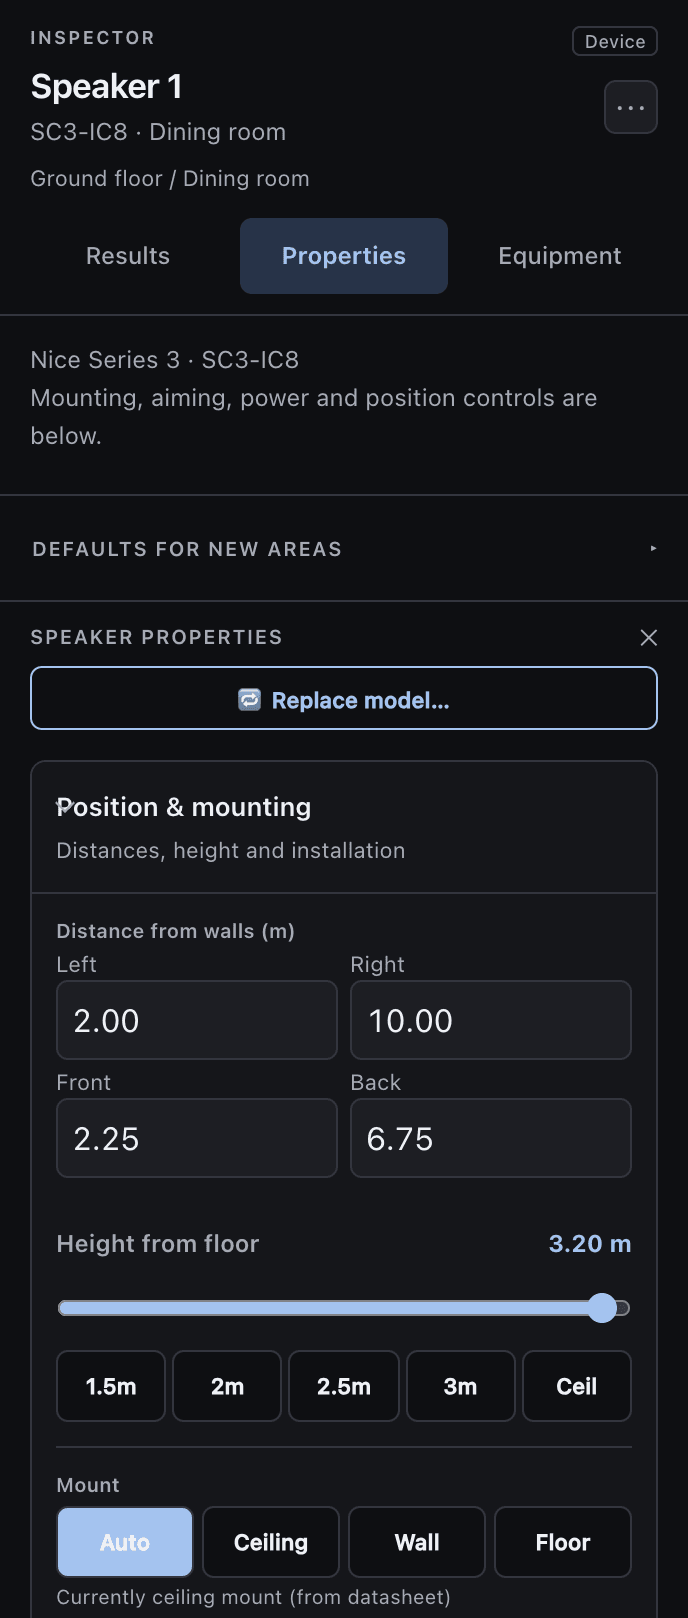
- Choose Select and click the speaker. The Inspector switches to its Properties.
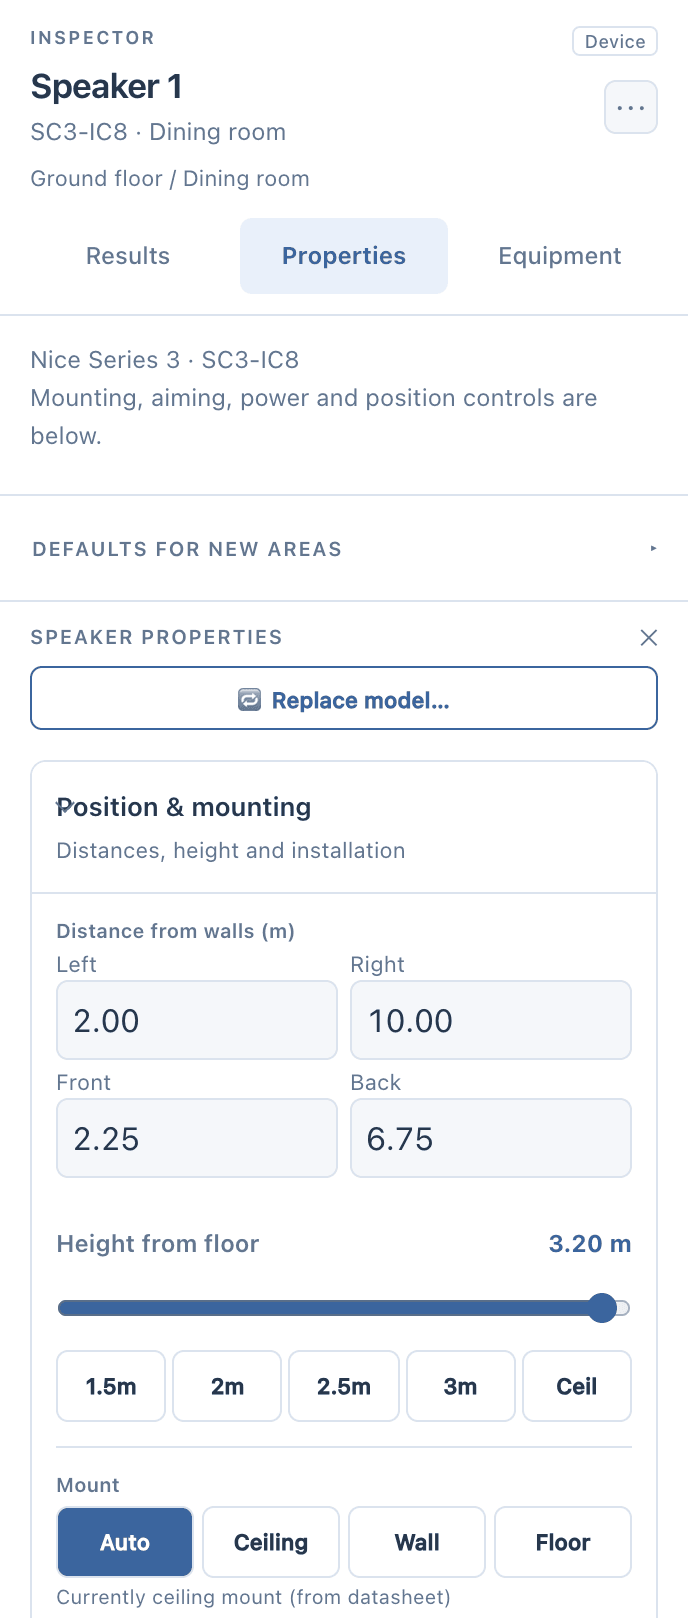
- Open Position & mounting. In a rectangular room, Distance from walls shows the left, right, front and back distances in metres. Type the left and front values from the drawing, rather than nudging by eye.
- Select the speaker again to refresh the four distances, and check them all.
- Check Height from floor, the mounting height, and Mount. Mount is normally Auto, which reads the datasheet; force a ceiling, wall or floor mount when the installation is unusual.
Free position or stick to wall
- Free position lets the speaker sit anywhere in the area.
- Stick to wall attaches it to the nearest wall. When you drag it later it slides along the wall and stays aimed into the room. For on-wall models, this is the setting you want.
Mounting and height stay separate from the aim, and the aim is kept when you switch to 3D or the walk-in. Aiming has its own page: Aim a speaker and read the vertical coverage.
Swap a model
Replace model, at the top of the speaker’s properties, swaps this speaker for another model, or every matching speaker in the area or in the whole design. Position and aim are kept, which is handy when the client changes their mind about the range.
Place several speakers at once
- With Select, Shift-click each speaker to add it to the selection. Selected speakers get a cyan ring, and a panel appears once two or more are selected.
- Align left, right, top or bottom lines them up to a common edge. They must be in the same area.
- Space evenly, horizontally or vertically, spreads them at equal spacing between the two end units: exactly what a row down a corridor needs.
- Drag any one of them to move the whole group, or nudge with the arrow pad or the arrow keys; hold Shift for four times the step.
You can also assign the selection to a zone from the same panel. Delete removes every selected speaker.
Snapping
With snapping on, a speaker you drag lines up with the others and shows its distances as you go. Hold Alt while dragging to place it freely for a moment. Speakers never overlap: the tool keeps them apart as you move them.
Your own products
If a model you install is not in the catalogue, Import CSV in the library brings in a whole product book at once, and you can add a model by hand. Adding your own products is switched on per account for paid subscriptions, on request; it is not part of the trial.
Note
The lessons use an AIR-C6 in a rectangular training room. Check the model and the room in your own design: position, mounting and aiming are different edits, so review each before you check the coverage.