Systems
Place and aim CCTV cameras
Place and aim cameras on the shared plan, check the image detail with DORI grades and the pixel-density map, and size the recorder, storage and PoE for the job.
On this page
A camera that can see a doorway is not the same as a camera that can identify the person in it. Switch the discipline selector to CCTV, place the cameras, and check the image detail as well as the field of view.
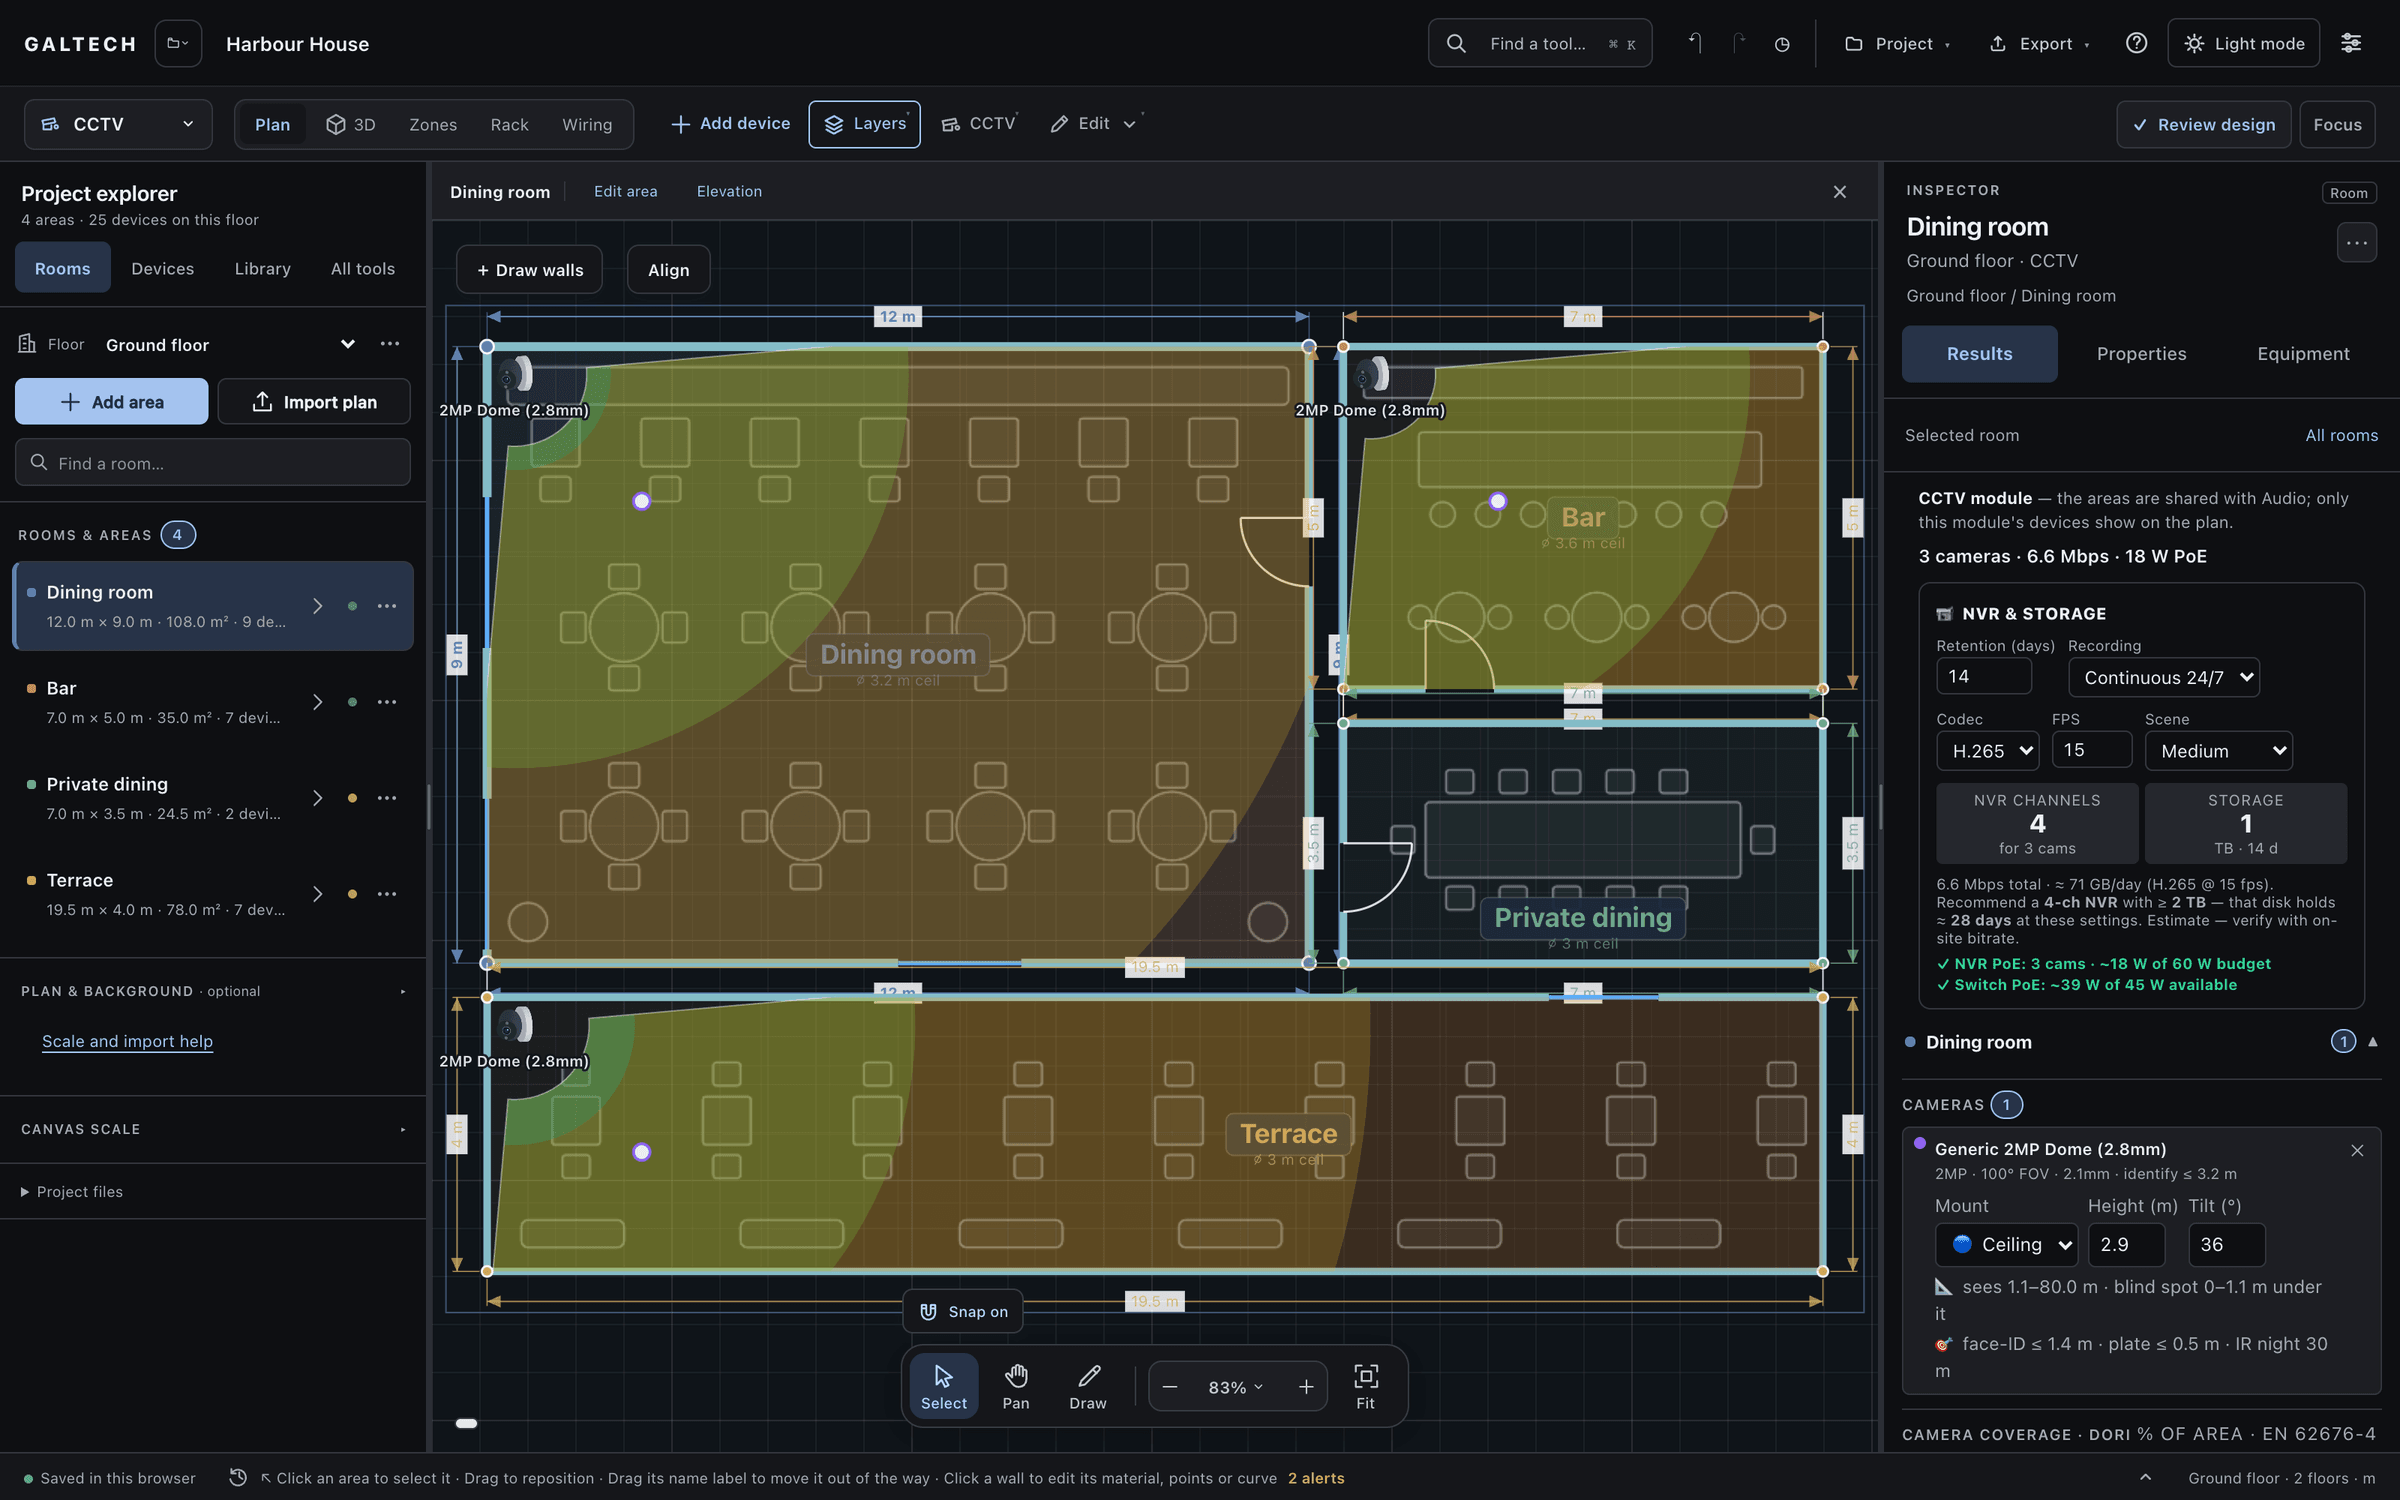
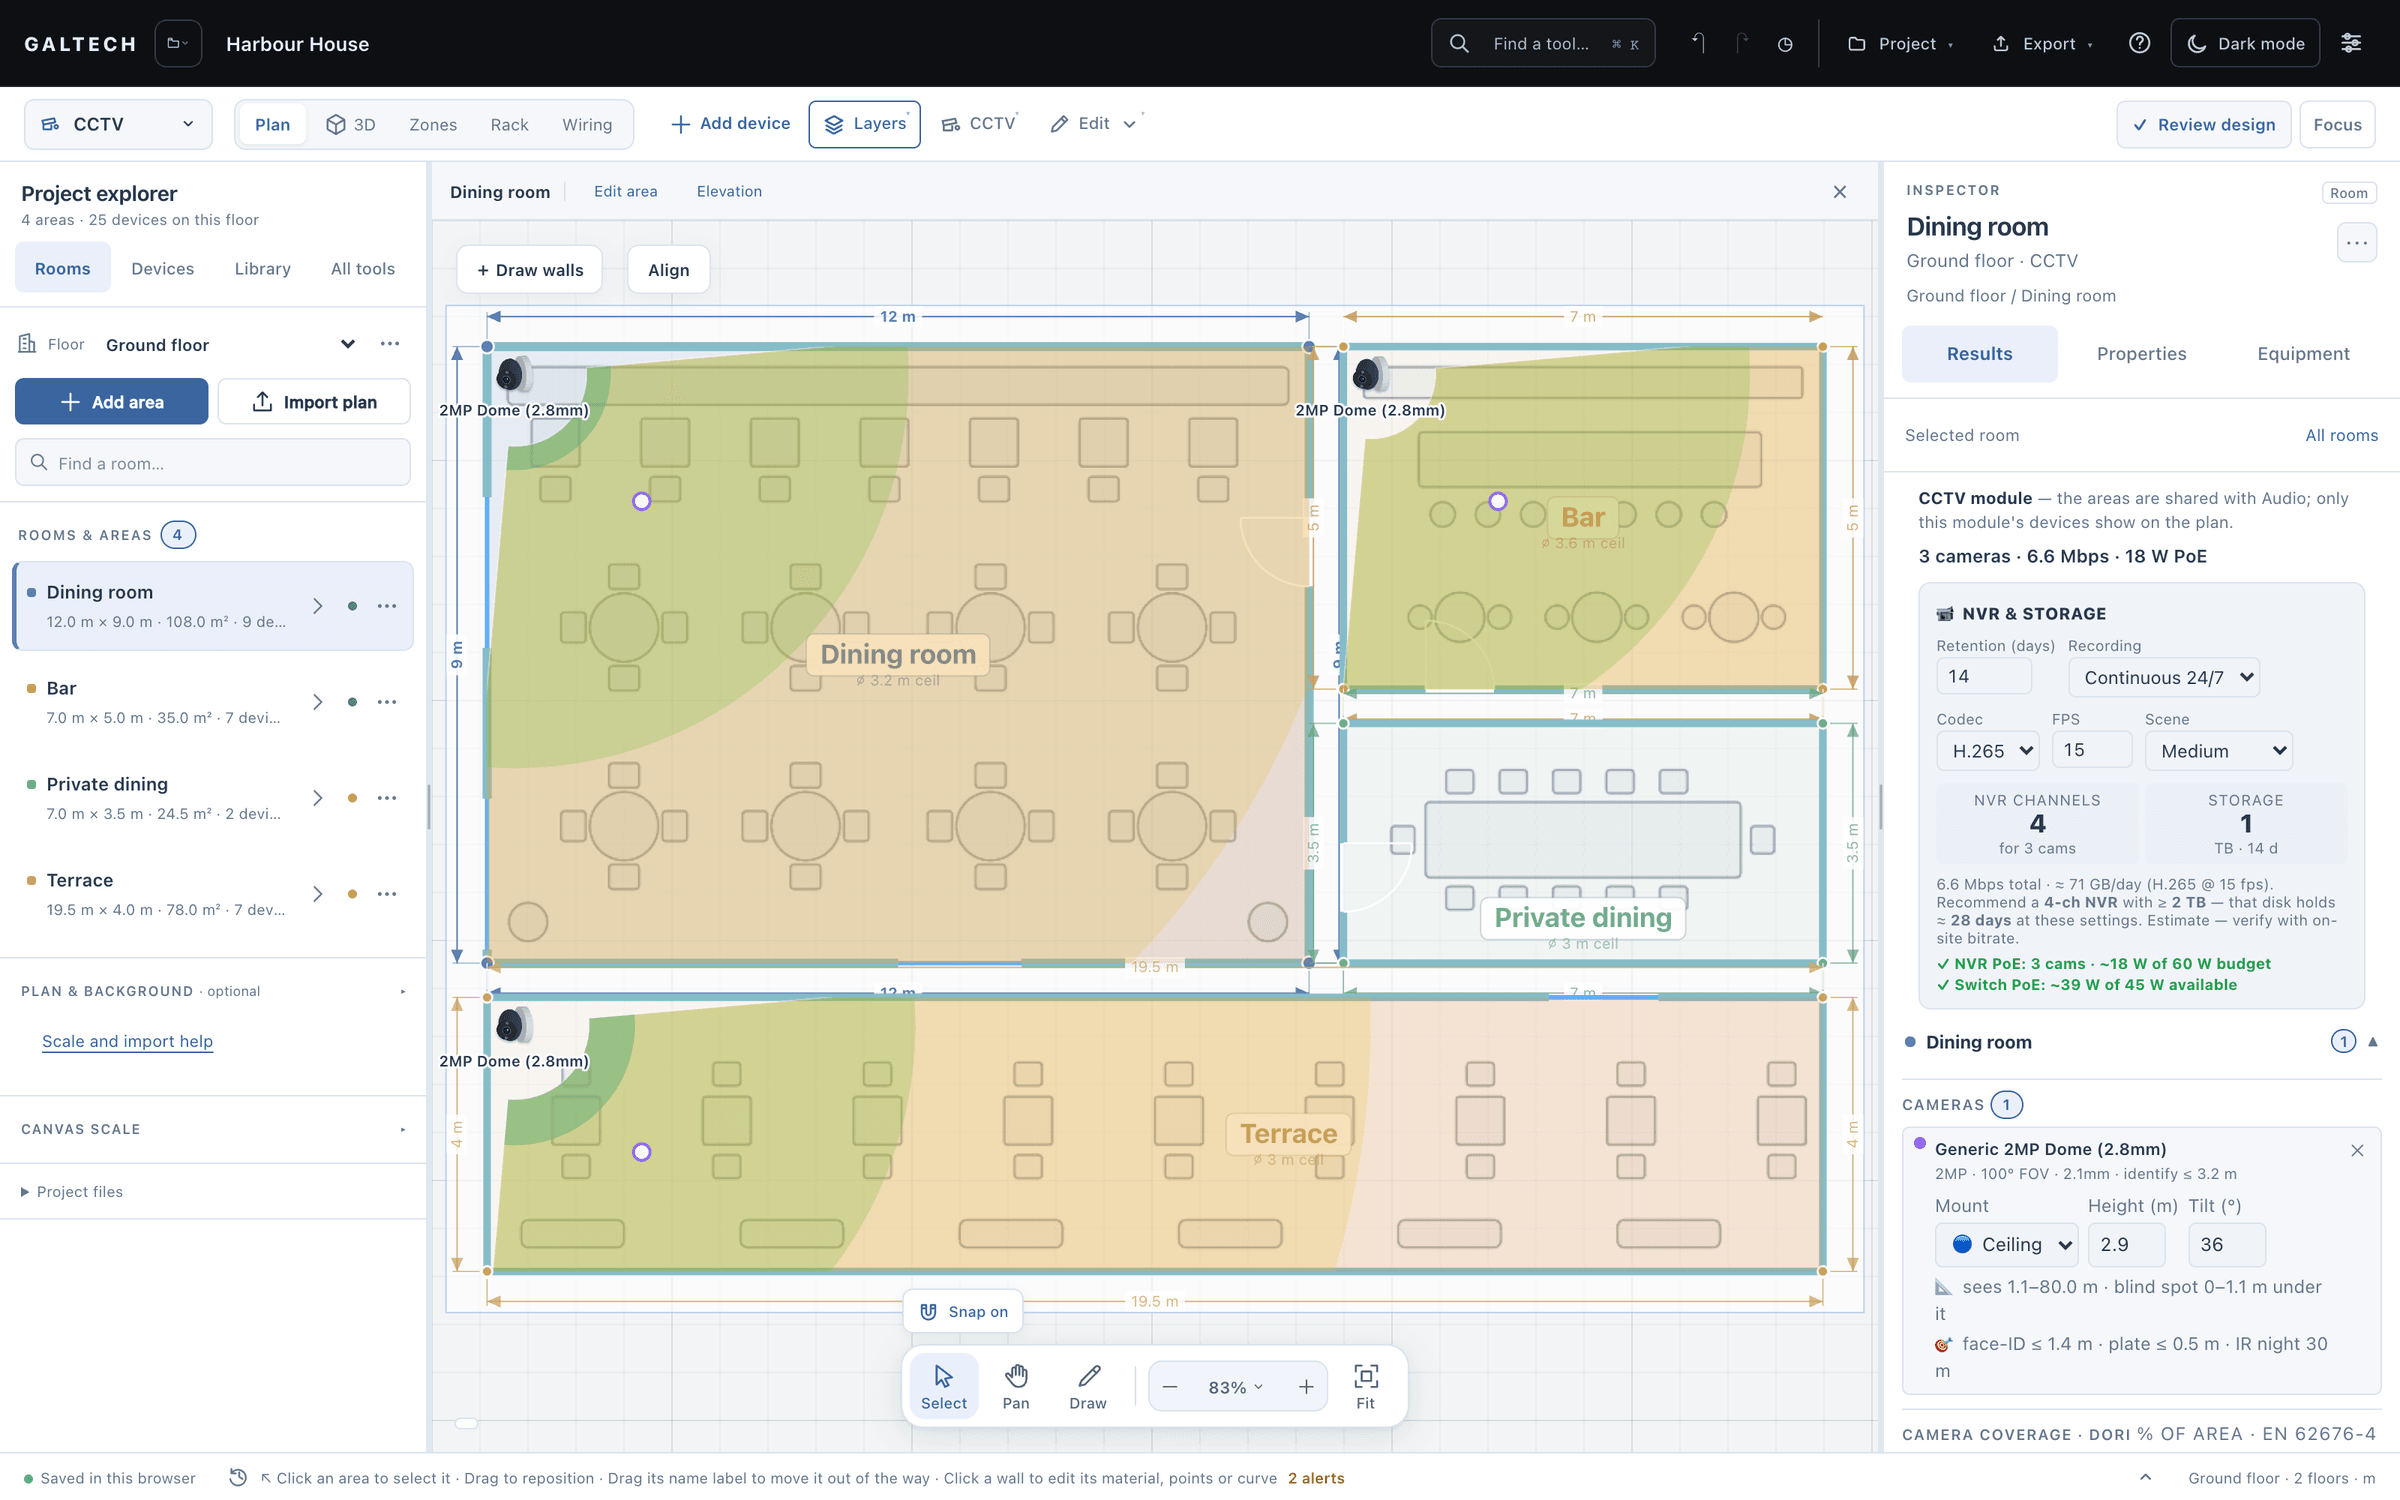
Place, aim and check
- Choose a camera. Open the Library and its cameras, search for a model and open Details. Check the resolution, the lens and the field of view before you choose it.
- Place it. Choose Place and click where it mounts. Choose a ceiling or wall mount; a wall camera snaps flush to the nearest wall and looks into the room. Set its height and tilt in its properties.
- Aim it. In the camera tools, turn on Show FOV / DORI coverage. Drag the camera’s round aiming handle to turn it, then press Esc to finish.
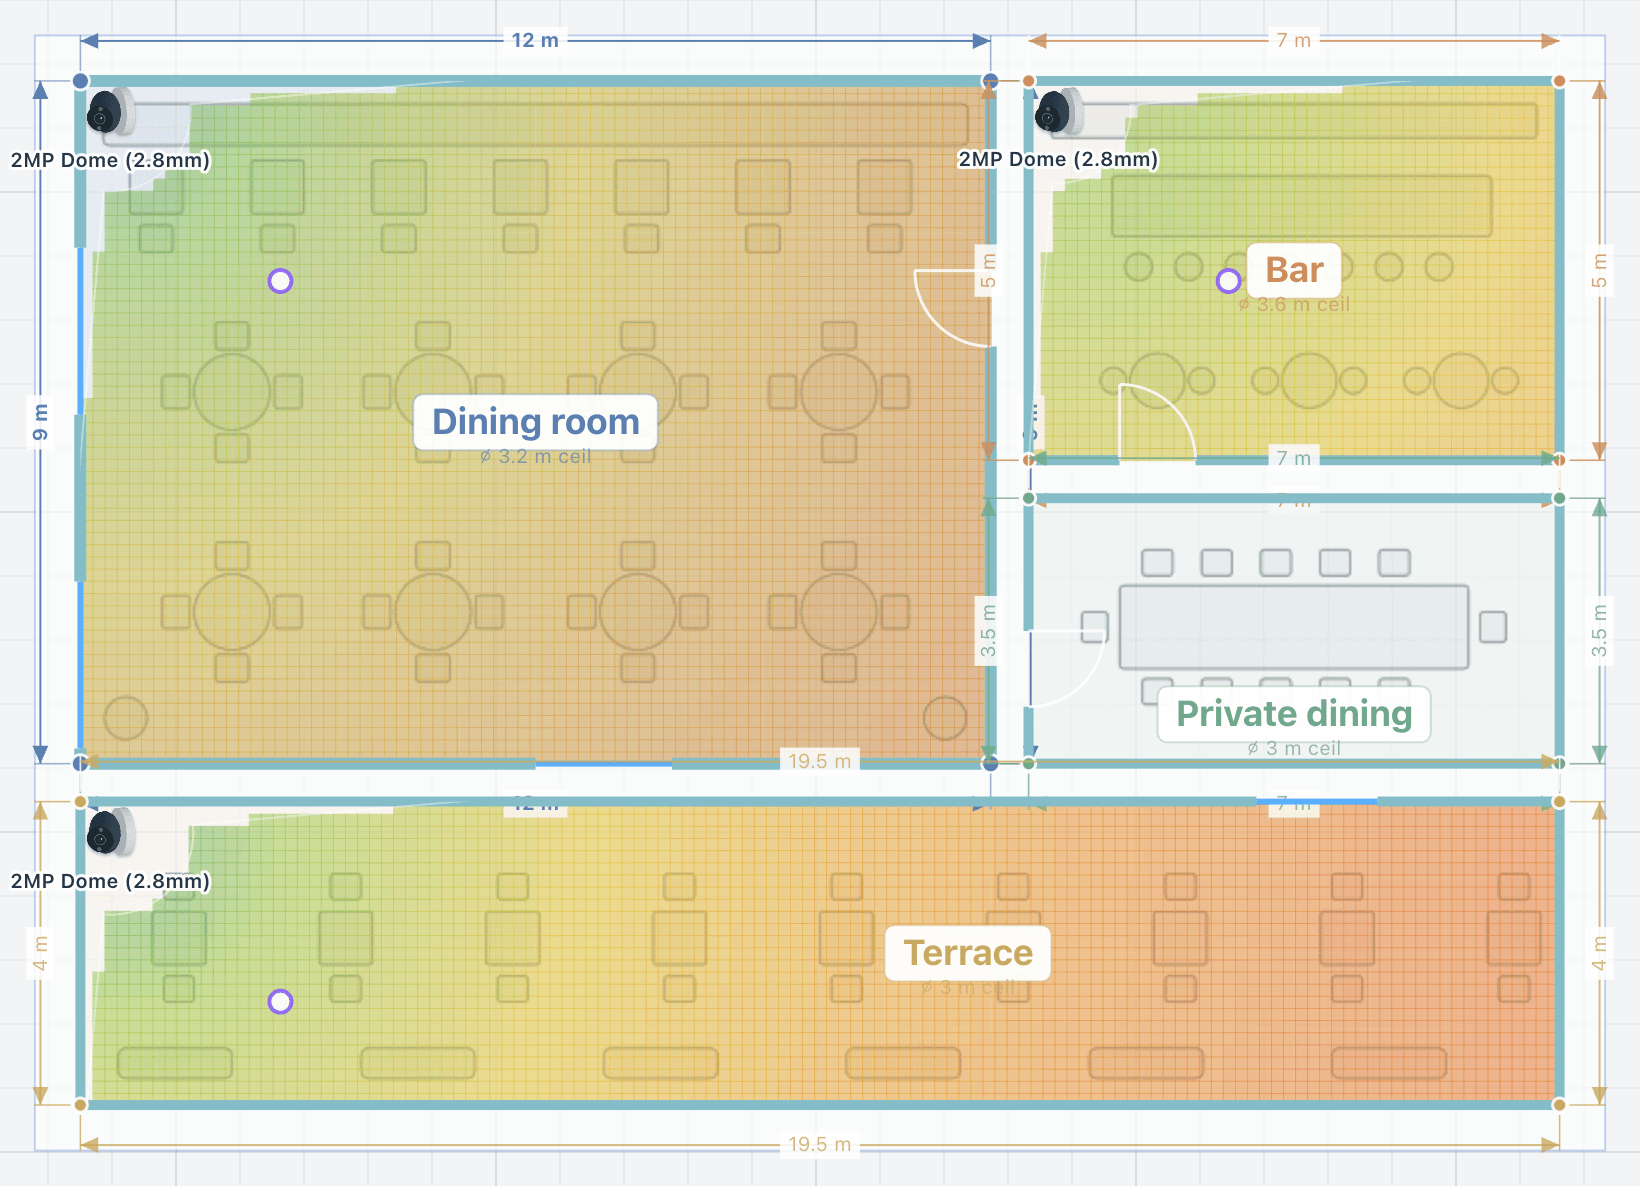
- Check the image detail. Turn on Show pixel-density map, and check the detail at the entrances, the till and every other spot where a client will ask for evidence.
- Check the recording. In the results, set the recording mode, retention, codec and frame rate. In Equipment, check the cameras, the recorder and the network devices: the recording channels, the storage and the PoE capacity.
Warning
A spot inside the field of view may still lack the detail you need. Check the pixel density or the DORI grade at the distance that matters, not just whether the cone reaches it.
DORI grades
The field of view is shaded by DORI grade, per EN 62676-4: detect, observe, recognise and identify, worked out from each camera’s resolution and lens. In the Inspector, bars show the share of the area where each grade is met.
To hold a spot to a standard, draw a coverage zone over it, such as a door, a till or a gate, and set the grade it must meet. The tool flags any gap in red.
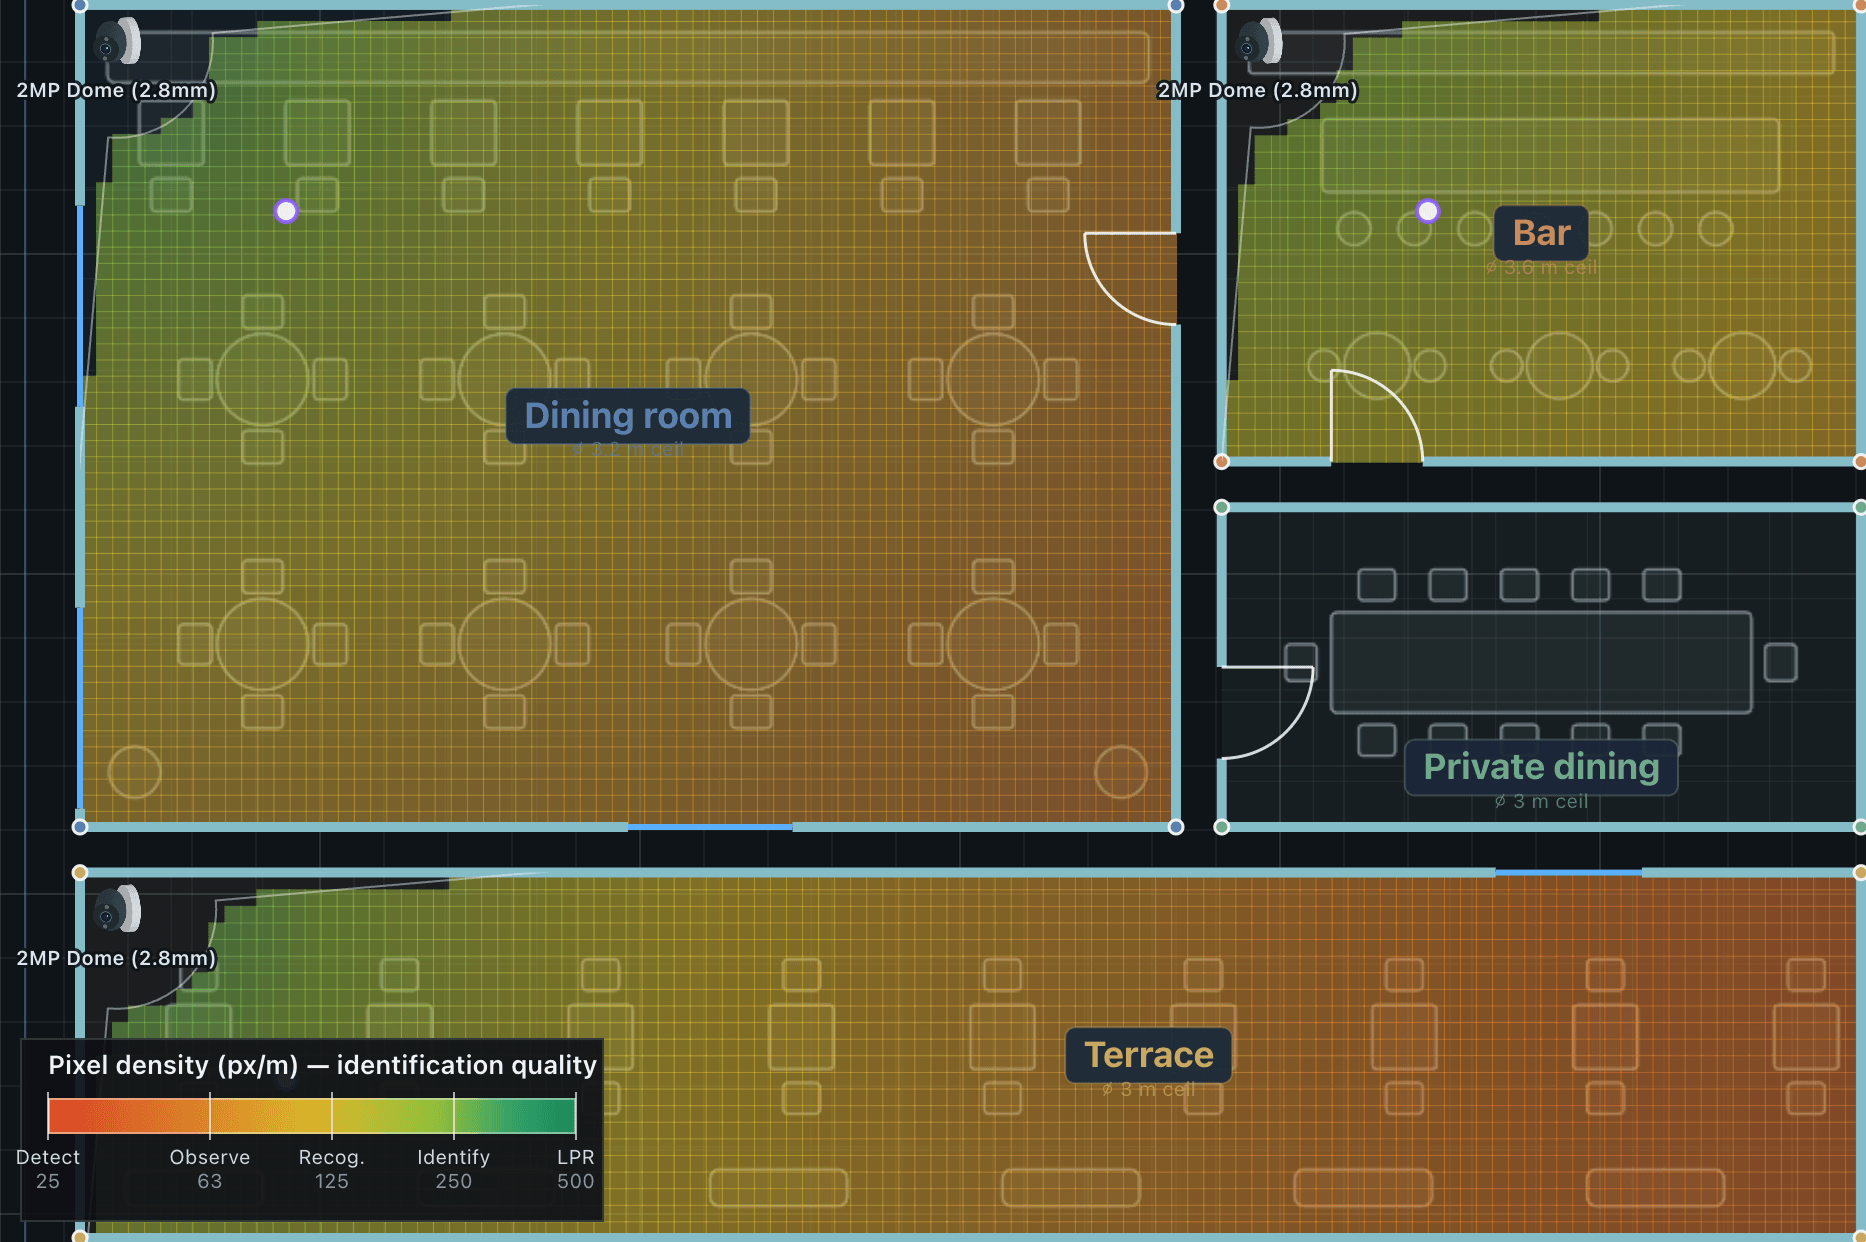
The pixel-density map
The pixel-density map colours the floor by pixels per metre, the number that decides whether you can identify someone. The legend runs from observe to identify. Where it is amber at a spot that matters, you need a longer lens, a higher-resolution camera, or a camera closer to the spot.
The recorder and storage
The Inspector holds the recording settings for the whole system: the retention in days, continuous or motion recording, the codec, the frame rate and the scene activity. From them the tool works out the storage you need, picks a recorder with enough channels and checks the PoE budget against your cameras.
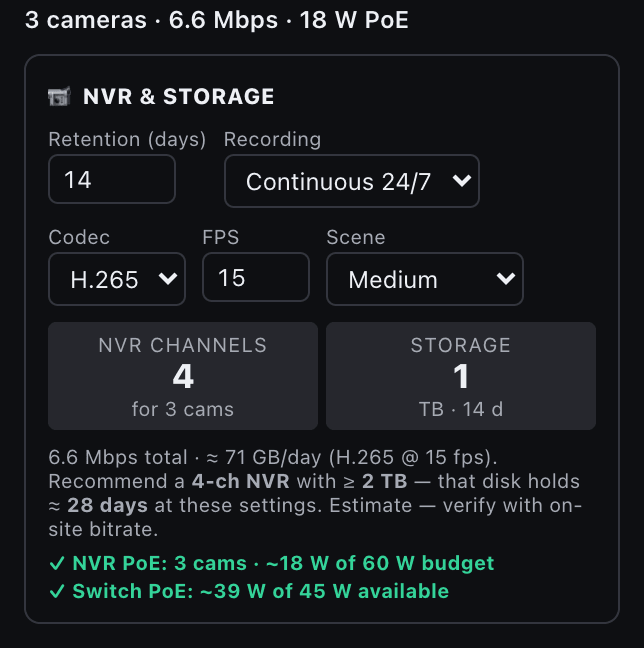
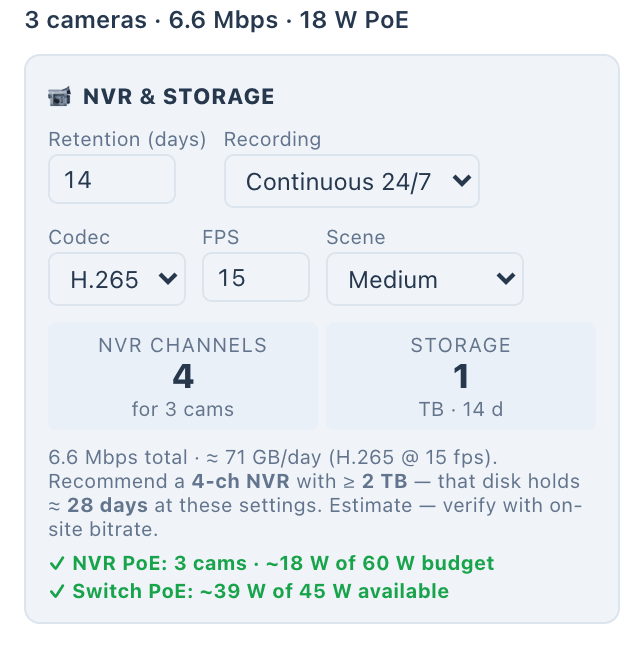
Check the recording channels against the camera count, the storage against the retention you set, and the PoE capacity against the cameras. A recorder with eight channels and a switch with four powered ports is a common mistake, and the tool shows it.
Auto-place and the lens calculator
Auto-place cameras covers each area to the target grade with as few cameras as possible, at the entrances and corners; re-aim them to taste afterwards. The lens calculator converts focal length and field of view into pixels per metre at a distance, for any sensor: the quick answer to whether a 4 mm lens will identify a face at the gate.
Check it in 3D
Open 3D with the CCTV discipline selected to see every camera and its coverage standing in the room. It is the fastest way to check the mounting heights, and the blind spot under each camera.
Your own cameras and recorders
If a model you install is not in the library, add it from its datasheet: the resolution, sensor, lens or field of view, IR range and PoE draw. It joins the cameras and recorders library and behaves like a built-in model, in the DORI calculation, the schedules, the rack, the wiring and the reports. Adding your own products is switched on per account for paid subscriptions, on request.
The CCTV report
CCTV has its own branded report: the coverage plan, the camera schedule with each camera’s model, mount, height, lens and the reach of each grade, and the recorder and storage sizing. Choose it in Export → Prepare reports. Cameras and the recorder are also priced lines in the client proposal and the bill of materials.