Plans and rooms
Build areas, shapes and floors
Add areas from their sizes or draw them, start from a venue preset, add partitions, circles and arcs, edit corners and doors, and organise a building by floor.
On this page
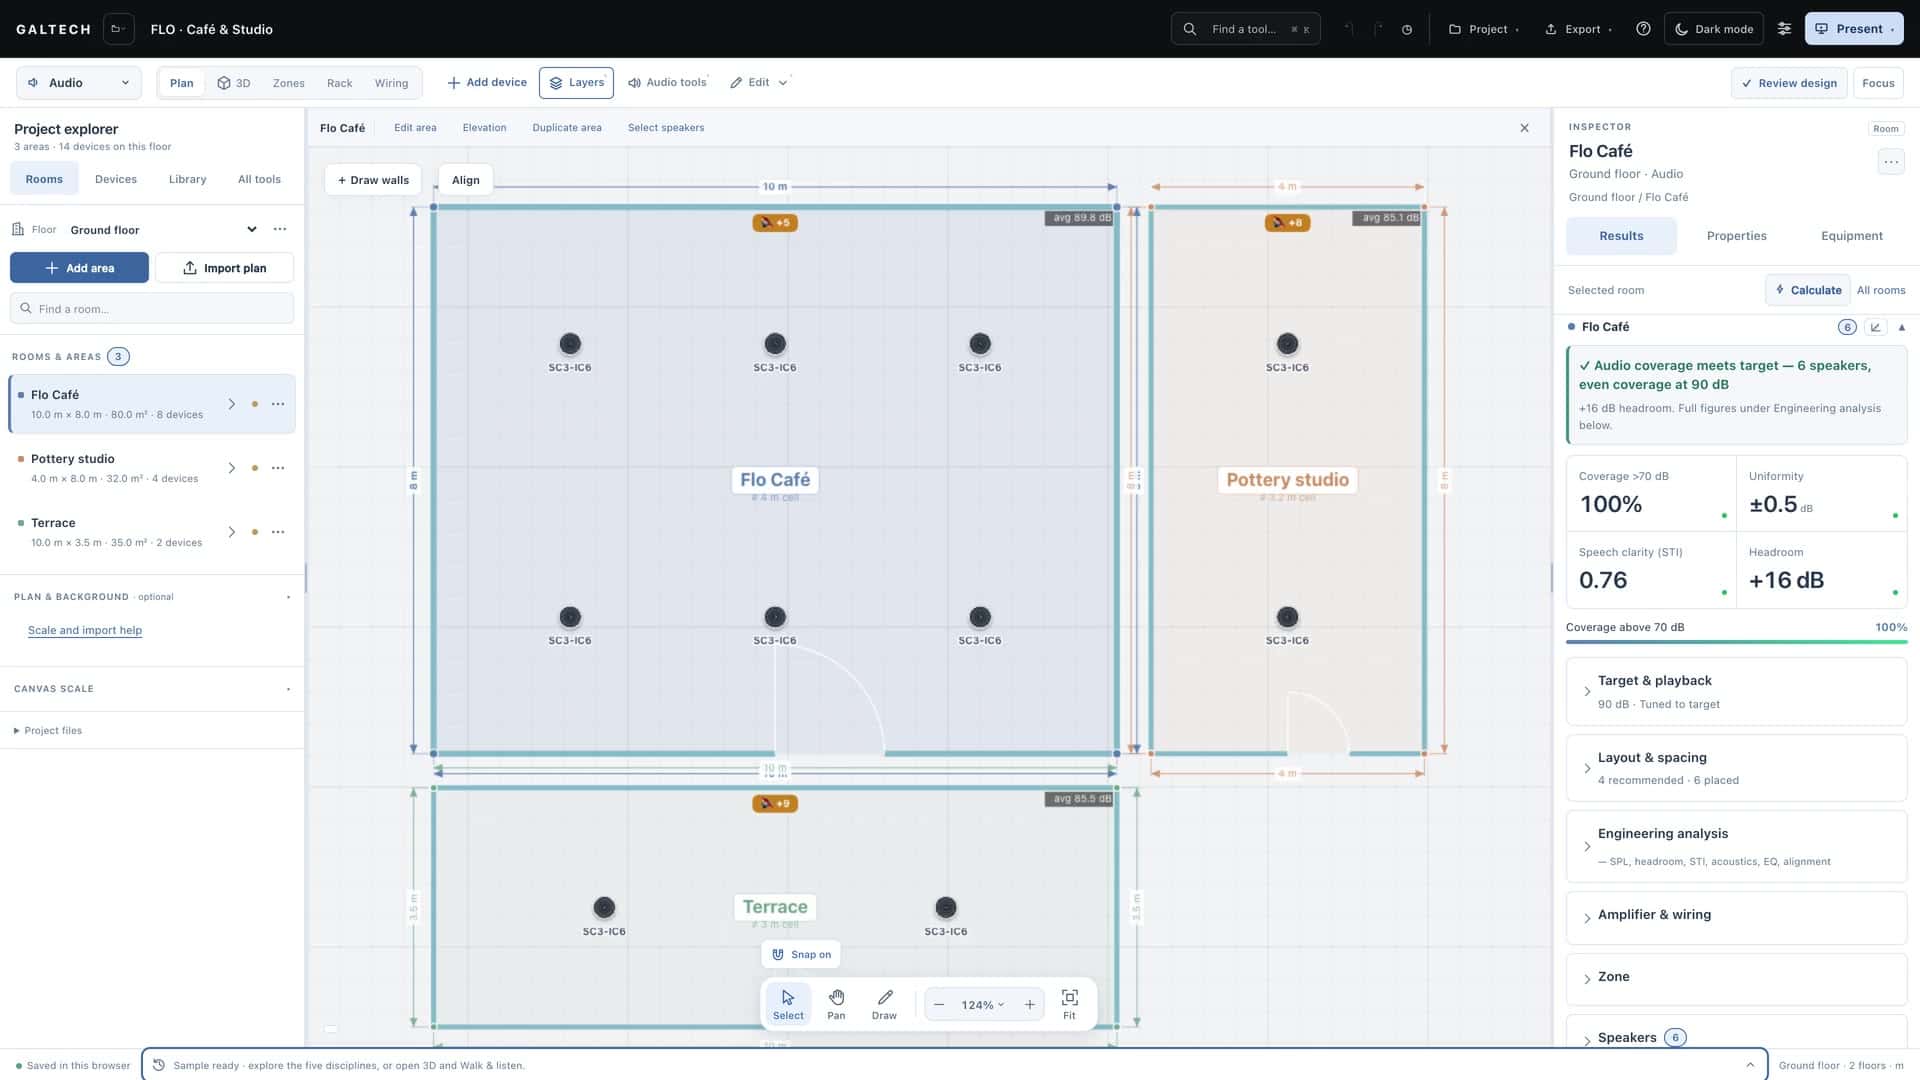
An area is a room the tool can design in: a floor shape with a ceiling height, a listening height, its acoustics and a target level. Every discipline uses the same areas, so you draw each room once.
Add an area from its sizes
The quickest start, when all you have are the room sizes from a site visit:
- In the Project explorer, choose Add area. A form opens in the explorer.
- Give the area a name, then its length and width in metres and the ceiling height.
- Set the ear level, the height of the listeners’ ears: 1.2 m for a seated audience, 1.7 m for people standing.
- Add the reverberation time, RT60, if you already know it. If you do not, leave it: the tool can estimate it from the room’s finishes later.
- Optionally choose a venue preset, and add a door or a window in the first wall.
- Choose Add Area to Project. The area appears on the plan; drag it into position.
Tip
Drag any number field, or its label, left or right to nudge the value; hold Shift for bigger steps. A plain click selects the field for typing.
Start from a venue preset
A venue preset fills in expert starting values for the kind of room: the target level, the RT60, the background noise and the speaker density. When you add the area, it also places a recommended speaker, and a subwoofer where the venue calls for one. A Suggested speaker list shows the models that suit the venue, with ★ marking the tool’s pick: choose another and the tool still sizes how many the room needs. Custom sets everything yourself.
There are 14 presets, from a living room to a small club, an outdoor patio and a garden. Set the target level and size the speaker count lists each one with its values.
Draw any other shape
When the room is not a rectangle, use Draw on the canvas dock:
| Tool | What it draws |
|---|---|
| Draw area | A rectangle, by dragging. |
| Draw wall | Any outline, corner by corner. A live ruler shows each length; the line turns green and snaps when it is level, upright or at 45°. Hold Shift for a free angle. |
| Wall → Area | Turns a closed outline into an area. While drawing, Backspace removes the last point. |
| Interior wall | A partition inside an area, as one connected piece. Double-click or press Enter to finish. |
| Add circle, Add arc | Bar counters, columns, planters and curved partitions. |
| Curve | Bows a wall into an arc, or rounds a corner. |
| Add door | An opening in a wall, at the width you set. |
| Standing person, Seated person | Listeners, at their real ear height. See Focus pins and listener positions. |
Interior walls, circles and arcs block sound in the heatmap, can be given a height, and are saved with the area. Layout tools never place a speaker inside a closed shape.
Edit an area
With Select:
- Move it. Drag the area’s floor.
- Reshape it. Drag a corner handle. It snaps into line with neighbouring corners, and the edges turn green when they are square; hold Shift to move freely. On a rectangle, drag a wall to resize the room.
- Move its name. Drag the name label off a door or a speaker. Double-click it to put it back in the centre.
- Replace one wall. Draw → Redraw wall, click the wall, then click the new corners from the green corner to the red one. Doors on that wall are removed; everything else stays.
- Change its sizes or acoustics. Choose Edit area above the plan.
For one wall at a time, its length, its curve and its material, see Draw walls and set their materials.
Terraces and outdoor areas
For a terrace, a courtyard or a stage, remove walls or the roof. In Edit area, Roof takes the ceiling off. An open side or open sky changes the acoustics completely: there is less reflected sound, so the reverberation drops and the level falls away faster with distance. The outdoor presets, patio and garden, start as open air.
Floors
Floors live in the Project explorer, above the room list.
- Click a floor to switch to it; double-click to rename it.
- Add floor gives the new floor its own background plan, areas and devices.
- Building-wide things collect every floor together: the equipment list, the rack and the reports. A three-storey villa is one project, not three.
- The 3D view shows the floor you have selected.
Note
The Add area form also shows AI auto-design. It is marked as coming soon in the tool and does not work yet.